PIL library installation and usage
PIL
PIL is a very popular image processing library. You can freely manipulate images into different formats.
Import relevant libs
1
2
3
4
5
6
7
8
from PIL import Image
import matplotlib.pyplot as plt
import numpy as np
import os
ROOT_DIR = './data'

def make_path(fpath):
    return os.path.join(ROOT_DIR, fpath)
Open image
1
2
3
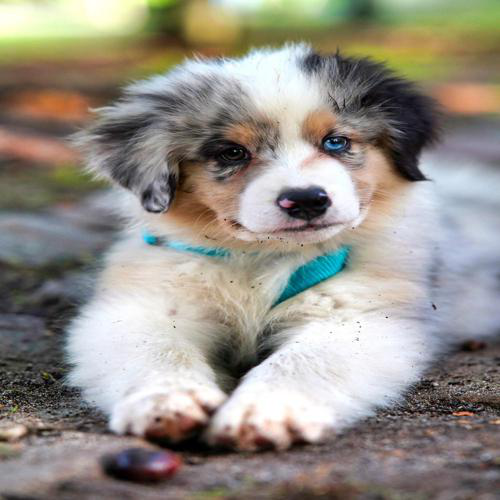
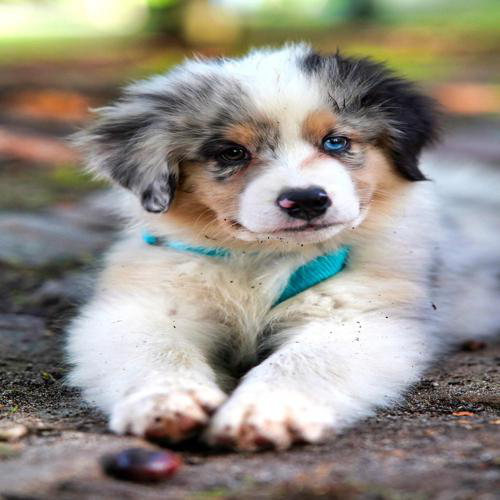
img = Image.open(make_path('puppy.jpeg'))
# img.show() # use OS image viewer
img # jupyter inline display
Save image
You can save PIL image using .save() method. Notice that you can save into different format, in this case, png format.
1
2
3
4
img = Image.open(make_path('puppy.jpeg'))
img.save(make_path('puppy2.png'))

print(os.listdir('data/'))
1
['jisoo.jpeg', 'puppy.jpeg', 'puppy2.png']
Image Information
1
2
3
4
img = Image.open(make_path('puppy.jpeg'))
print("Image format: {}".format(img.format))
print("Image size: {}".format(img.size))
print("Image mode: {}".format(img.mode))
1
2
3
Image format: JPEG
Image size: (500, 500)
Image mode: RGB
Resize
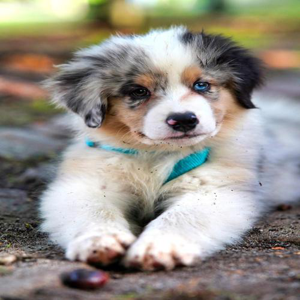
Pass a tuple to resize image.
1
2
img = Image.open(make_path('puppy.jpeg'))
img.resize((300,300))
Crop
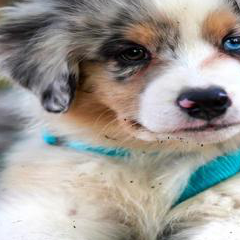
You can crop a portion of an image using img.crop((left,upper,right,lower))
1
2
3
4
img = Image.open(make_path('puppy.jpeg'))
box = (100,100,340,340)
region = img.crop(box)
region
Transposing
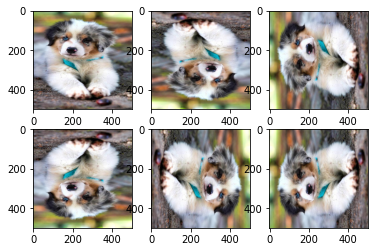
You can transpose images in different ways. Each method’s name is pretty much self-explanatory. The last one TRANSPOSE is the transpose you learned in linear algebra.
1
2
3
4
5
6
7
8
9
10
11
12
13
14
15
16
17
18
19
20
21
22
23
24
25
img = Image.open(make_path('puppy.jpeg'))
img1 = img.transpose(Image.FLIP_LEFT_RIGHT)
img2 = img.transpose(Image.FLIP_TOP_BOTTOM)
img3 = img.transpose(Image.ROTATE_90)
img4 = img.transpose(Image.ROTATE_180)
img5 = img.transpose(Image.ROTATE_270)
img6 = img.transpose(Image.TRANSPOSE)

plt.subplot(2,3,1)
plt.imshow(img1)

plt.subplot(2,3,2)
plt.imshow(img2)

plt.subplot(2,3,3)
plt.imshow(img3)

plt.subplot(2,3,4)
plt.imshow(img4)

plt.subplot(2,3,5)
plt.imshow(img5)

plt.subplot(2,3,6)
plt.imshow(img6)
1
<matplotlib.image.AxesImage at 0x7feea8388040>
Convert RGB to B/W
1
2
3
4
img = Image.open(make_path('puppy.jpeg'))

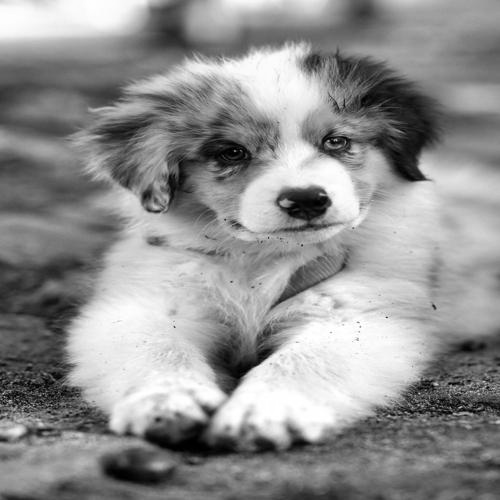
img_bw = img.convert('L') # convert to b/w. What does L stand for? I don't know..
img_bw
Convert B/W to RGB
1
2
3
4
5
img = Image.open(make_path('puppy.jpeg'))

img_bw = img.convert('L')
img_rgb = img.convert("RGB") # convert to RGB
img_rgb
Image Enhancements
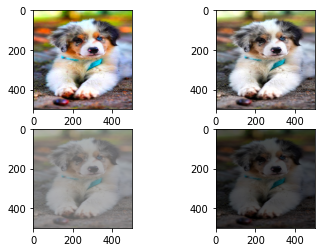
You can enhance image in different ways using ImageEnhance. Notice that >1 is enhancement and <1 is degradation.
1
2
3
4
5
6
7
8
9
10
11
12
13
14
15
16
17
18
19
from PIL import ImageEnhance

img = Image.open(make_path('puppy.jpeg'))
img1 = ImageEnhance.Color(img).enhance(2.0)
img2 = ImageEnhance.Sharpness(img).enhance(2.0)
img3 = ImageEnhance.Contrast(img).enhance(0.3)
img4 = ImageEnhance.Brightness(img).enhance(0.3)

plt.subplot(2,2,1)
plt.imshow(img1)

plt.subplot(2,2,2)
plt.imshow(img2)

plt.subplot(2,2,3)
plt.imshow(img3)

plt.subplot(2,2,4)
plt.imshow(img4)
1
<matplotlib.image.AxesImage at 0x7feea3de38e0>
Alplha Blending
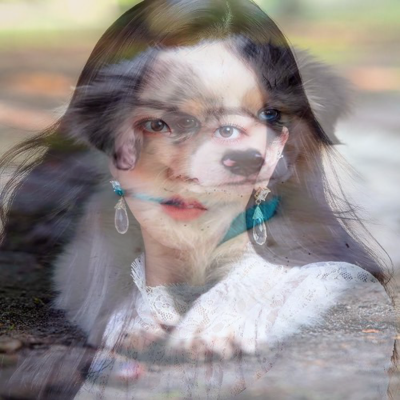
You can easily blend two images with Image.blend(img1,img2,alpha). However, there’re two conditions.
- Both images must have the same size
- Both images must be in
.pngformat that has alpha channel
For alpha parameter, closer to 0 indicates higher percentage of img1 and closer to 1 indicates higher percentage of img2.
1
2
3
4
5
6
7
8
img1 = Image.open(make_path('puppy2.png'))
img2 = Image.open(make_path('jisso.png'))

img1 = img1.resize((400,400))
img2 = img2.resize((400,400))

blended = Image.blend(img1, img2, 0.5)
blended
Convert PIL to Numpy
You can easily convert a PIL image to numpy array. Notice that the RGB channel is in the last dimension.
1
2
3
img = Image.open(make_path('puppy.jpeg'))
img_np = np.array(img)
print(img_np.shape)
1
(500, 500, 3)
Convert Numpy to PIL
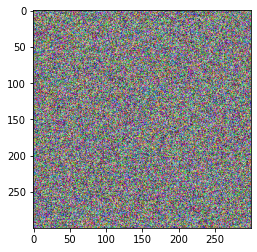
Numpy array must have channel in the last dimension to be converted to PIL.
1
2
3
4
img_np = np.random.randint(0,255, (300,300,3), dtype=np.uint8)

img_pil = Image.fromarray(img_np)
plt.imshow(img_pil)
1
<matplotlib.image.AxesImage at 0x7feea742f520>
Convert PIL to Tensor
There are two ways fo converting PIL image to tensor. transforms.PILToTensor() transforms an PIL image to tensor keeping the actual values 0~255. On the other hand, transforms.ToTensor() transforms an PIL image to tensor squashing values to [0,1].
Notice that the channel is in the first dimension unlike PIL.
transforms.PILToTensor()
1
2
3
4
5
6
7
from torchvision import transforms

img = Image.open(make_path('puppy.jpeg'))

img_tensor = transforms.PILToTensor()(img)
print(img_tensor.shape)
img_tensor
1
2
3
4
5
6
7
8
9
10
11
12
13
14
15
16
17
18
19
20
21
22
23
24
25
26
27
28
29
torch.Size([3, 500, 500])


tensor([[[213, 214, 216,  ..., 124, 123, 123],
         [215, 216, 218,  ..., 126, 126, 125],
         [220, 221, 222,  ..., 129, 128, 128],
         ...,
         [104,  96,  85,  ...,  95,  94,  94],
         [104,  97,  87,  ...,  95,  94,  93],
         [ 97,  92,  84,  ...,  95,  94,  92]],

        [[222, 223, 225,  ..., 164, 163, 163],
         [224, 225, 227,  ..., 166, 166, 165],
         [228, 229, 230,  ..., 169, 168, 168],
         ...,
         [ 98,  90,  78,  ...,  90,  89,  89],
         [ 98,  91,  80,  ...,  90,  89,  88],
         [ 91,  86,  77,  ...,  90,  89,  87]],

        [[155, 156, 158,  ..., 104, 103, 103],
         [161, 162, 164,  ..., 104, 104, 103],
         [171, 172, 173,  ..., 106, 105, 105],
         ...,
         [ 86,  78,  68,  ...,  96,  95,  95],
         [ 86,  79,  70,  ...,  96,  95,  94],
         [ 79,  74,  67,  ...,  96,  95,  93]]], dtype=torch.uint8)
ToTensor()
1
2
3
4
5
img = Image.open(make_path('puppy.jpeg'))

img_tensor = transforms.ToTensor()(img)
print(img_tensor.shape)
img_tensor
1
2
3
4
5
6
7
8
9
10
11
12
13
14
15
16
17
18
19
20
21
22
23
24
25
26
27
28
29
torch.Size([3, 500, 500])


tensor([[[0.8353, 0.8392, 0.8471,  ..., 0.4863, 0.4824, 0.4824],
         [0.8431, 0.8471, 0.8549,  ..., 0.4941, 0.4941, 0.4902],
         [0.8627, 0.8667, 0.8706,  ..., 0.5059, 0.5020, 0.5020],
         ...,
         [0.4078, 0.3765, 0.3333,  ..., 0.3725, 0.3686, 0.3686],
         [0.4078, 0.3804, 0.3412,  ..., 0.3725, 0.3686, 0.3647],
         [0.3804, 0.3608, 0.3294,  ..., 0.3725, 0.3686, 0.3608]],

        [[0.8706, 0.8745, 0.8824,  ..., 0.6431, 0.6392, 0.6392],
         [0.8784, 0.8824, 0.8902,  ..., 0.6510, 0.6510, 0.6471],
         [0.8941, 0.8980, 0.9020,  ..., 0.6627, 0.6588, 0.6588],
         ...,
         [0.3843, 0.3529, 0.3059,  ..., 0.3529, 0.3490, 0.3490],
         [0.3843, 0.3569, 0.3137,  ..., 0.3529, 0.3490, 0.3451],
         [0.3569, 0.3373, 0.3020,  ..., 0.3529, 0.3490, 0.3412]],

        [[0.6078, 0.6118, 0.6196,  ..., 0.4078, 0.4039, 0.4039],
         [0.6314, 0.6353, 0.6431,  ..., 0.4078, 0.4078, 0.4039],
         [0.6706, 0.6745, 0.6784,  ..., 0.4157, 0.4118, 0.4118],
         ...,
         [0.3373, 0.3059, 0.2667,  ..., 0.3765, 0.3725, 0.3725],
         [0.3373, 0.3098, 0.2745,  ..., 0.3765, 0.3725, 0.3686],
         [0.3098, 0.2902, 0.2627,  ..., 0.3765, 0.3725, 0.3647]]])
Convert Tensor to PIL
1
2
3
4
5
6
import torch

img_tensor = torch.randint(0,255,(3,500,500),dtype=torch.uint8)

img_pil = transforms.ToPILImage()(img_tensor)
img_pil

