1. Introduction
In the previous series of articles, we dockerized a simple FastAPI project into a container image, uploaded our image to ECR, deployed our server to ECS Fargate, and injected environment variables using AWS Systems Manager Parameter Store.
- Dockerize a FastAPI project into a container image
- Deploy our server to ECS Fargate
- Inject environment variables using AWS Systems Manager Parameter Store
However, we still have one final task to do. Everytime there’s an update of our service, we have to manually build an image, upload to ECR, create a new task definition revision, and update our service.
To automate this series of actions, we’ll go over how to integrate CI/CD (Continuous integration / Continuous Deployment).
2. Create a Github repository
First create a repository or initialize git in the project root directory but don’t push your source codes yet.
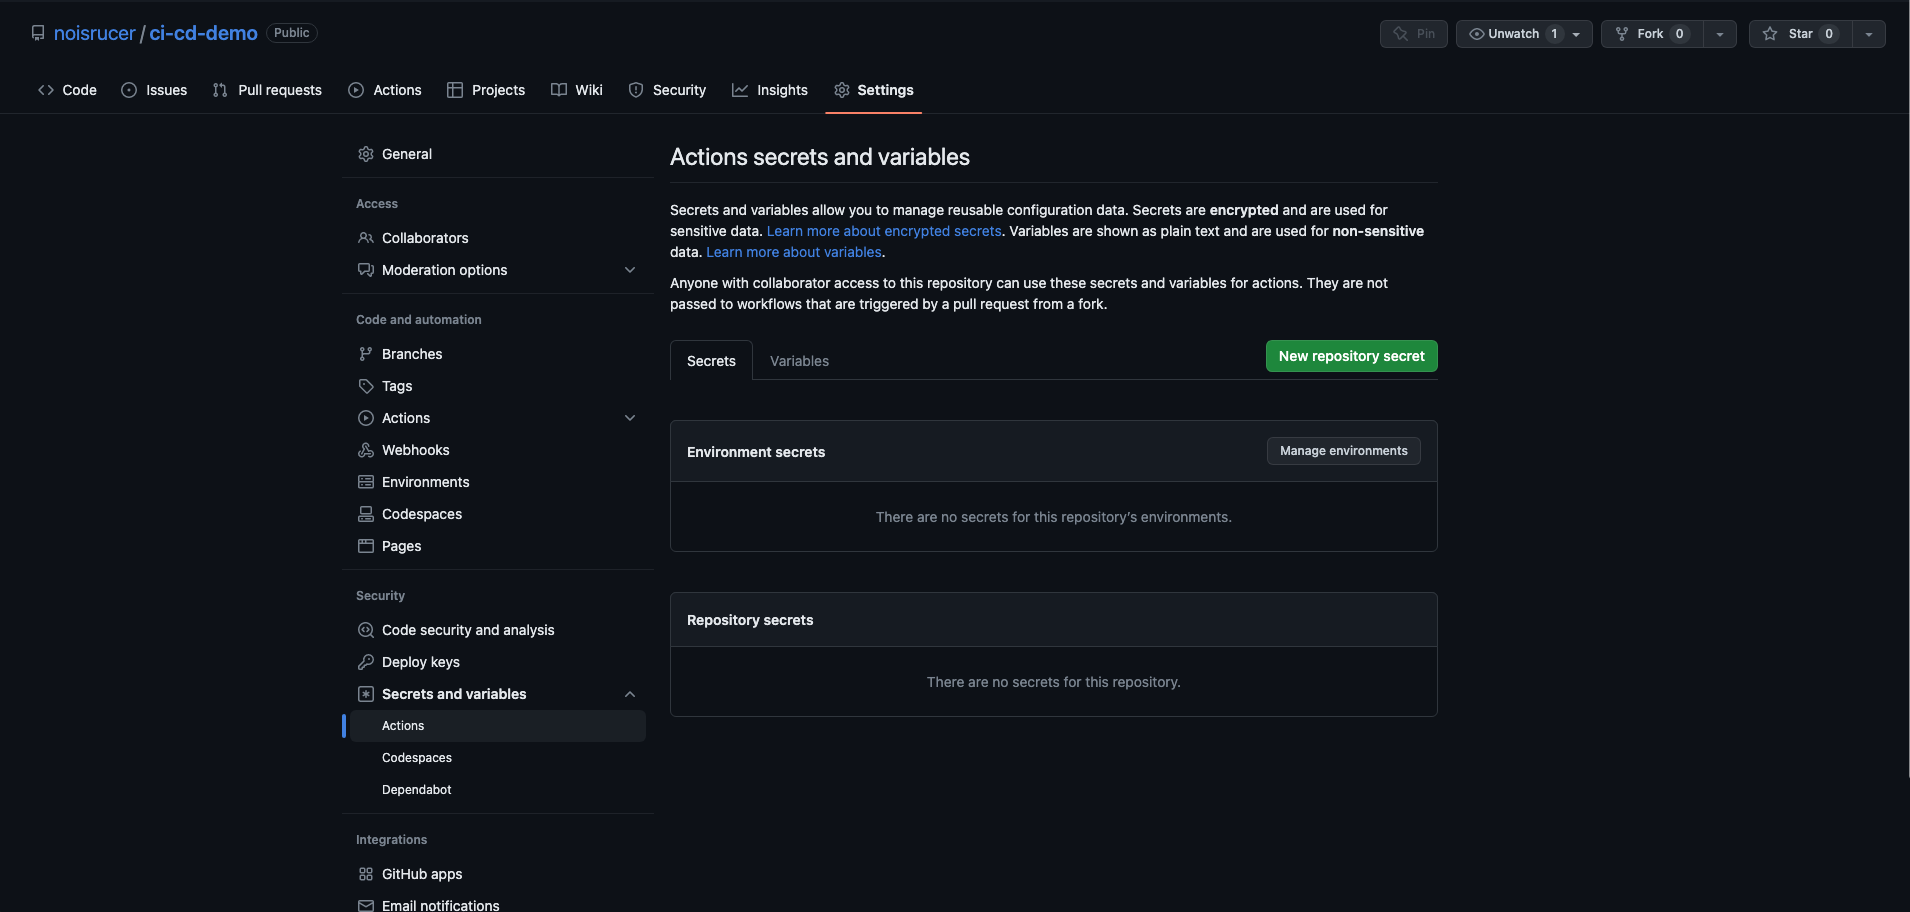
Navigate to your repository and click “Settings” and click “Secrets and variable -> Actions” in Security panel on the left side.
Then, click “New repository secret”.
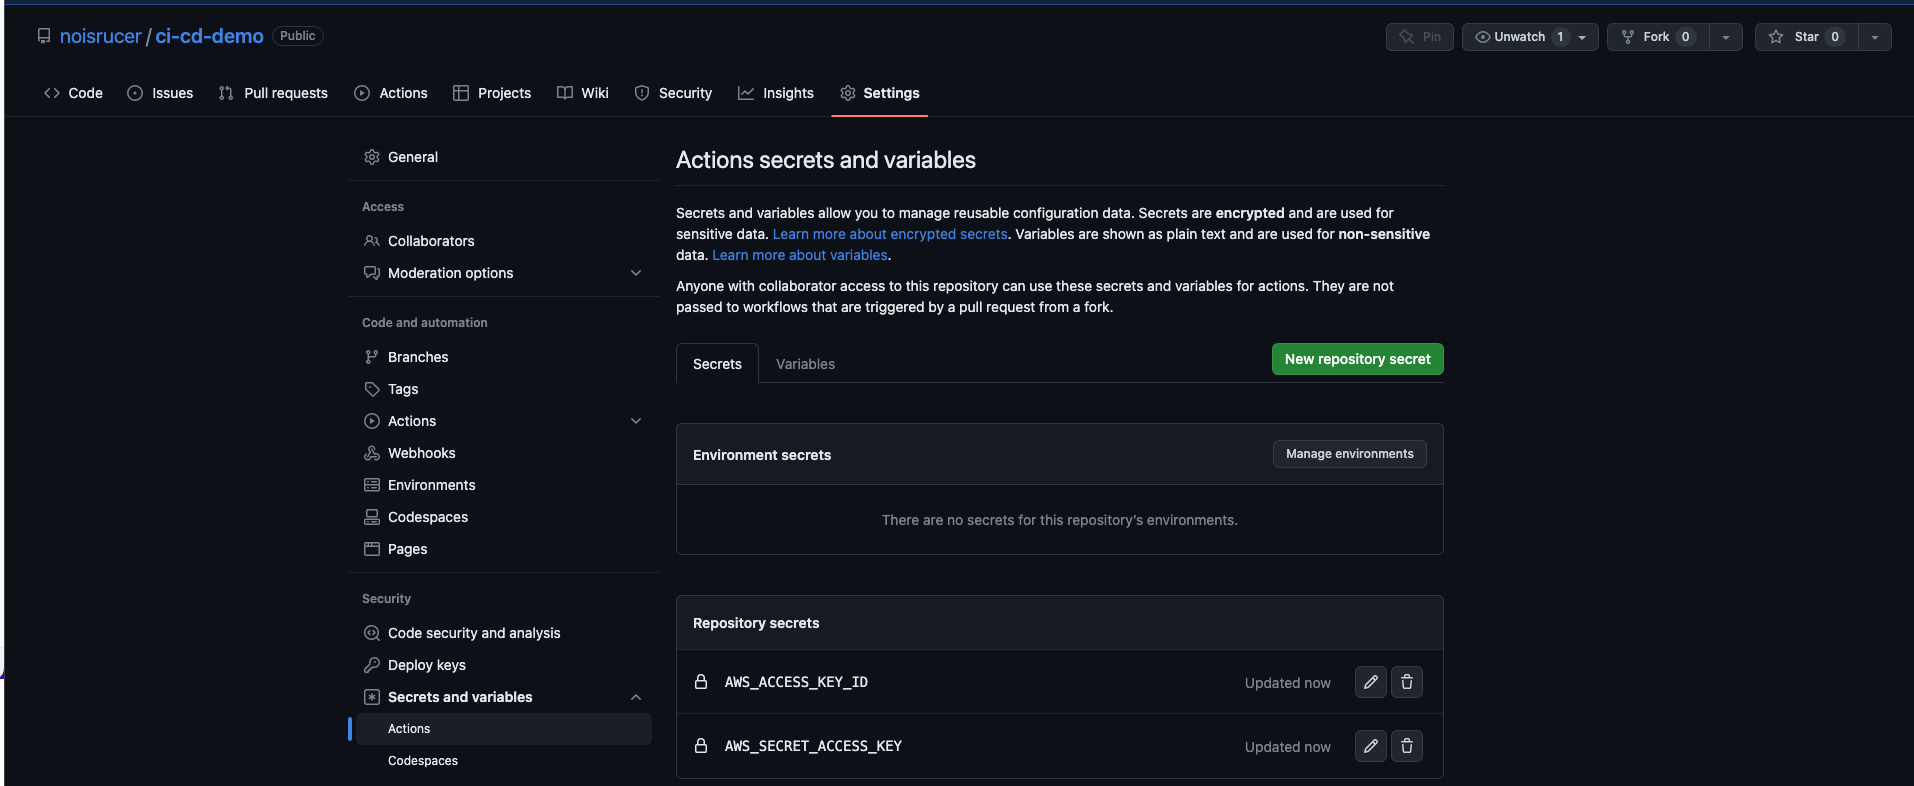
Add the followings two secret keys
AWS_ACCESS_KEY_ID: Your access keyAWS_SECRET_ACCESS_KEY: Your secret access key
This is the keys you have created when creating a user in IAM. If you forgot to save them, you can generate new access keys in “Access keys” panel.
After you created environment variables, navigate to “Actions” tab in Github and select “Deploy to Amazon ECS”.
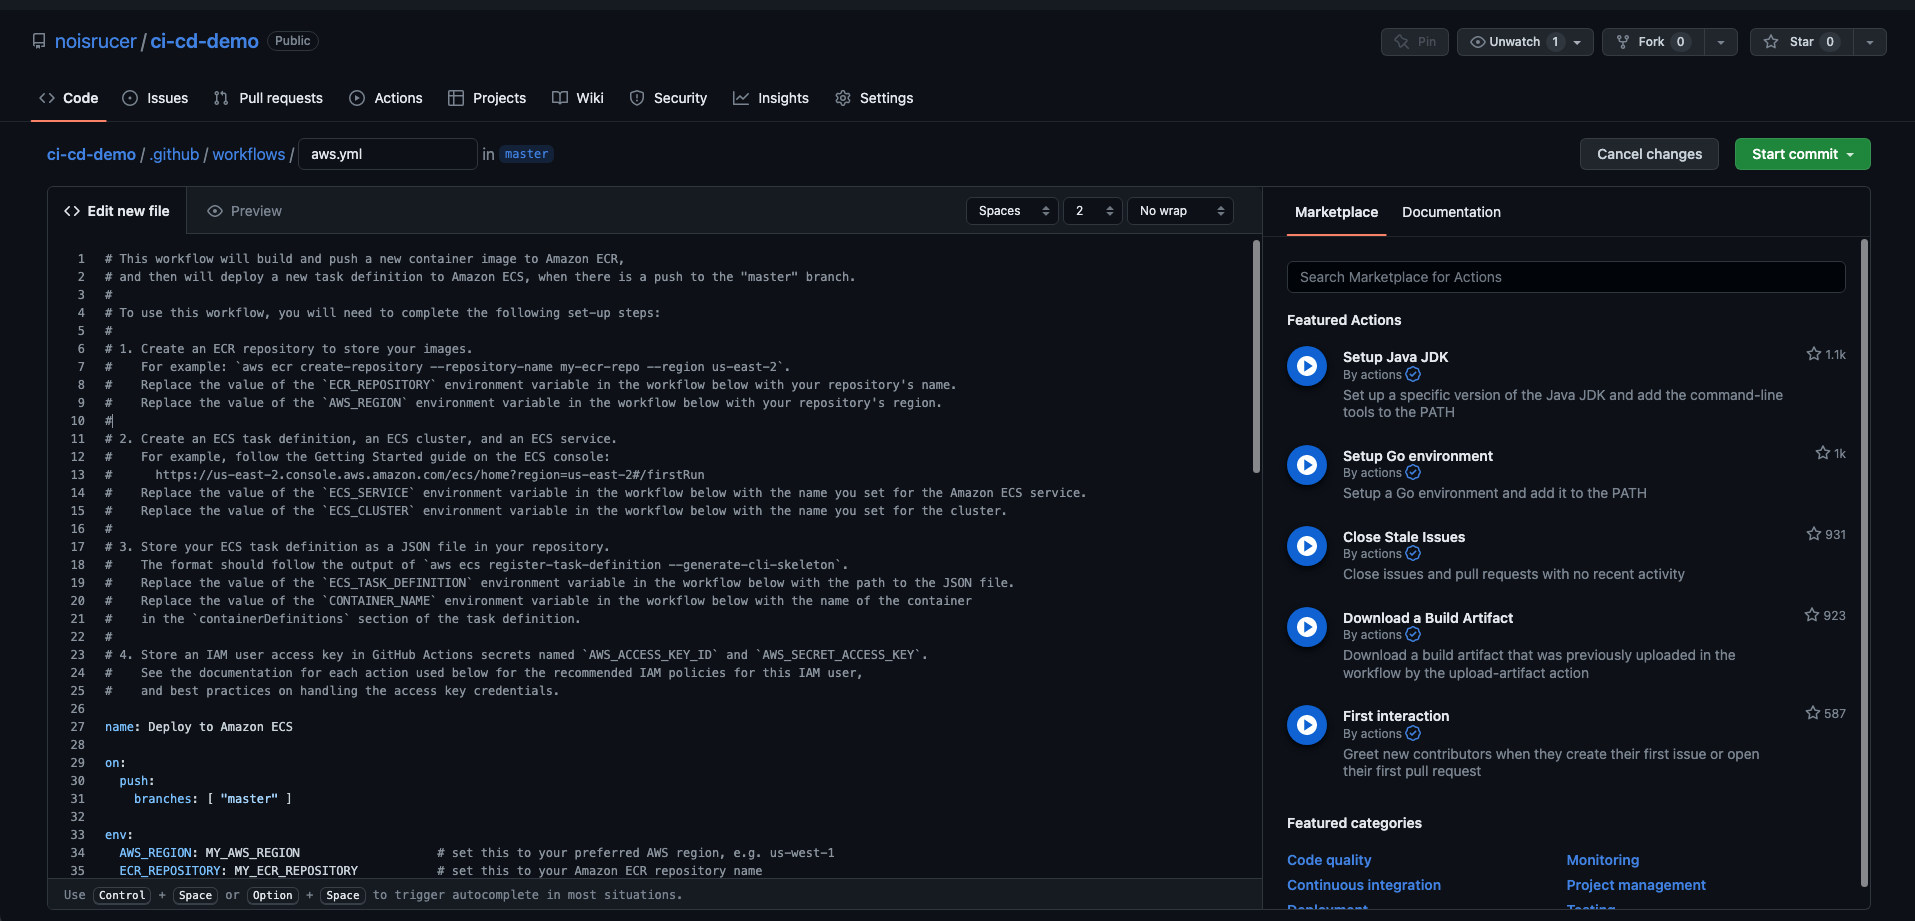
Now, you have to modify certain items in aws.yml.
Modify the following items
AWS_REGIONECR_REPOSITORYECS_SERVICEECS_CLUSTERECS_TASK_DEFINITION- we haven’t createdtask-definition.jsonfile yet. We’ll do it soon.
If you have a different location of Dockerfile other than the project root directory, modify line 76.
Notice that you have to provide the path to the task definition file in ECS_TASK_DEFINITION.
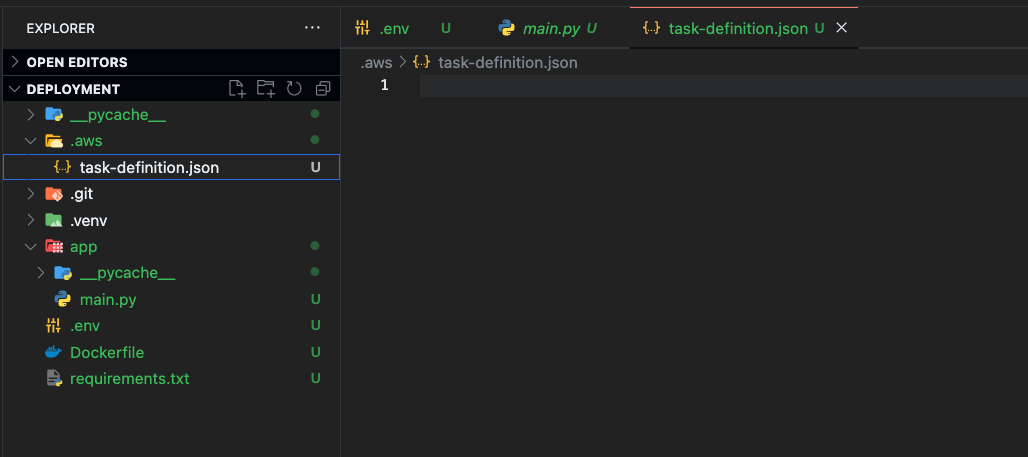
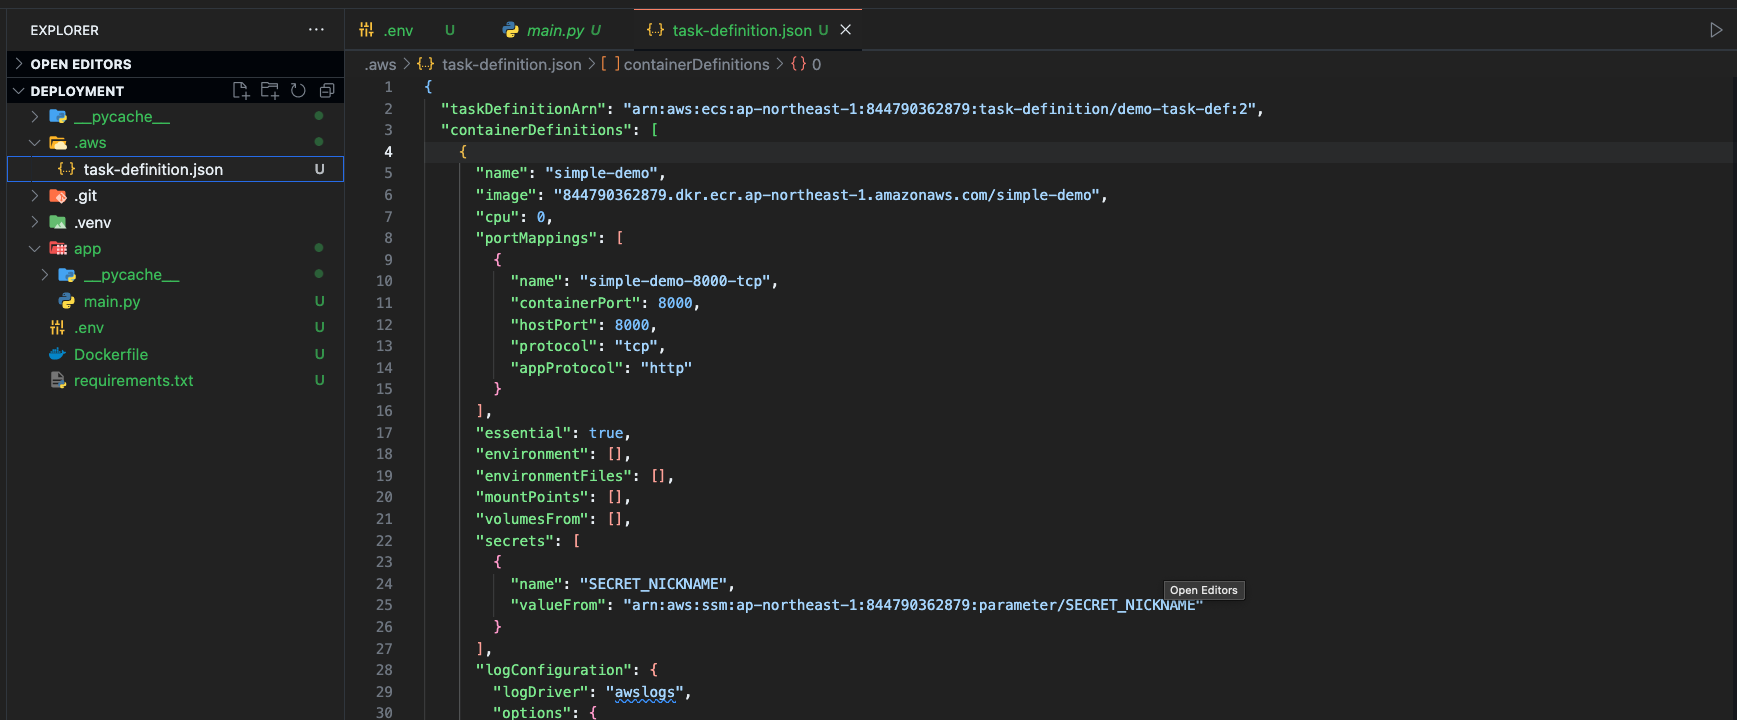
Let’s create .aws folder in the project root directory and create a file task-definition.json under .aws.
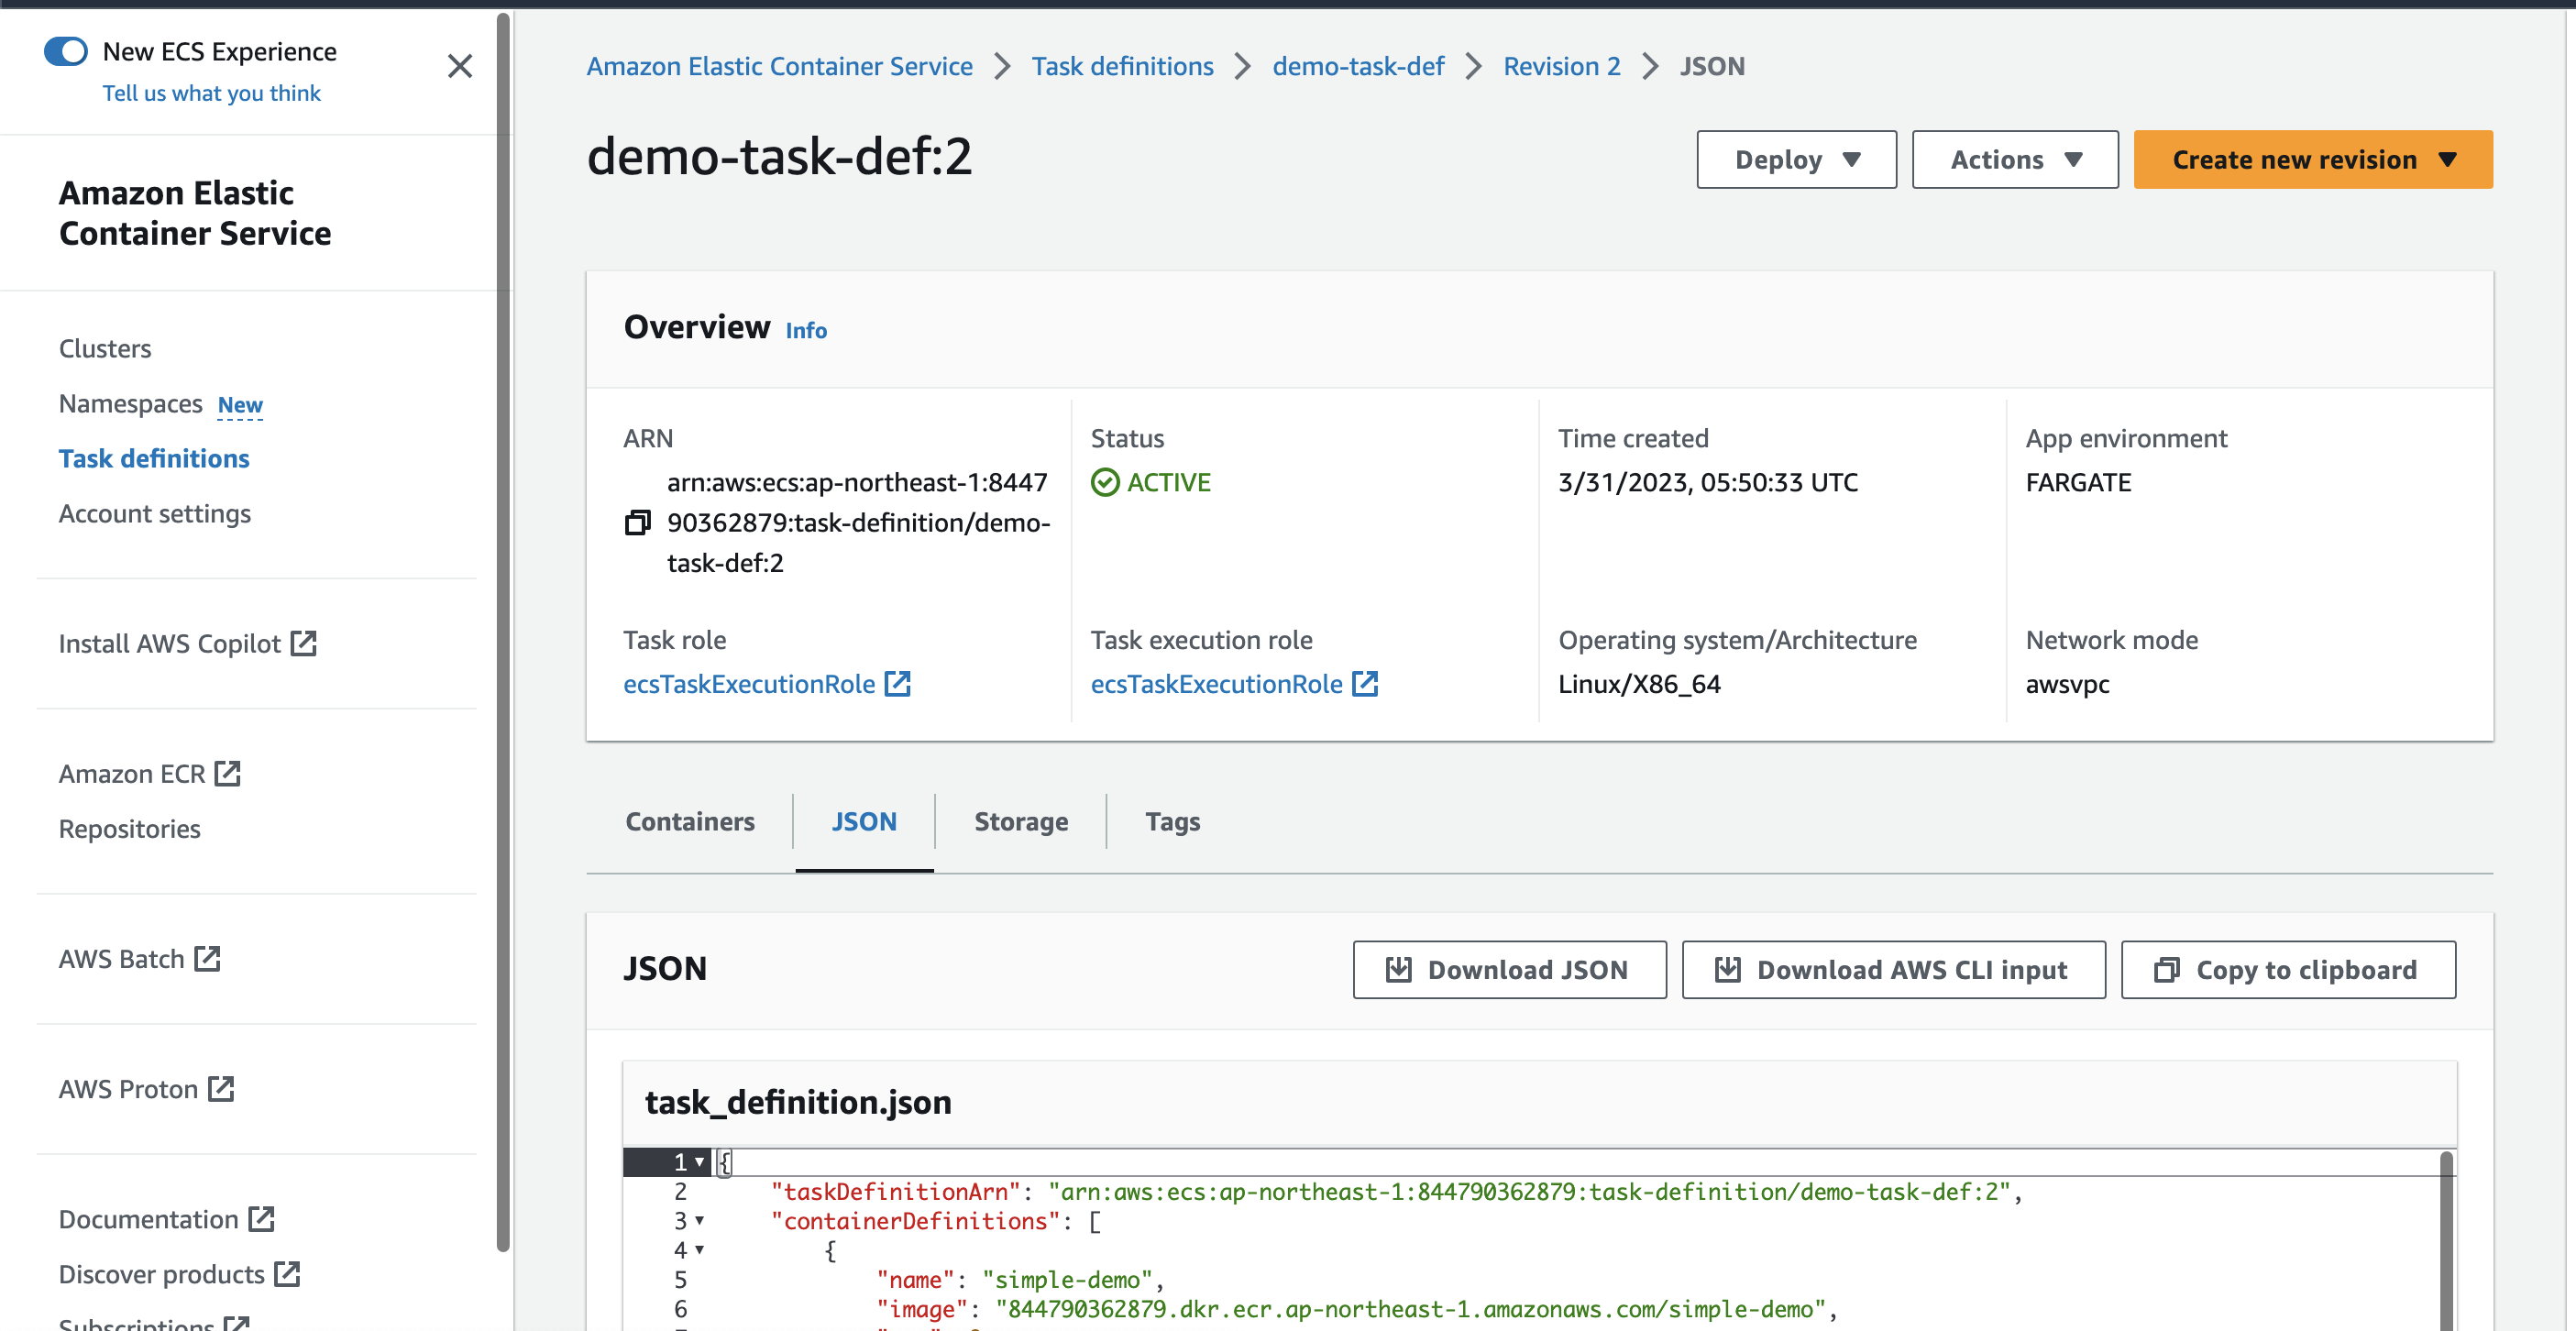
Let’s now go back to “ECS -> task definitions” and select the task definition revision with which your ECS instance is runnning on.
Then, copy the task_definition.json into .aws/task-definition.json in our project.
Let’s now go back to aws.yml in Github Actions and click “Start commit -> Commit new file”.
3. CI/CD
This aws.yml file defines what series of actions that we must perform to deploy a new version of our service to AWS ECS.
Notice that you can find that the predefined behavior is that Github Action starts deploying whenever you push to “master” branch.
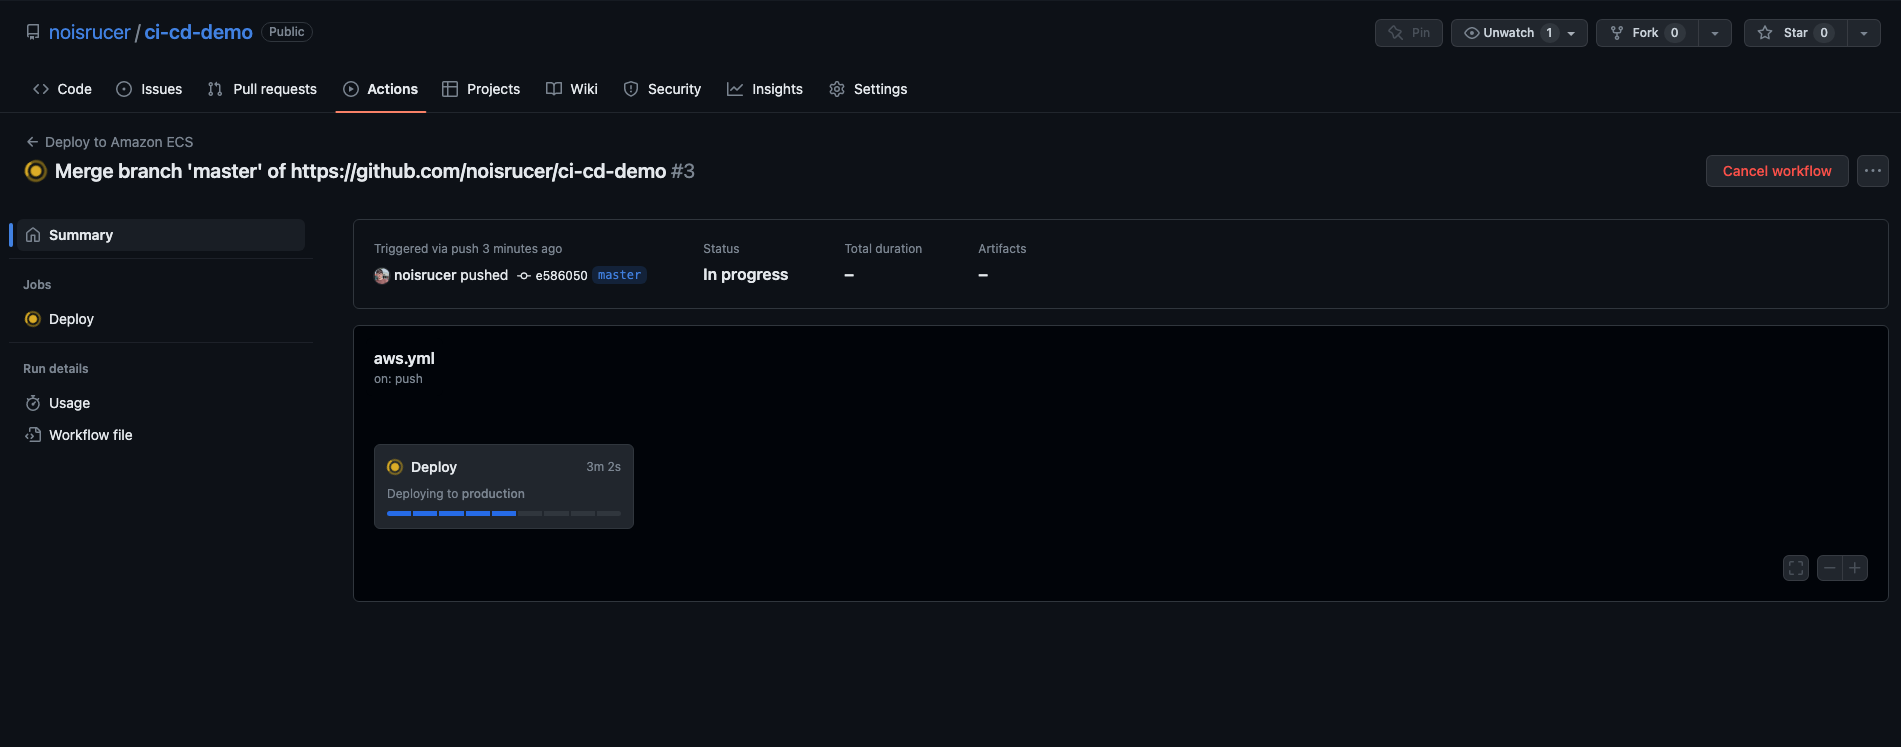
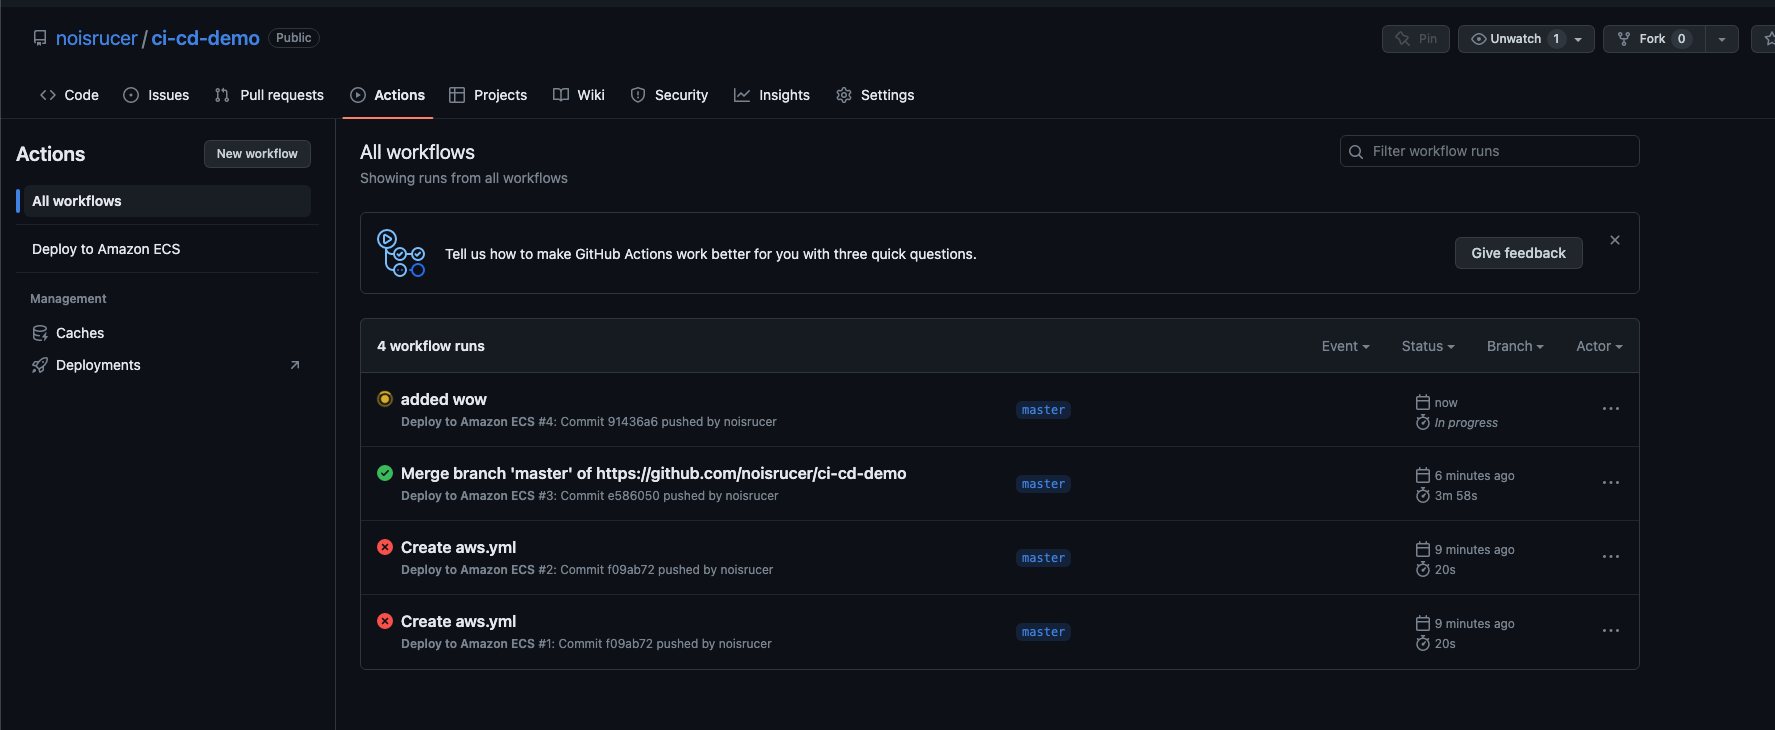
Let’s push our codes to the repository and go to “Actions” in Github. Then you’ll see that the deployment is in process.
You can click the workflow run to see more details.
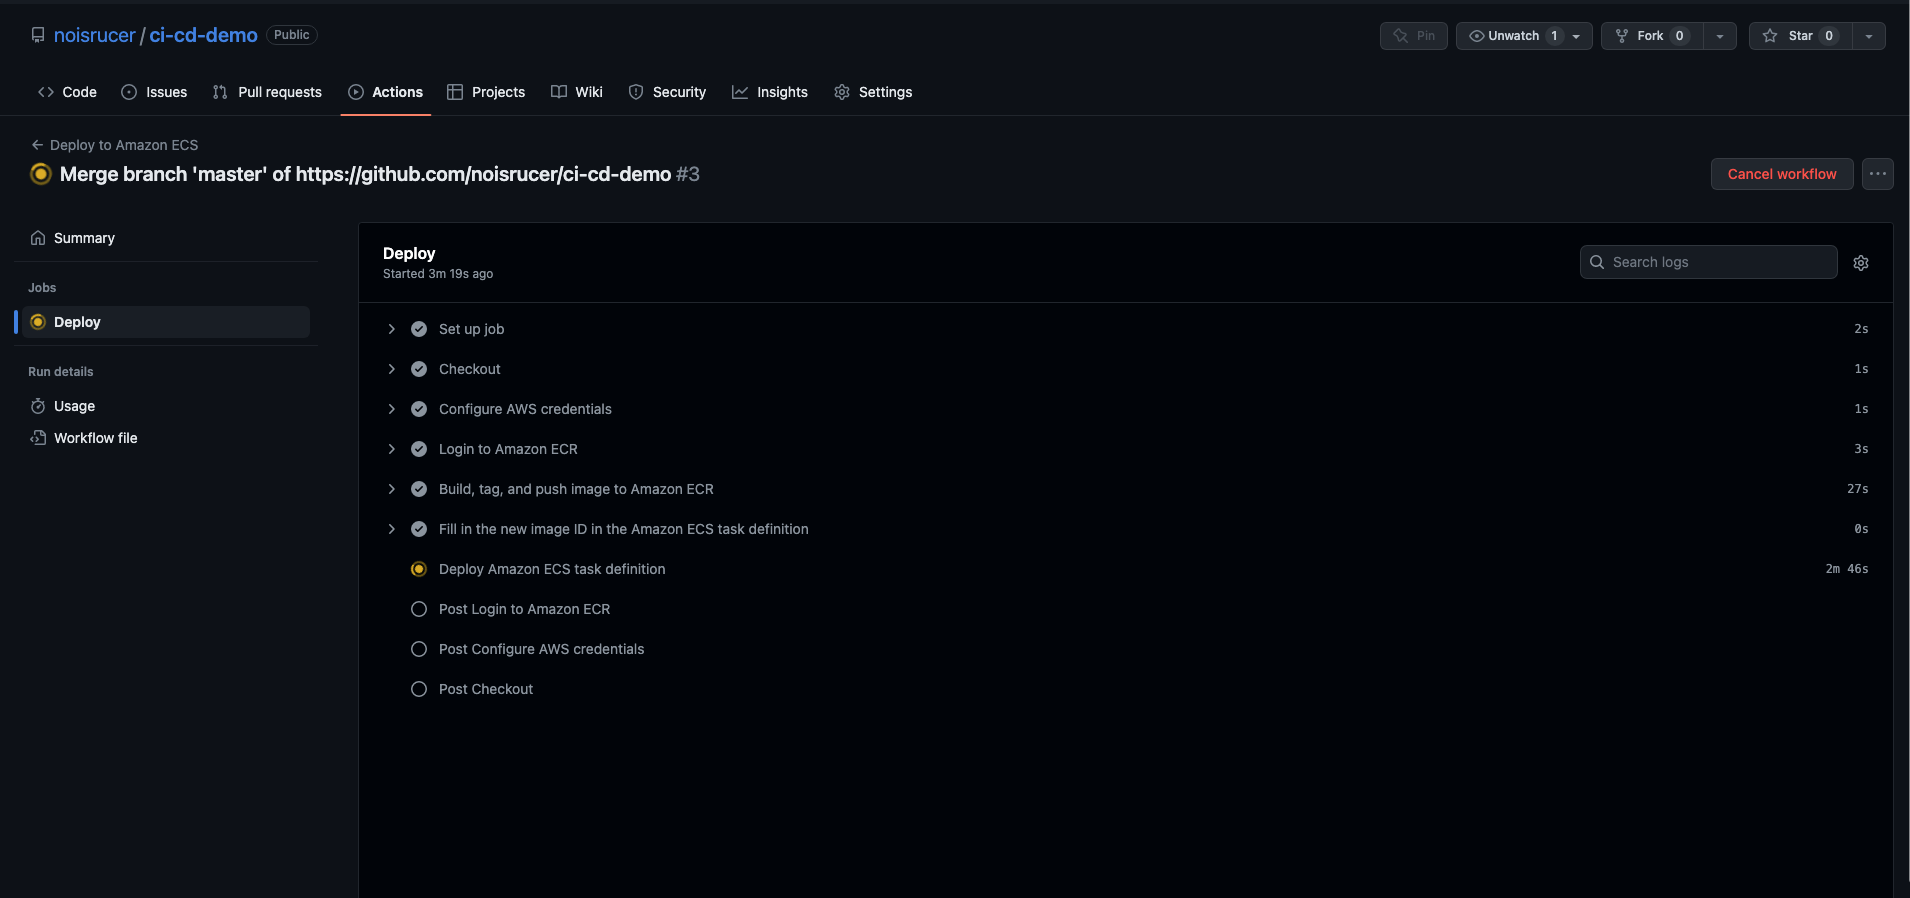
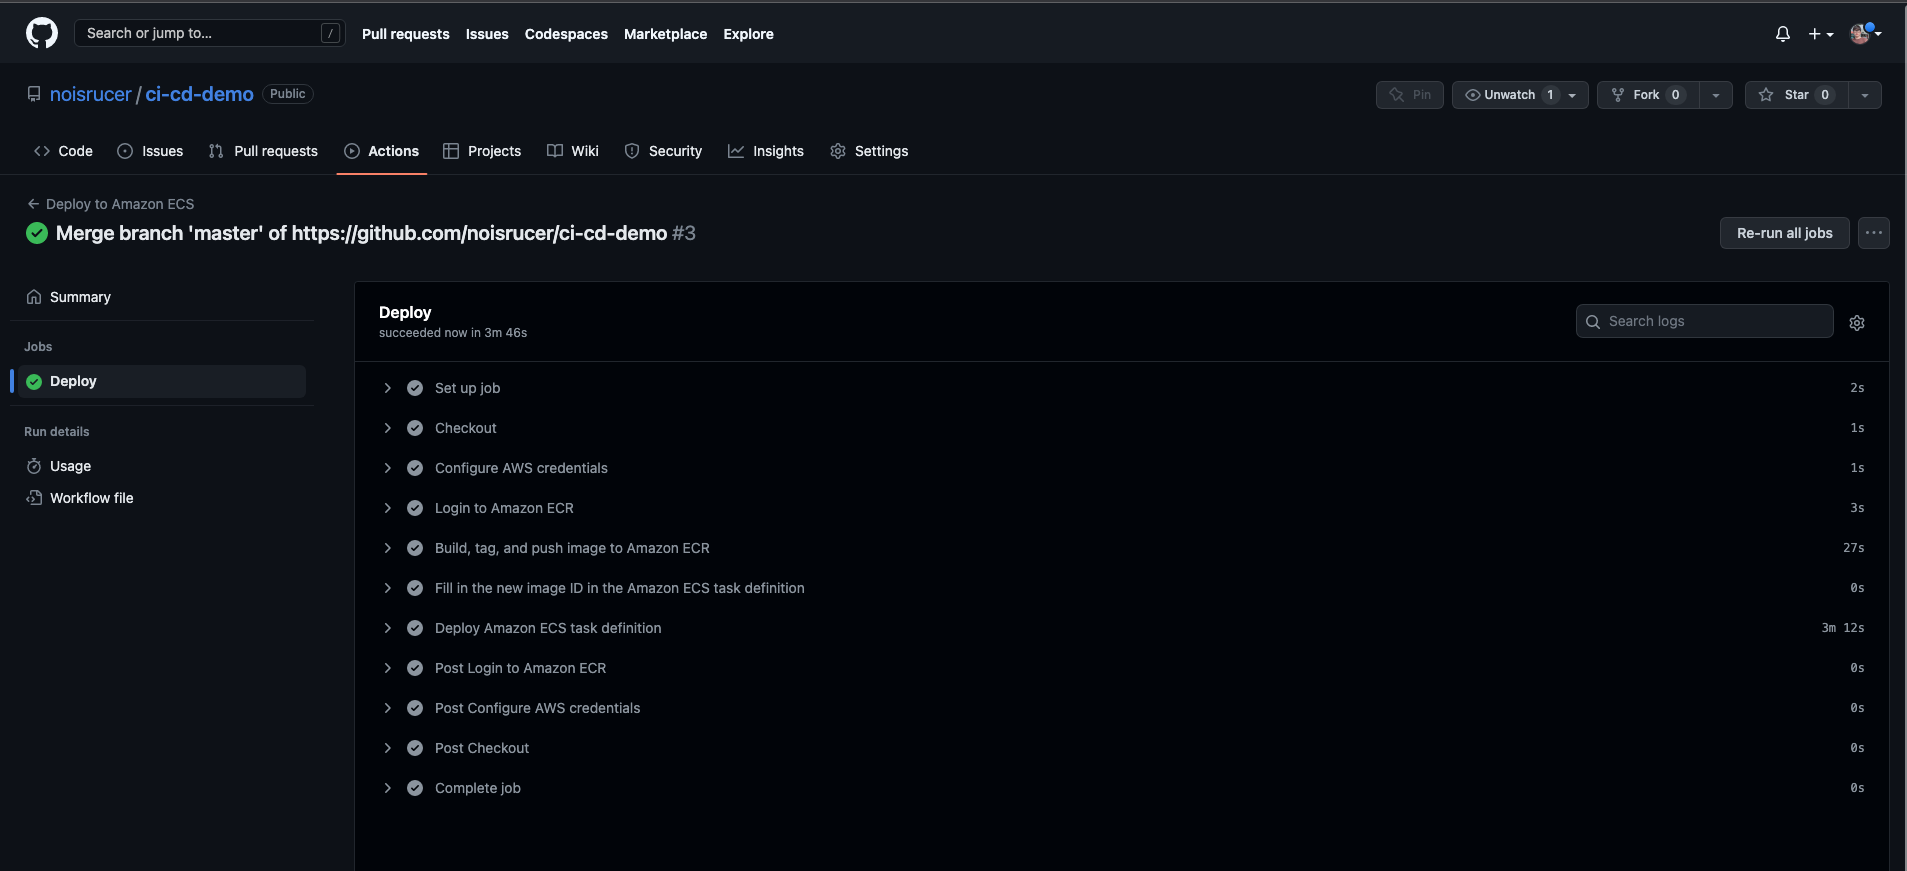
Click on the square box to see step-by-step procedure of the new deployment.
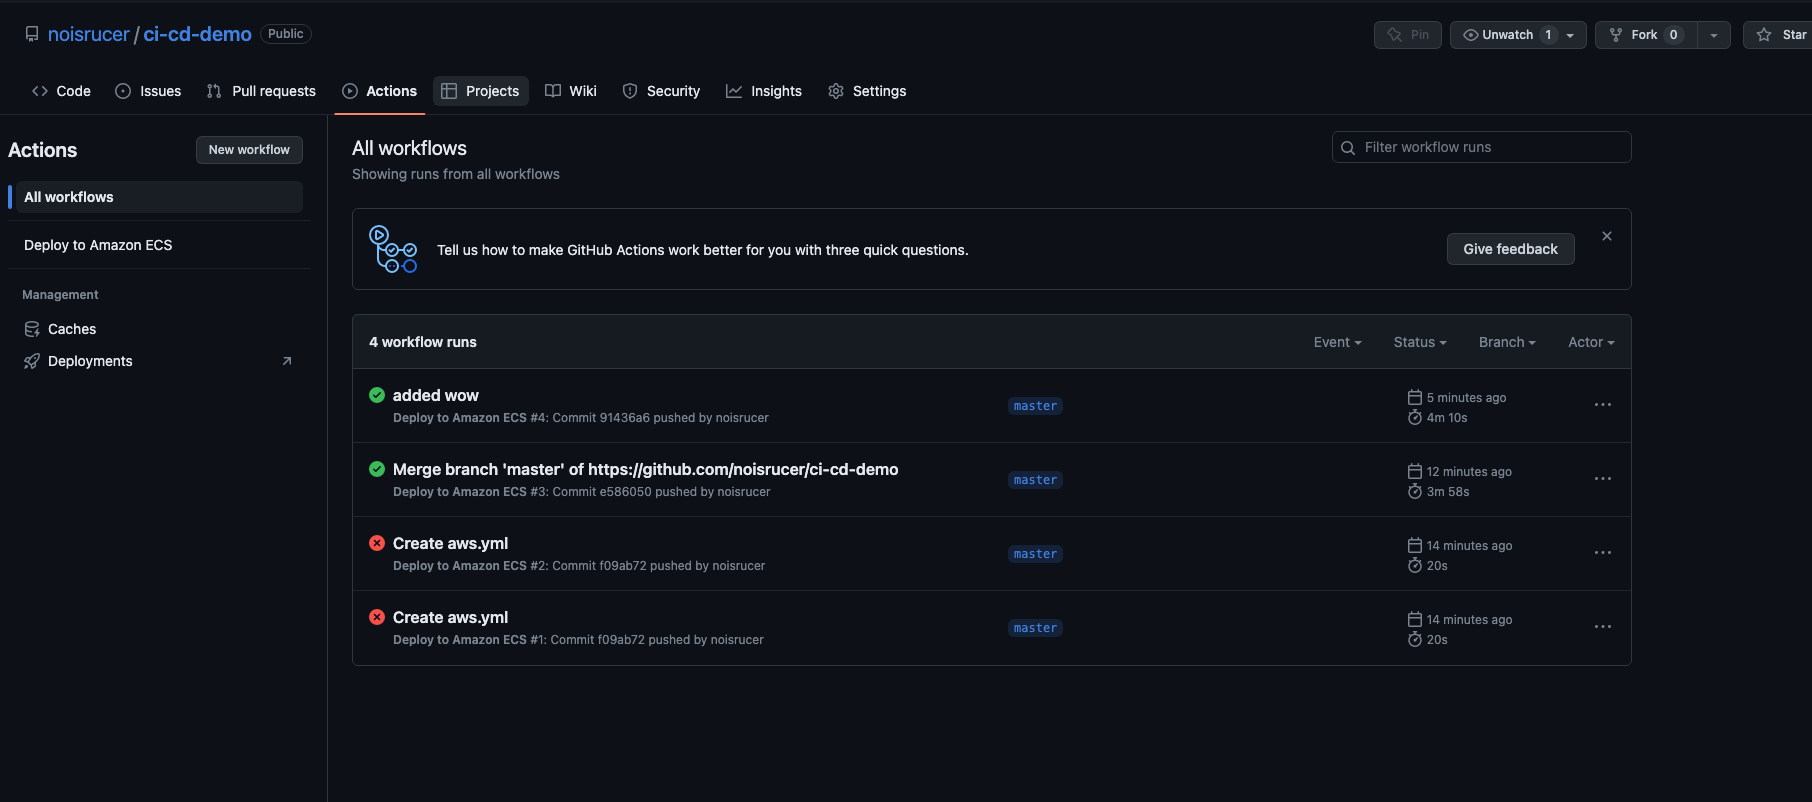
After couple minutes, you can see that our new deployment is successful!
From now on, you can simply push changes to master branch to automatically launch a new deployment.
Let’s test it by modifying our source code.
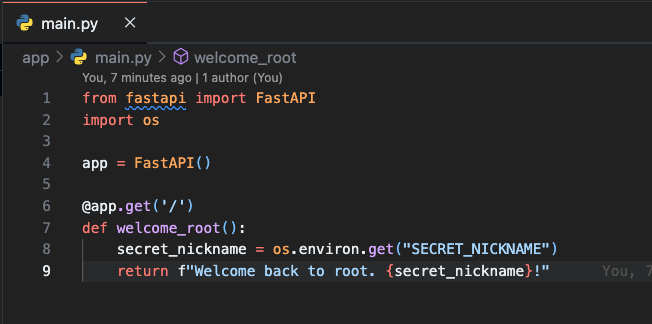
Below is the original code.
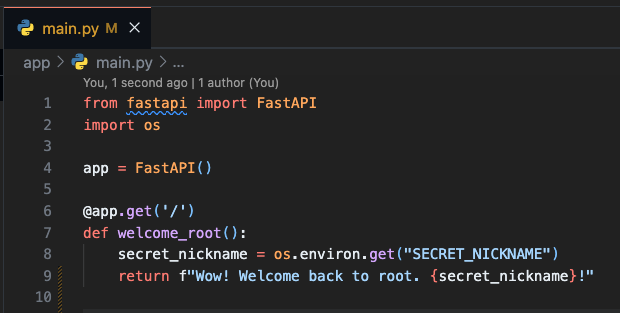
Let’s add Wow! to see the change.
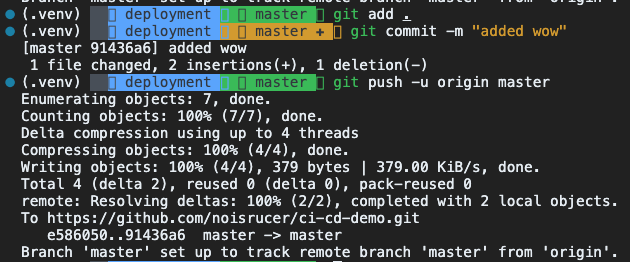
Let’s push the change to master branch.
Go to “Actions” tab in Github and you’ll see that the new deployment is in process.
After waiting for a moment, you can see the new deployment is successful.
Let’s open up the browser and send an API.

