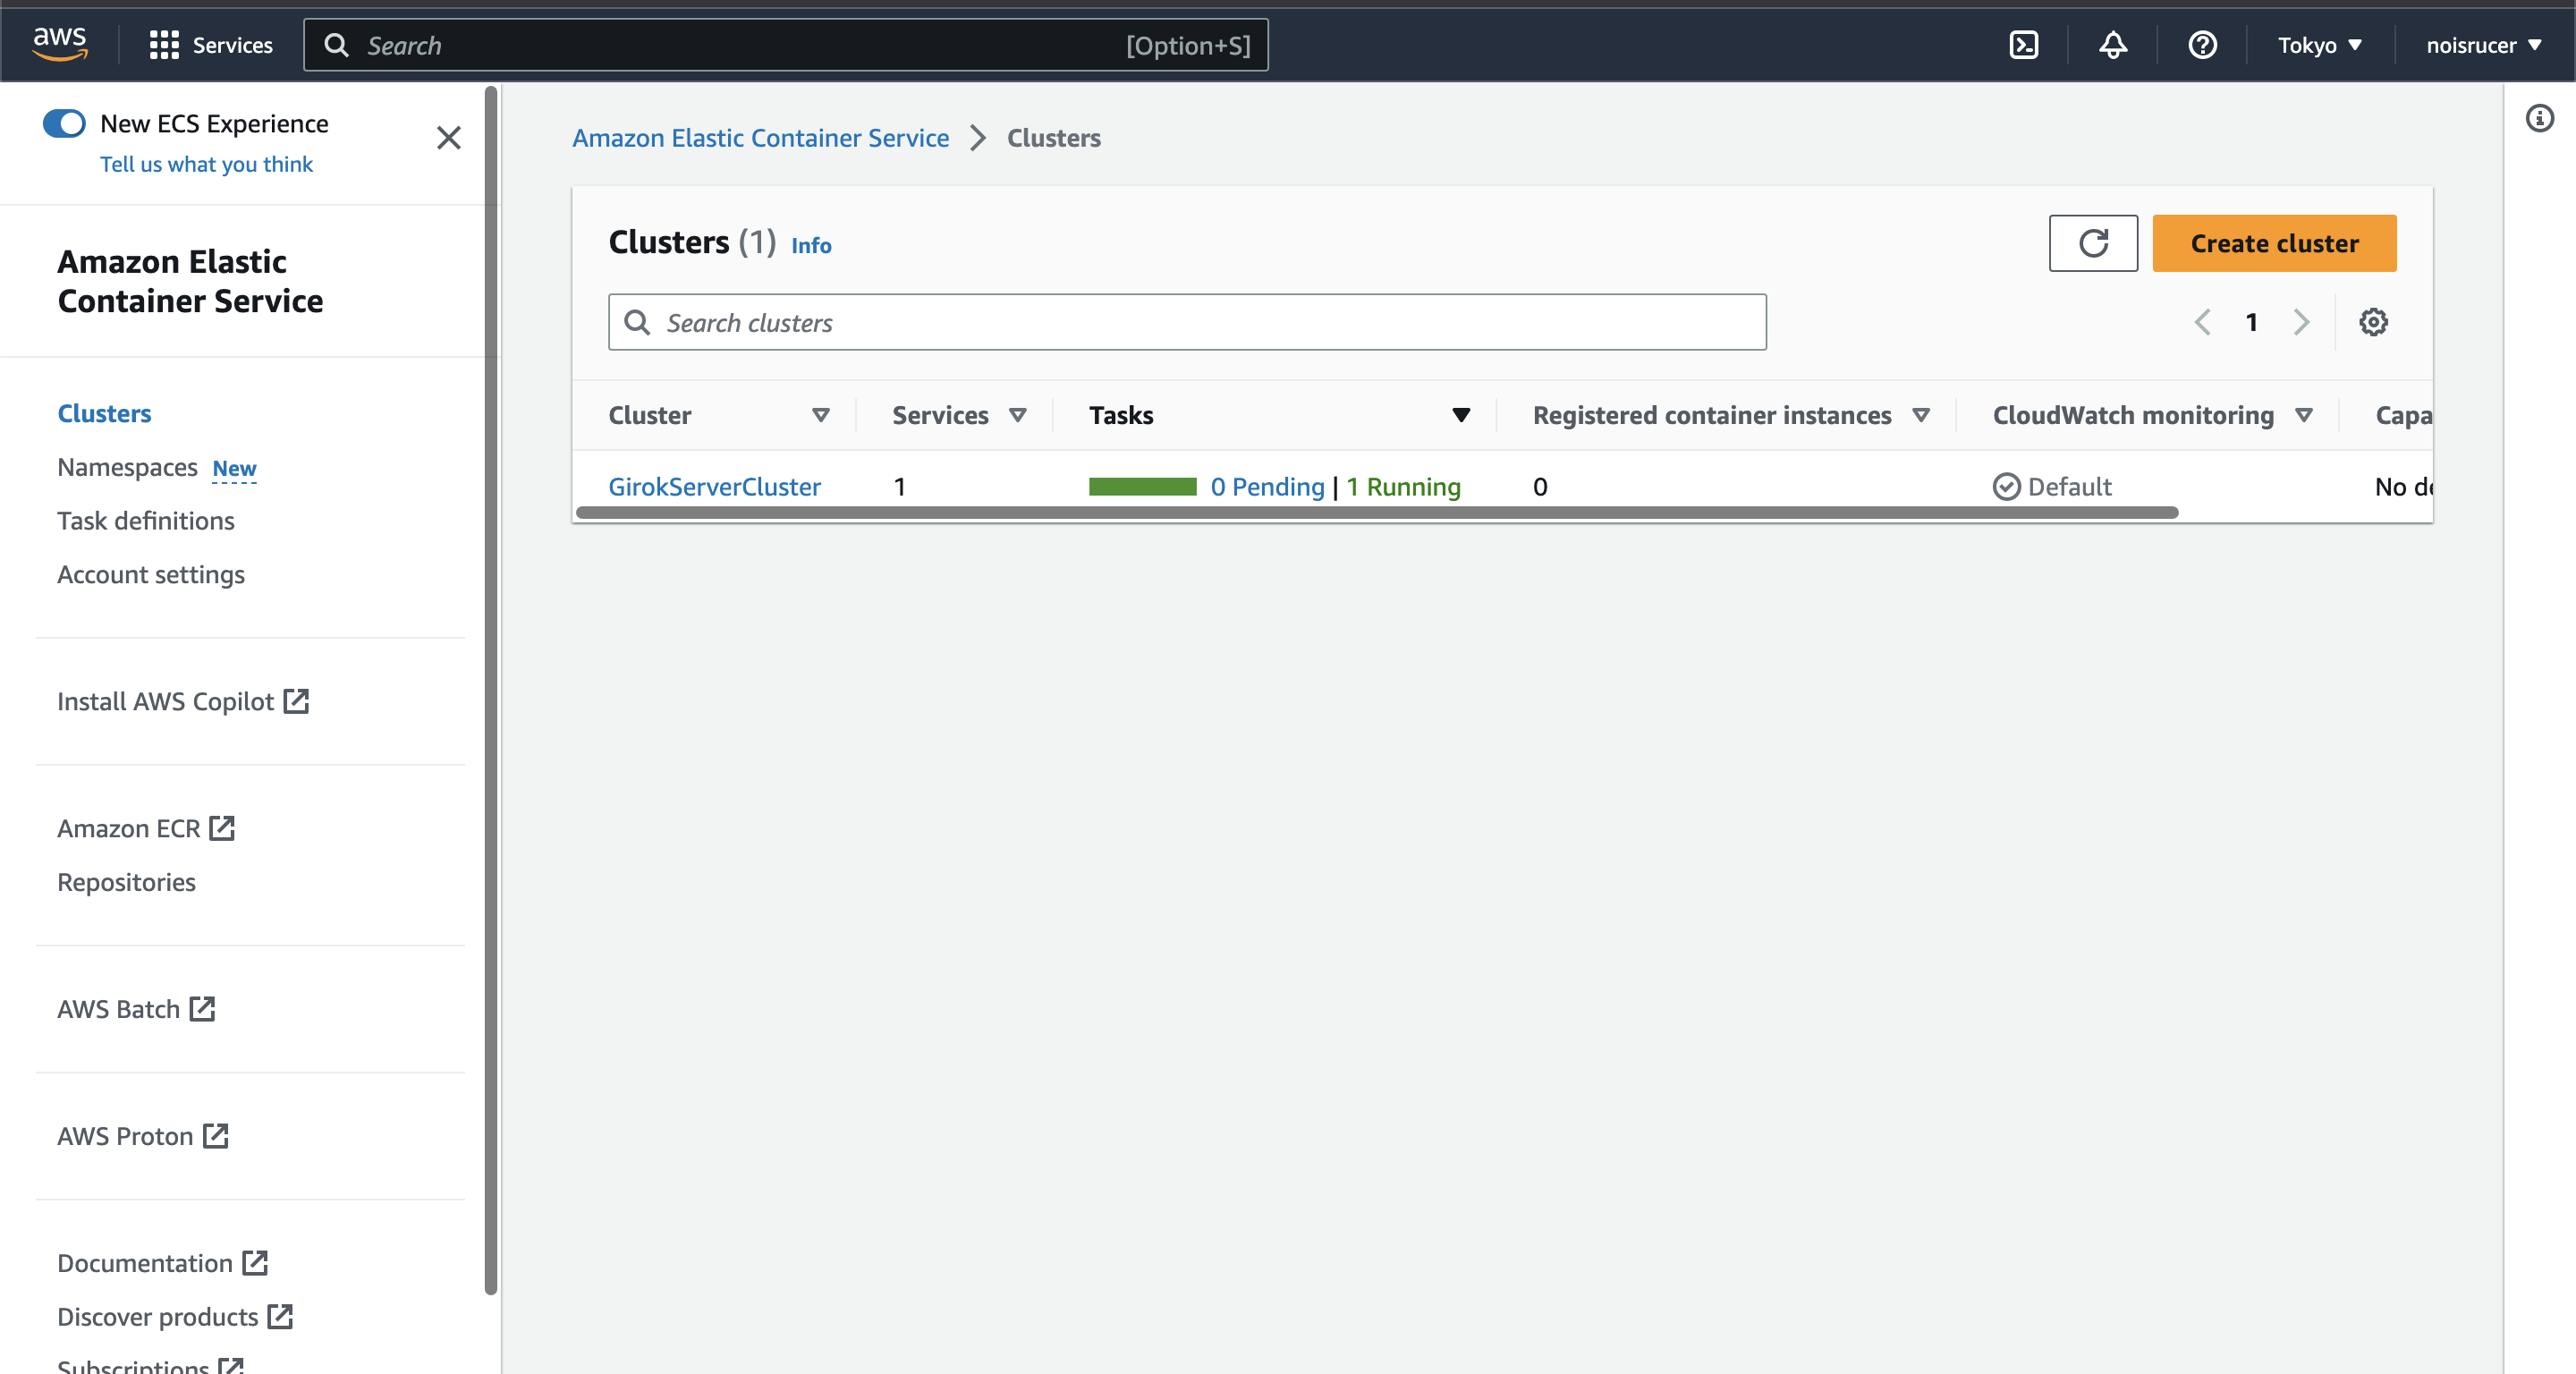
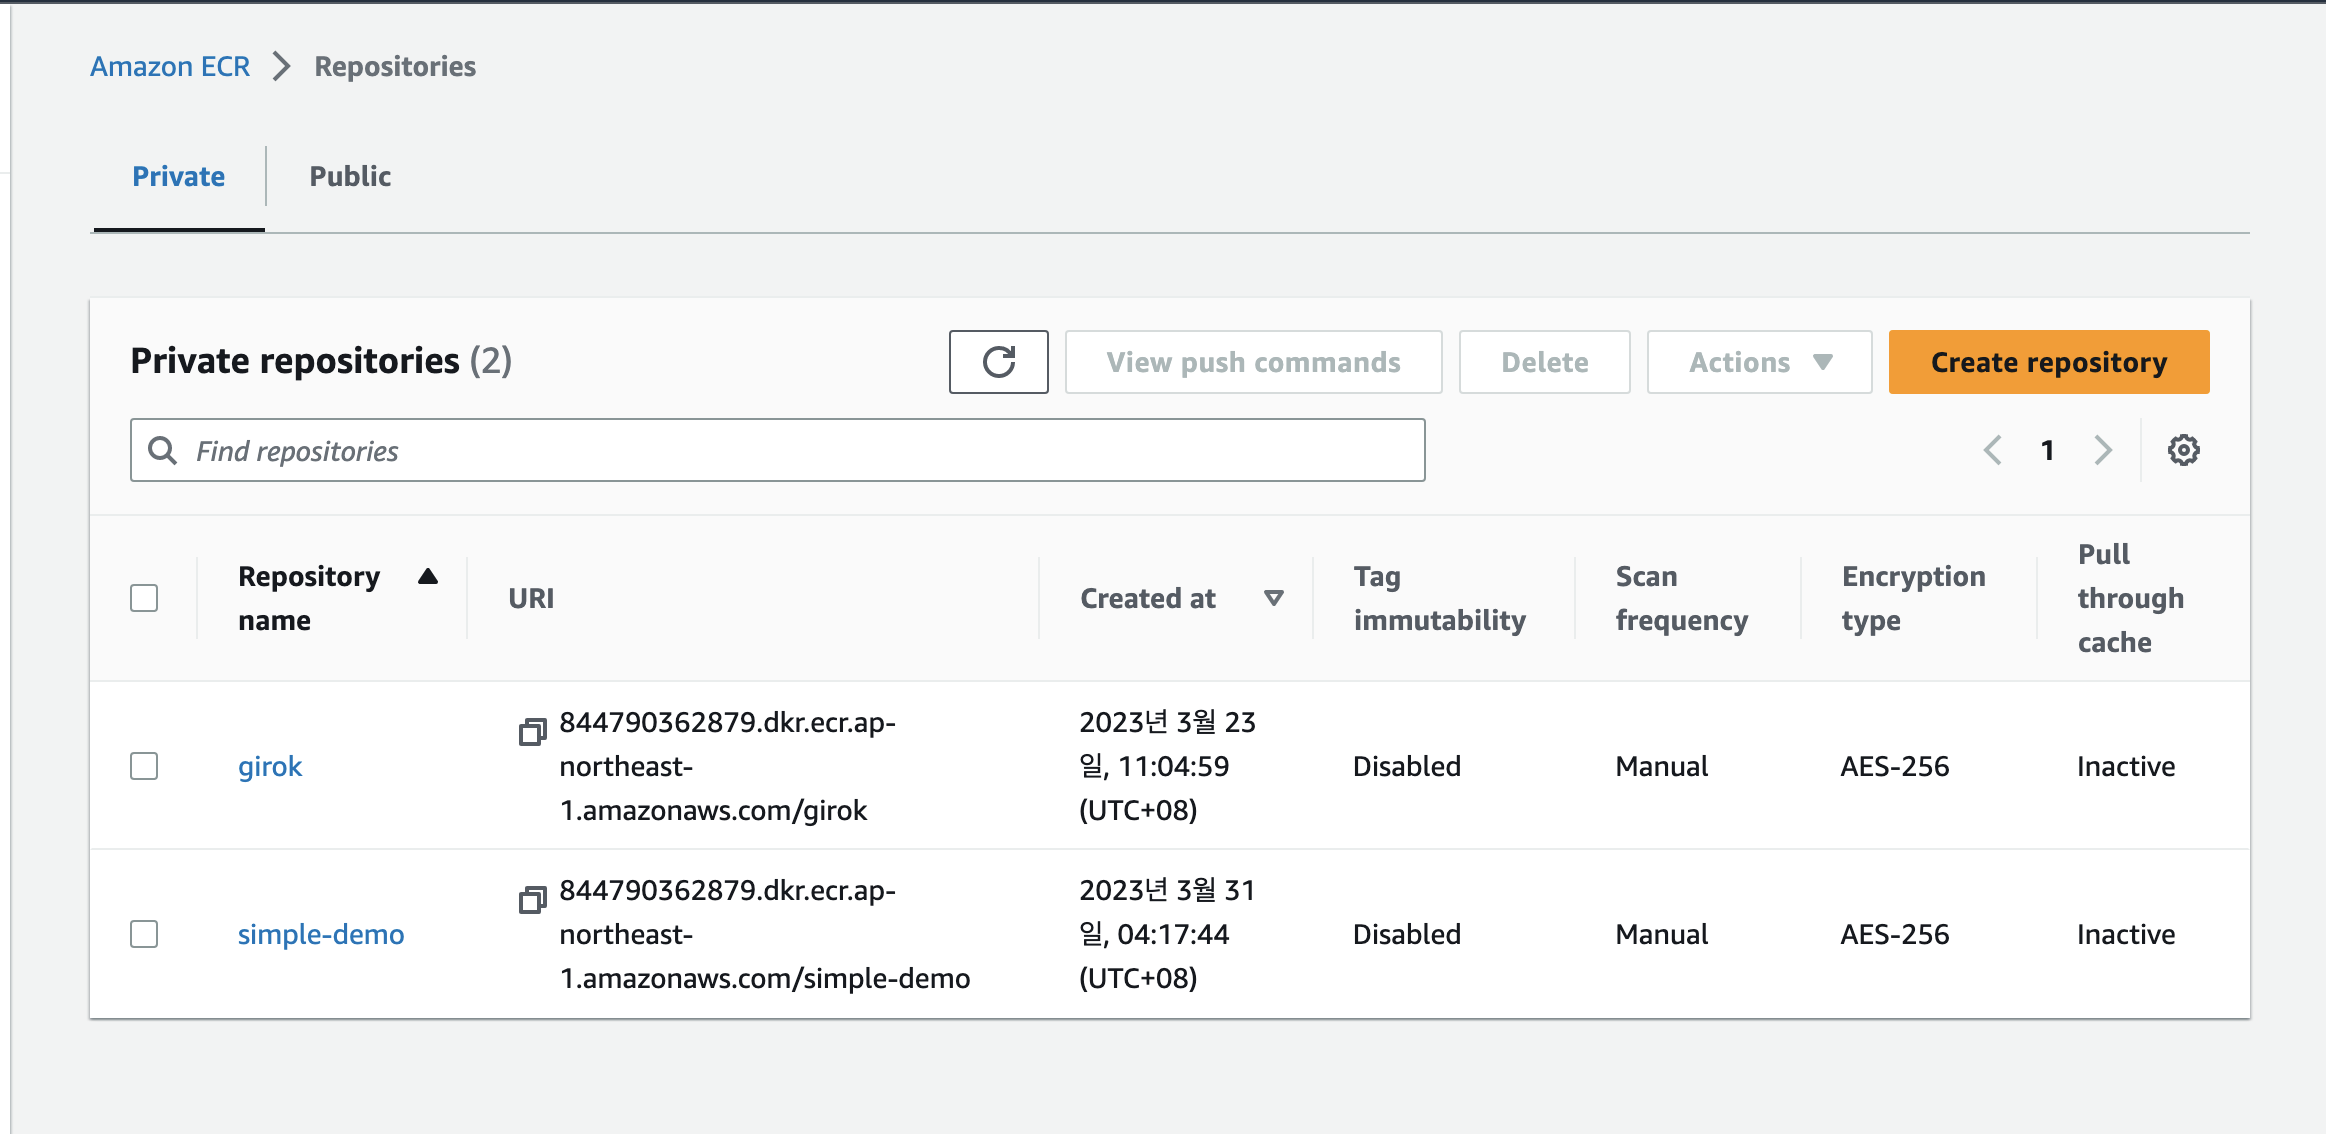
Previously, we uploaded our simple FastAPI server container image to ECR.
In this article, we’ll deploy our server on ECS Fargate so that you can access from anywhere around the world!
1. Create an Application Load Balancer (ALB)
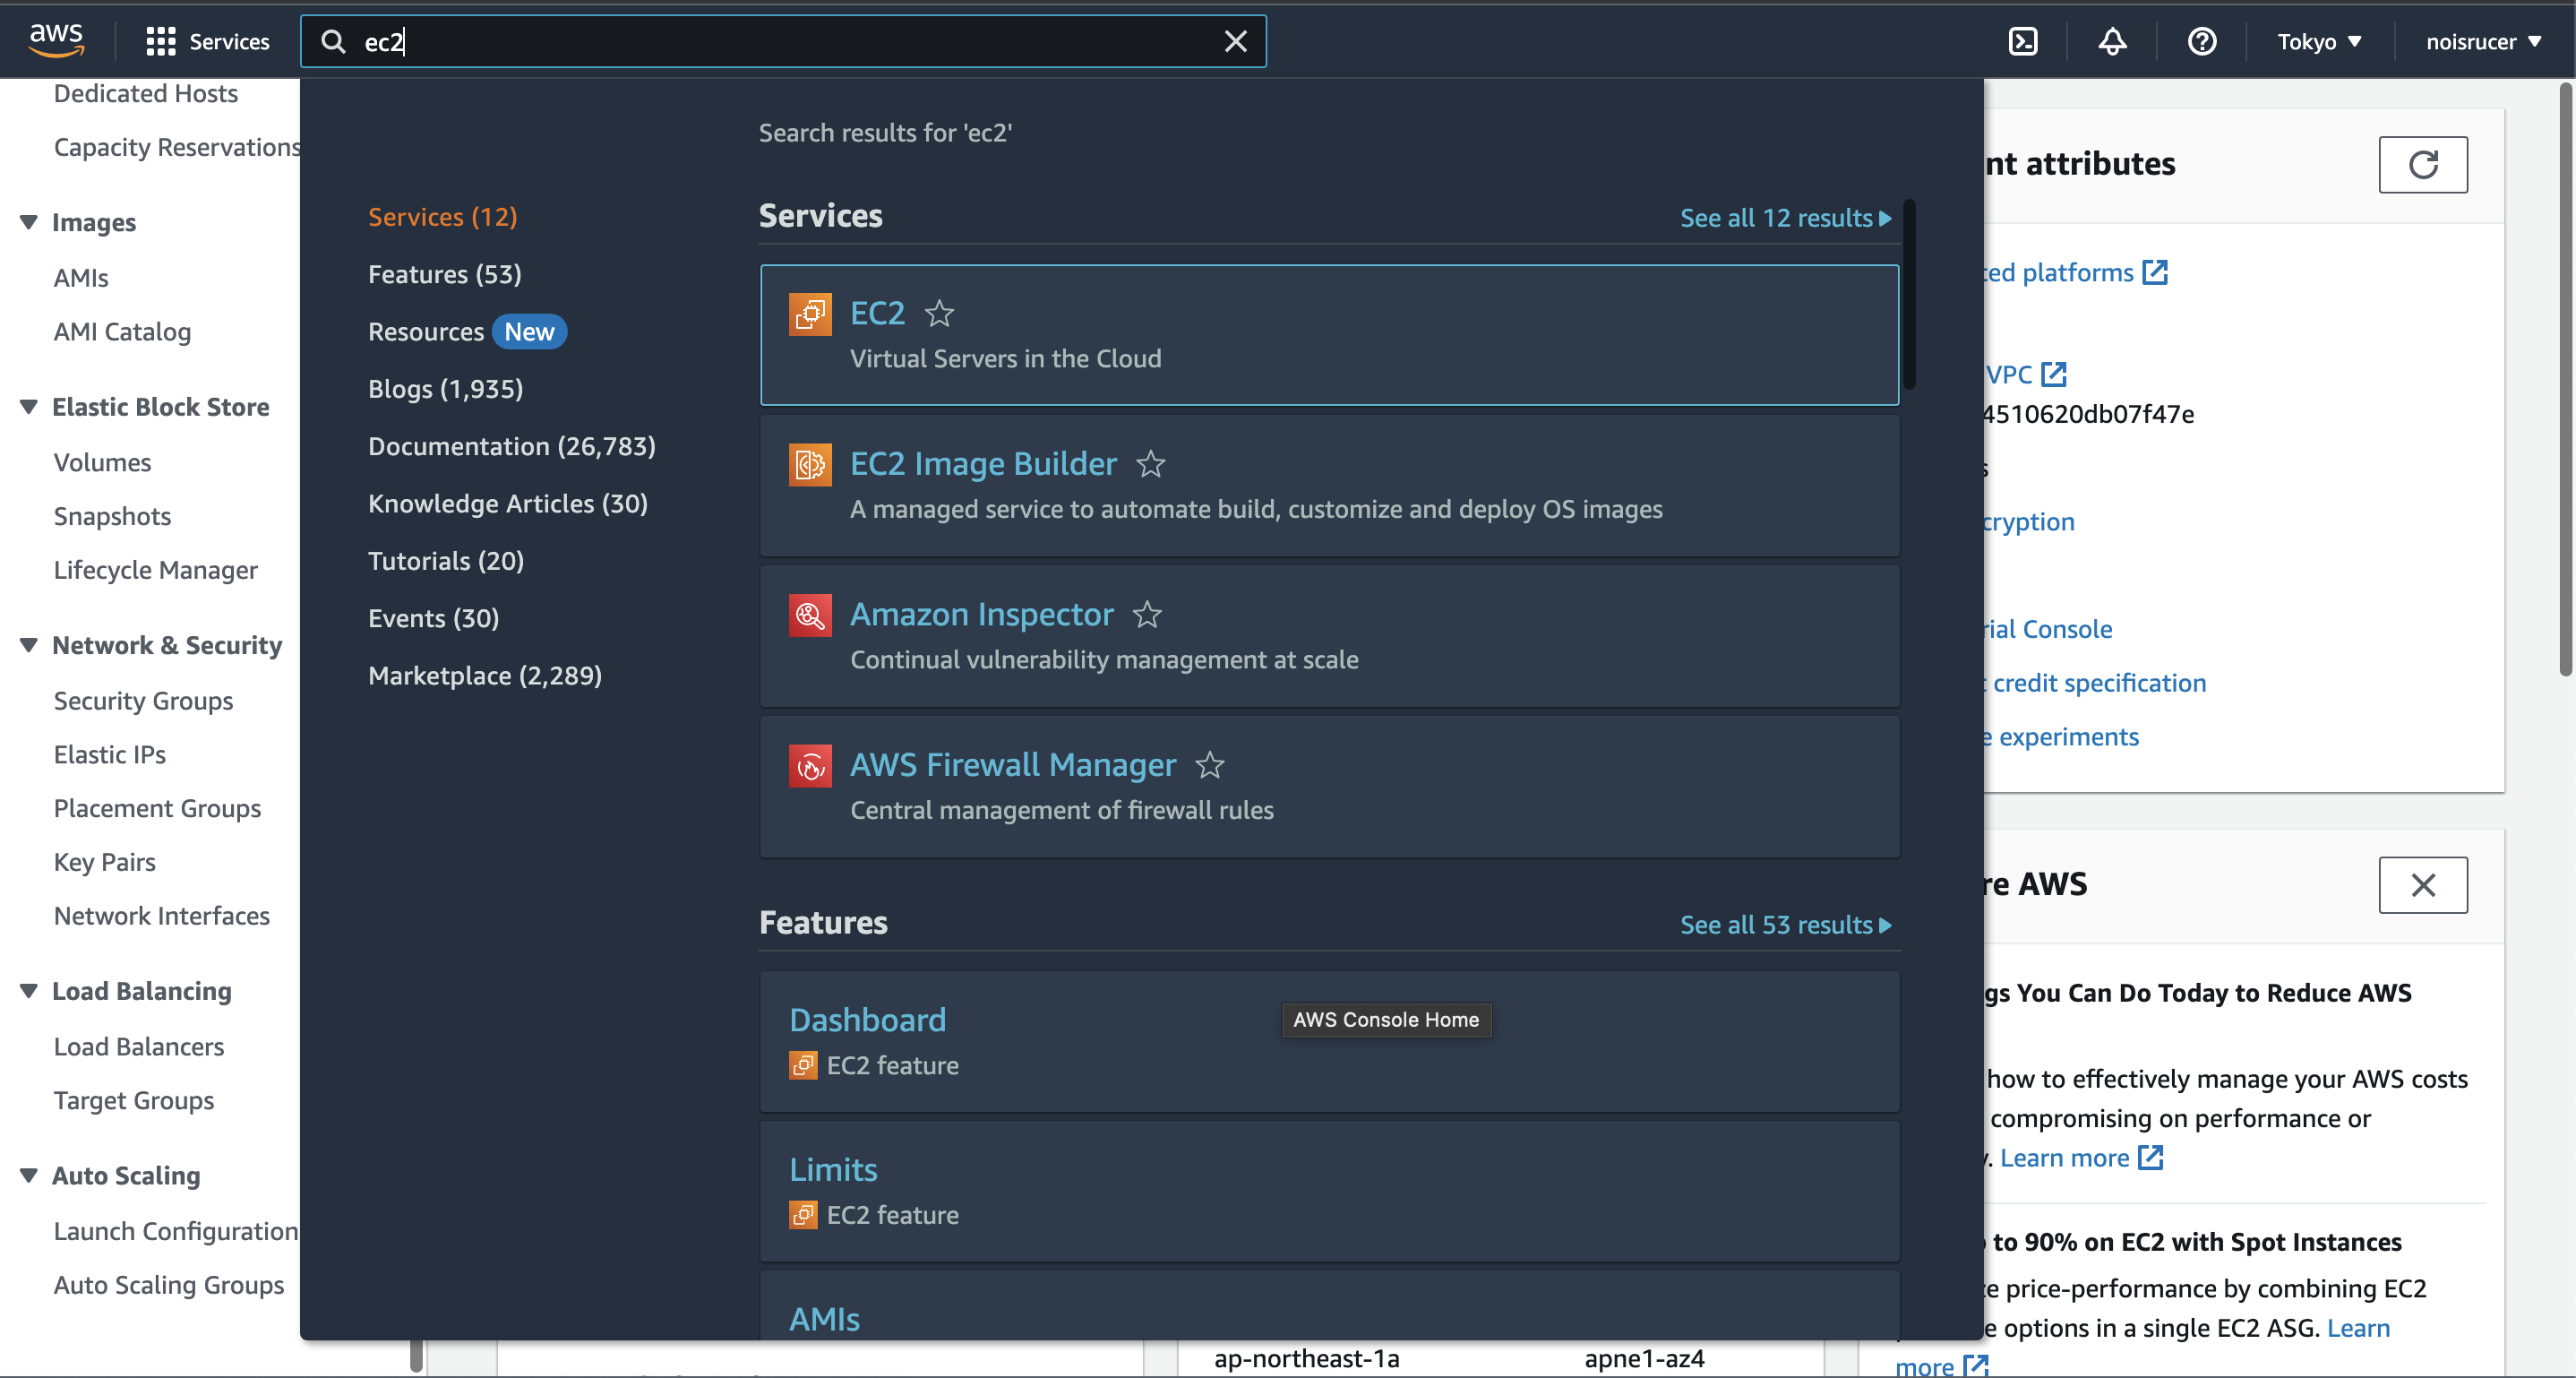
Let’s navigate to EC2.
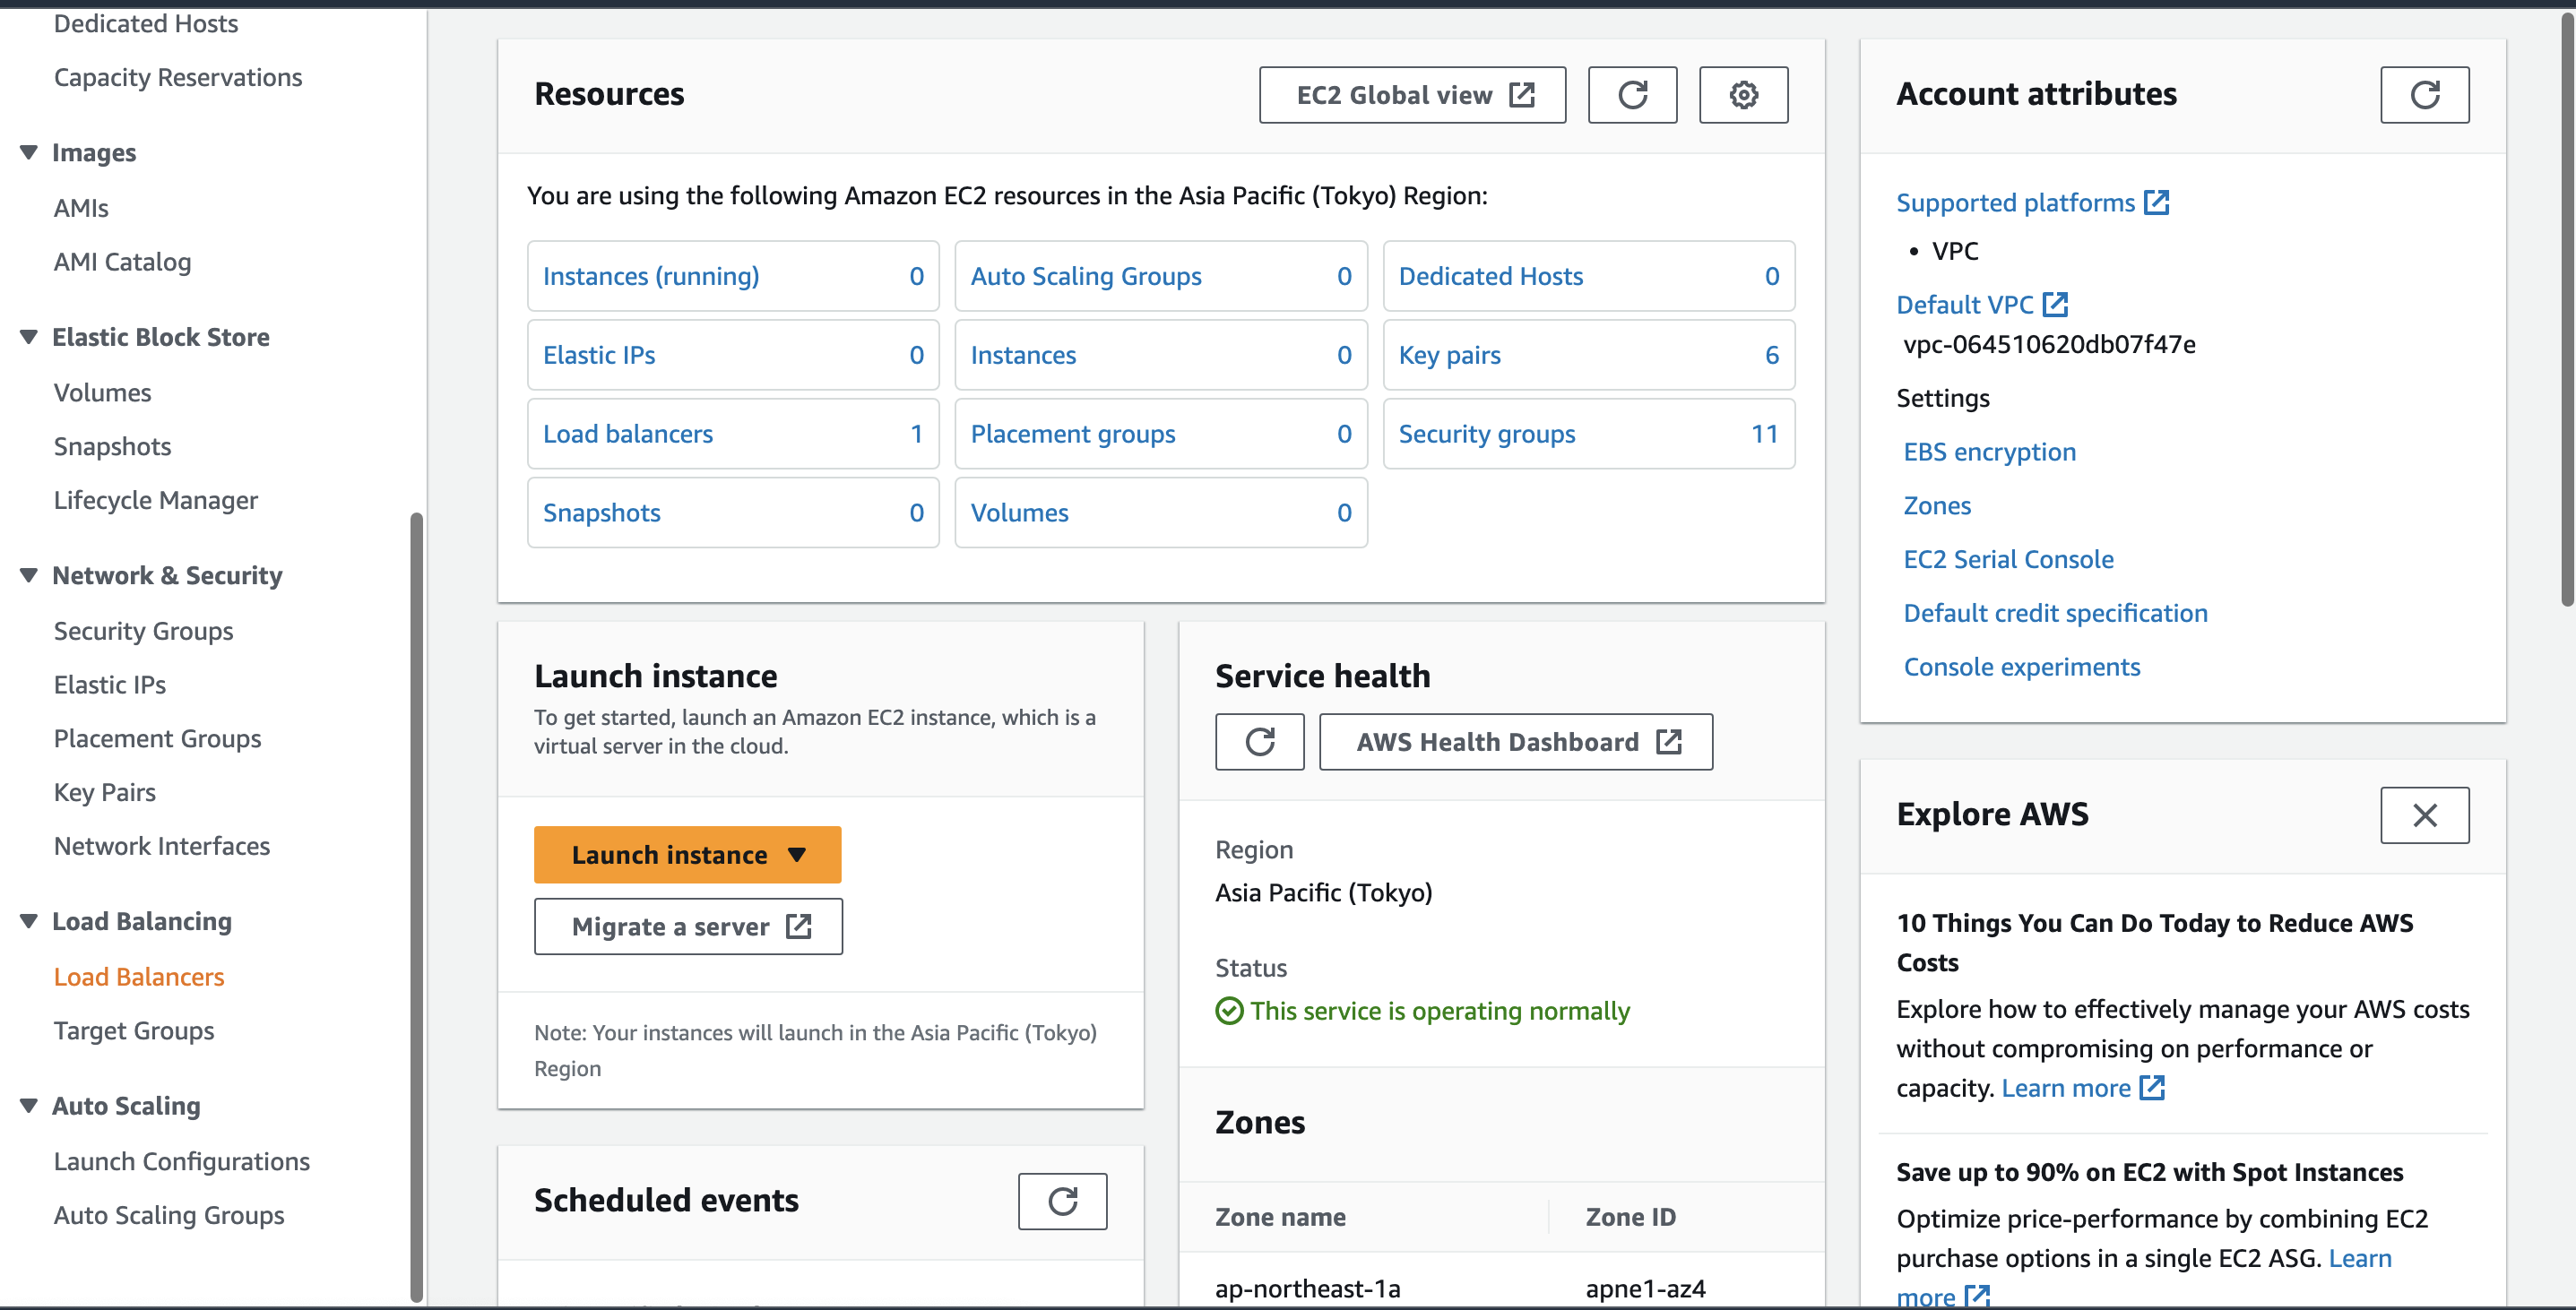
Then, click “Load Balancers” on the left panel.
Click “Create load balancer”.
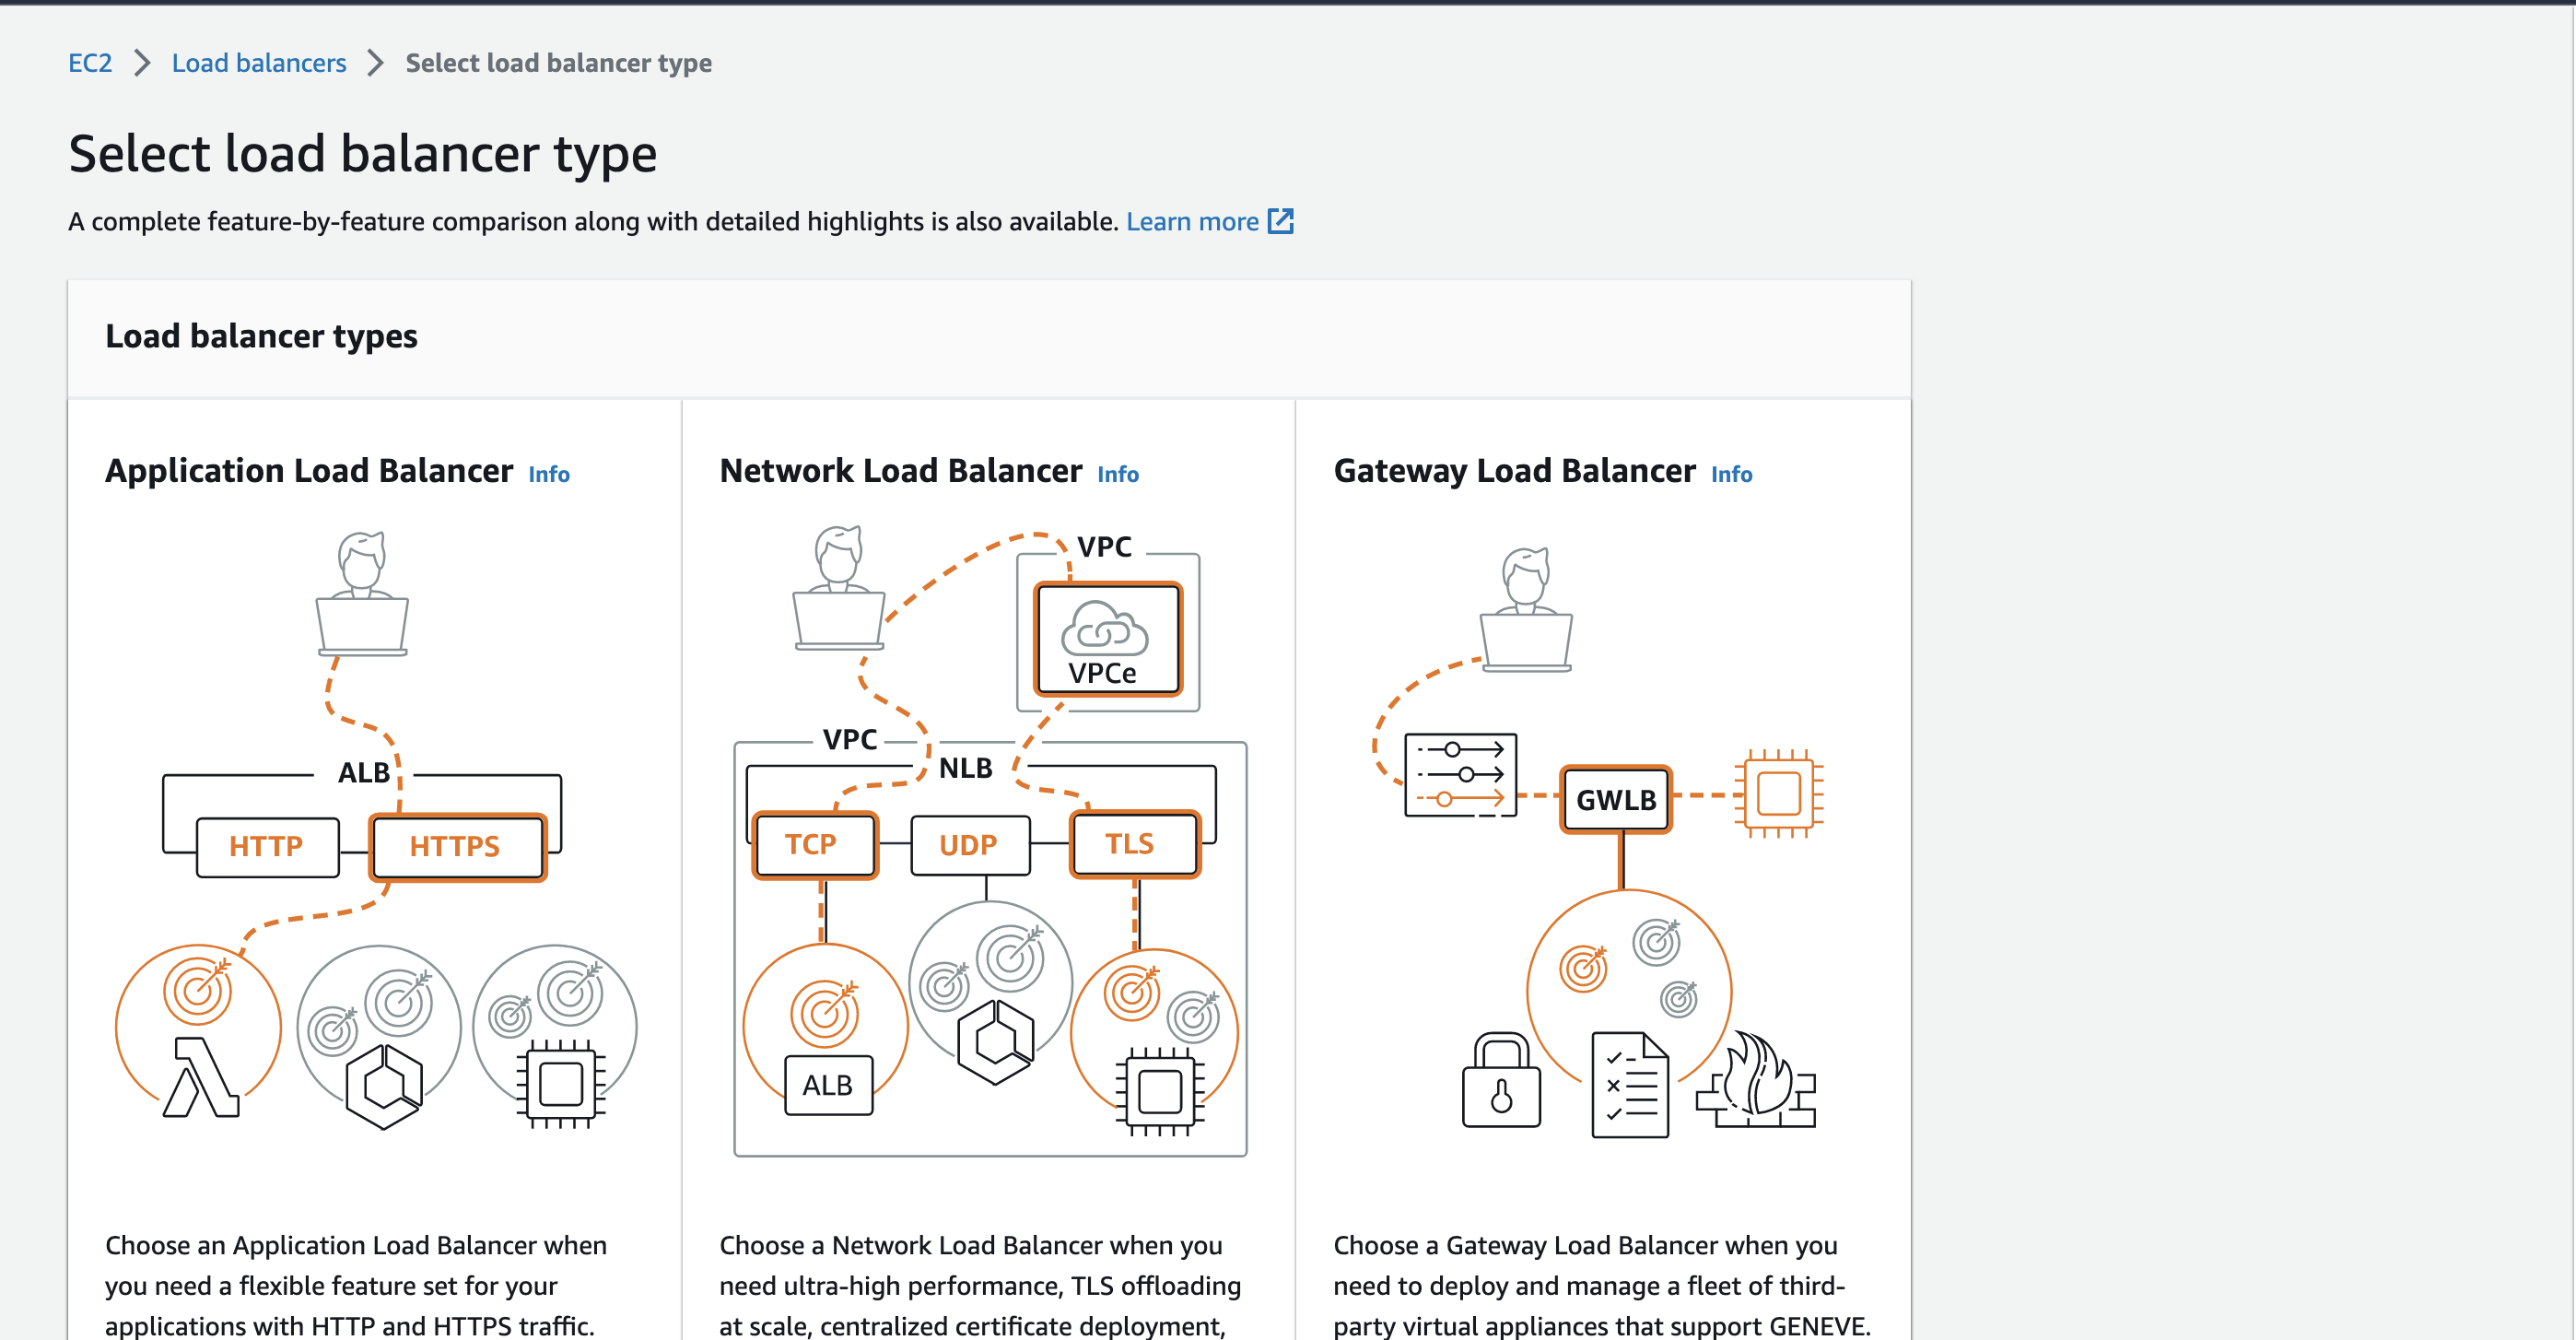
Select “Application Load Balancer”
We need at least two Availability zones and one subnet per zone. 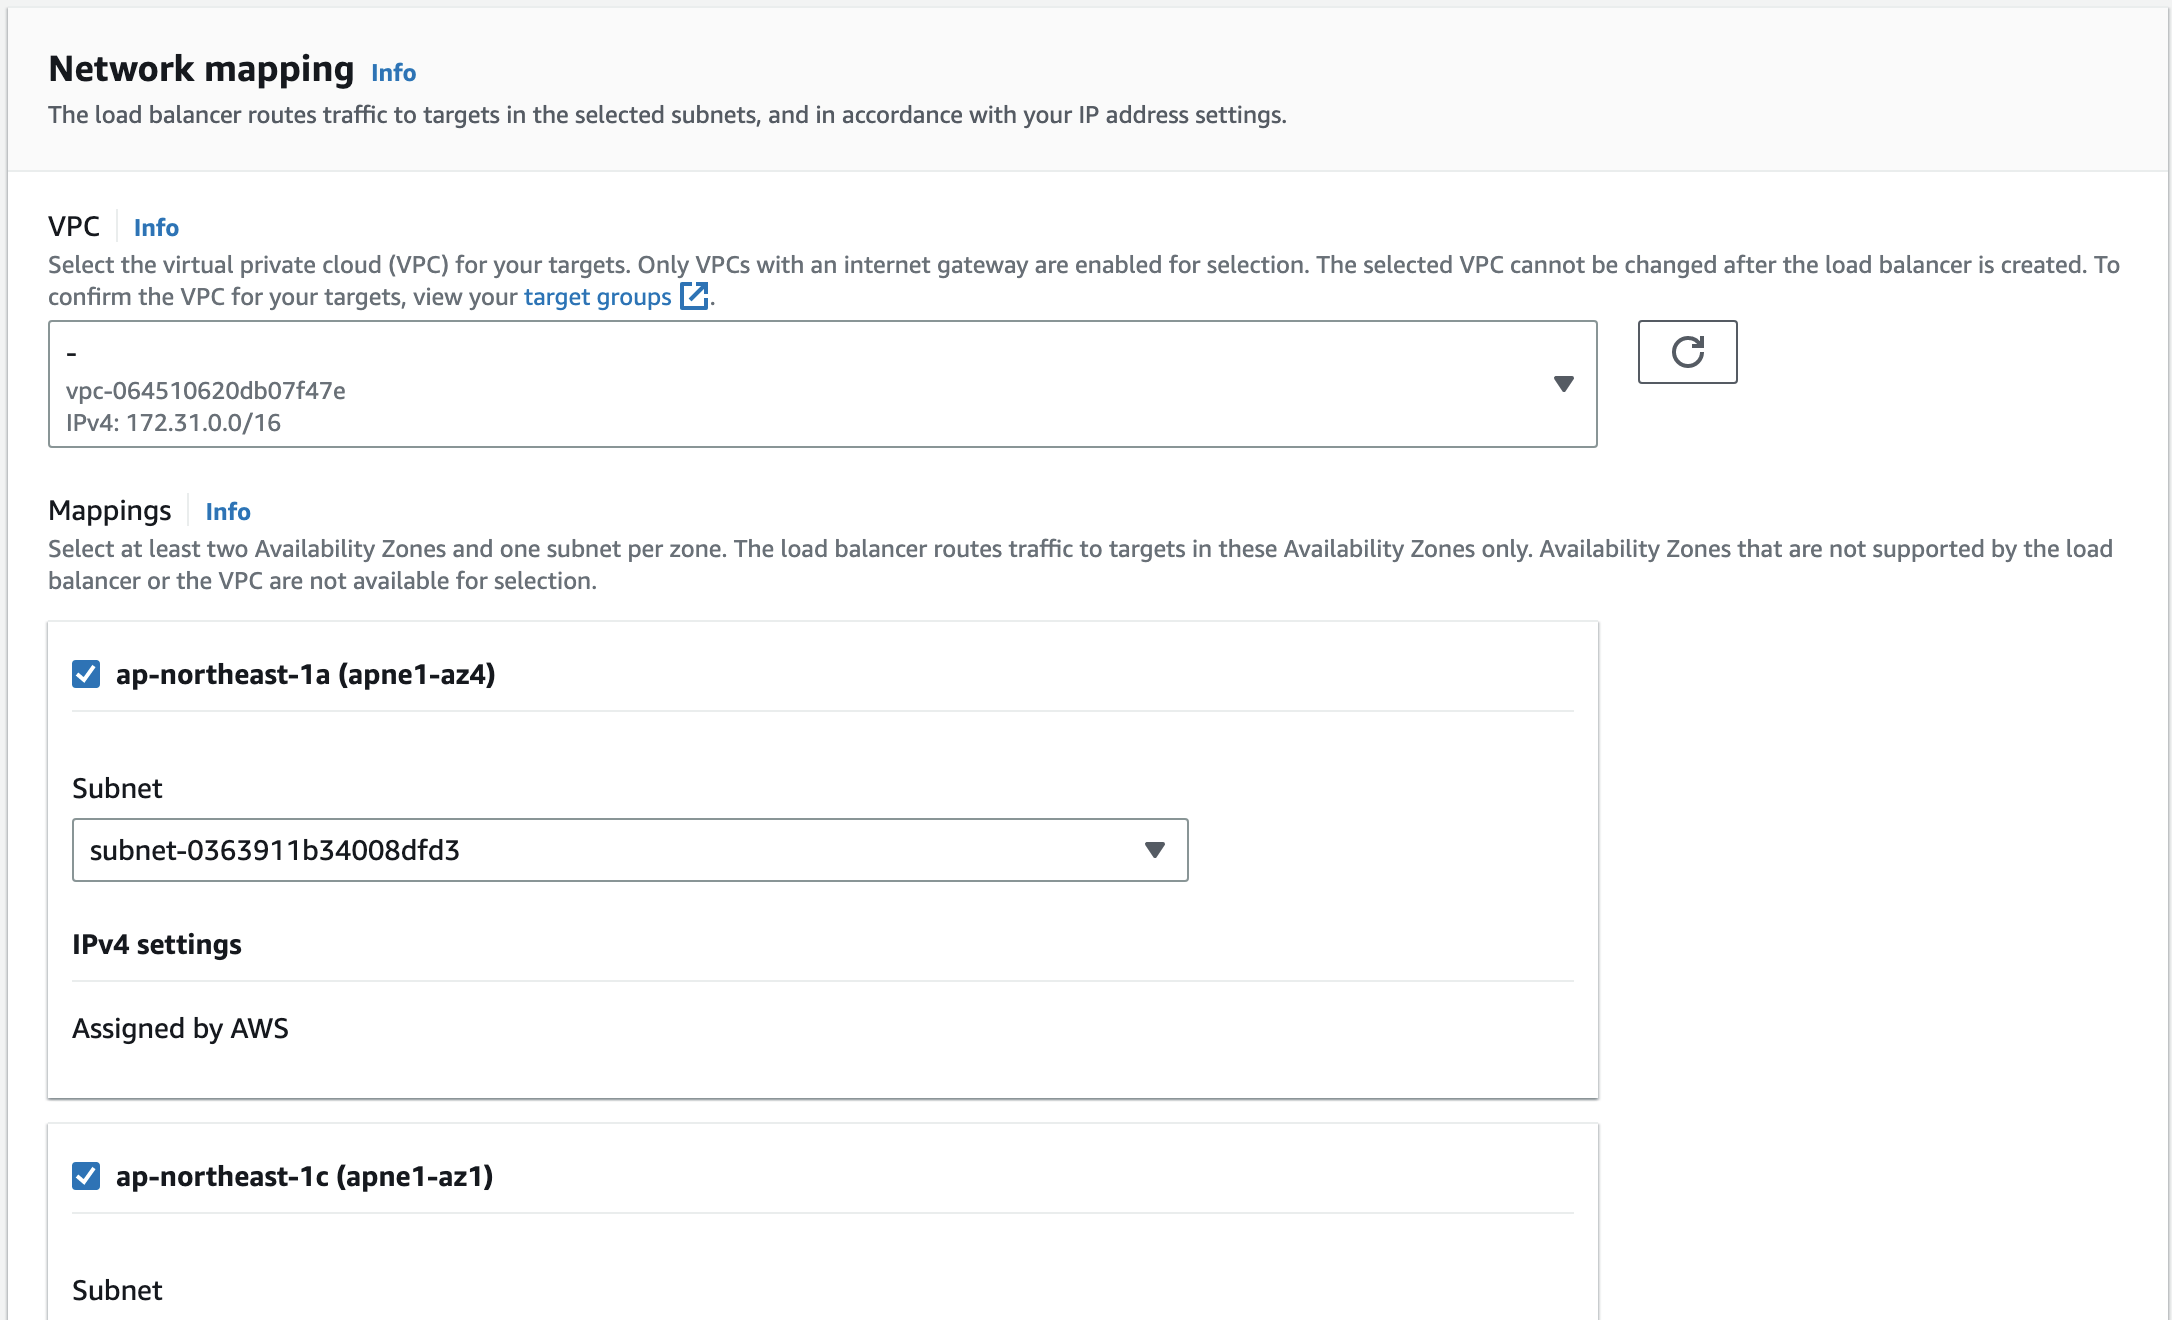
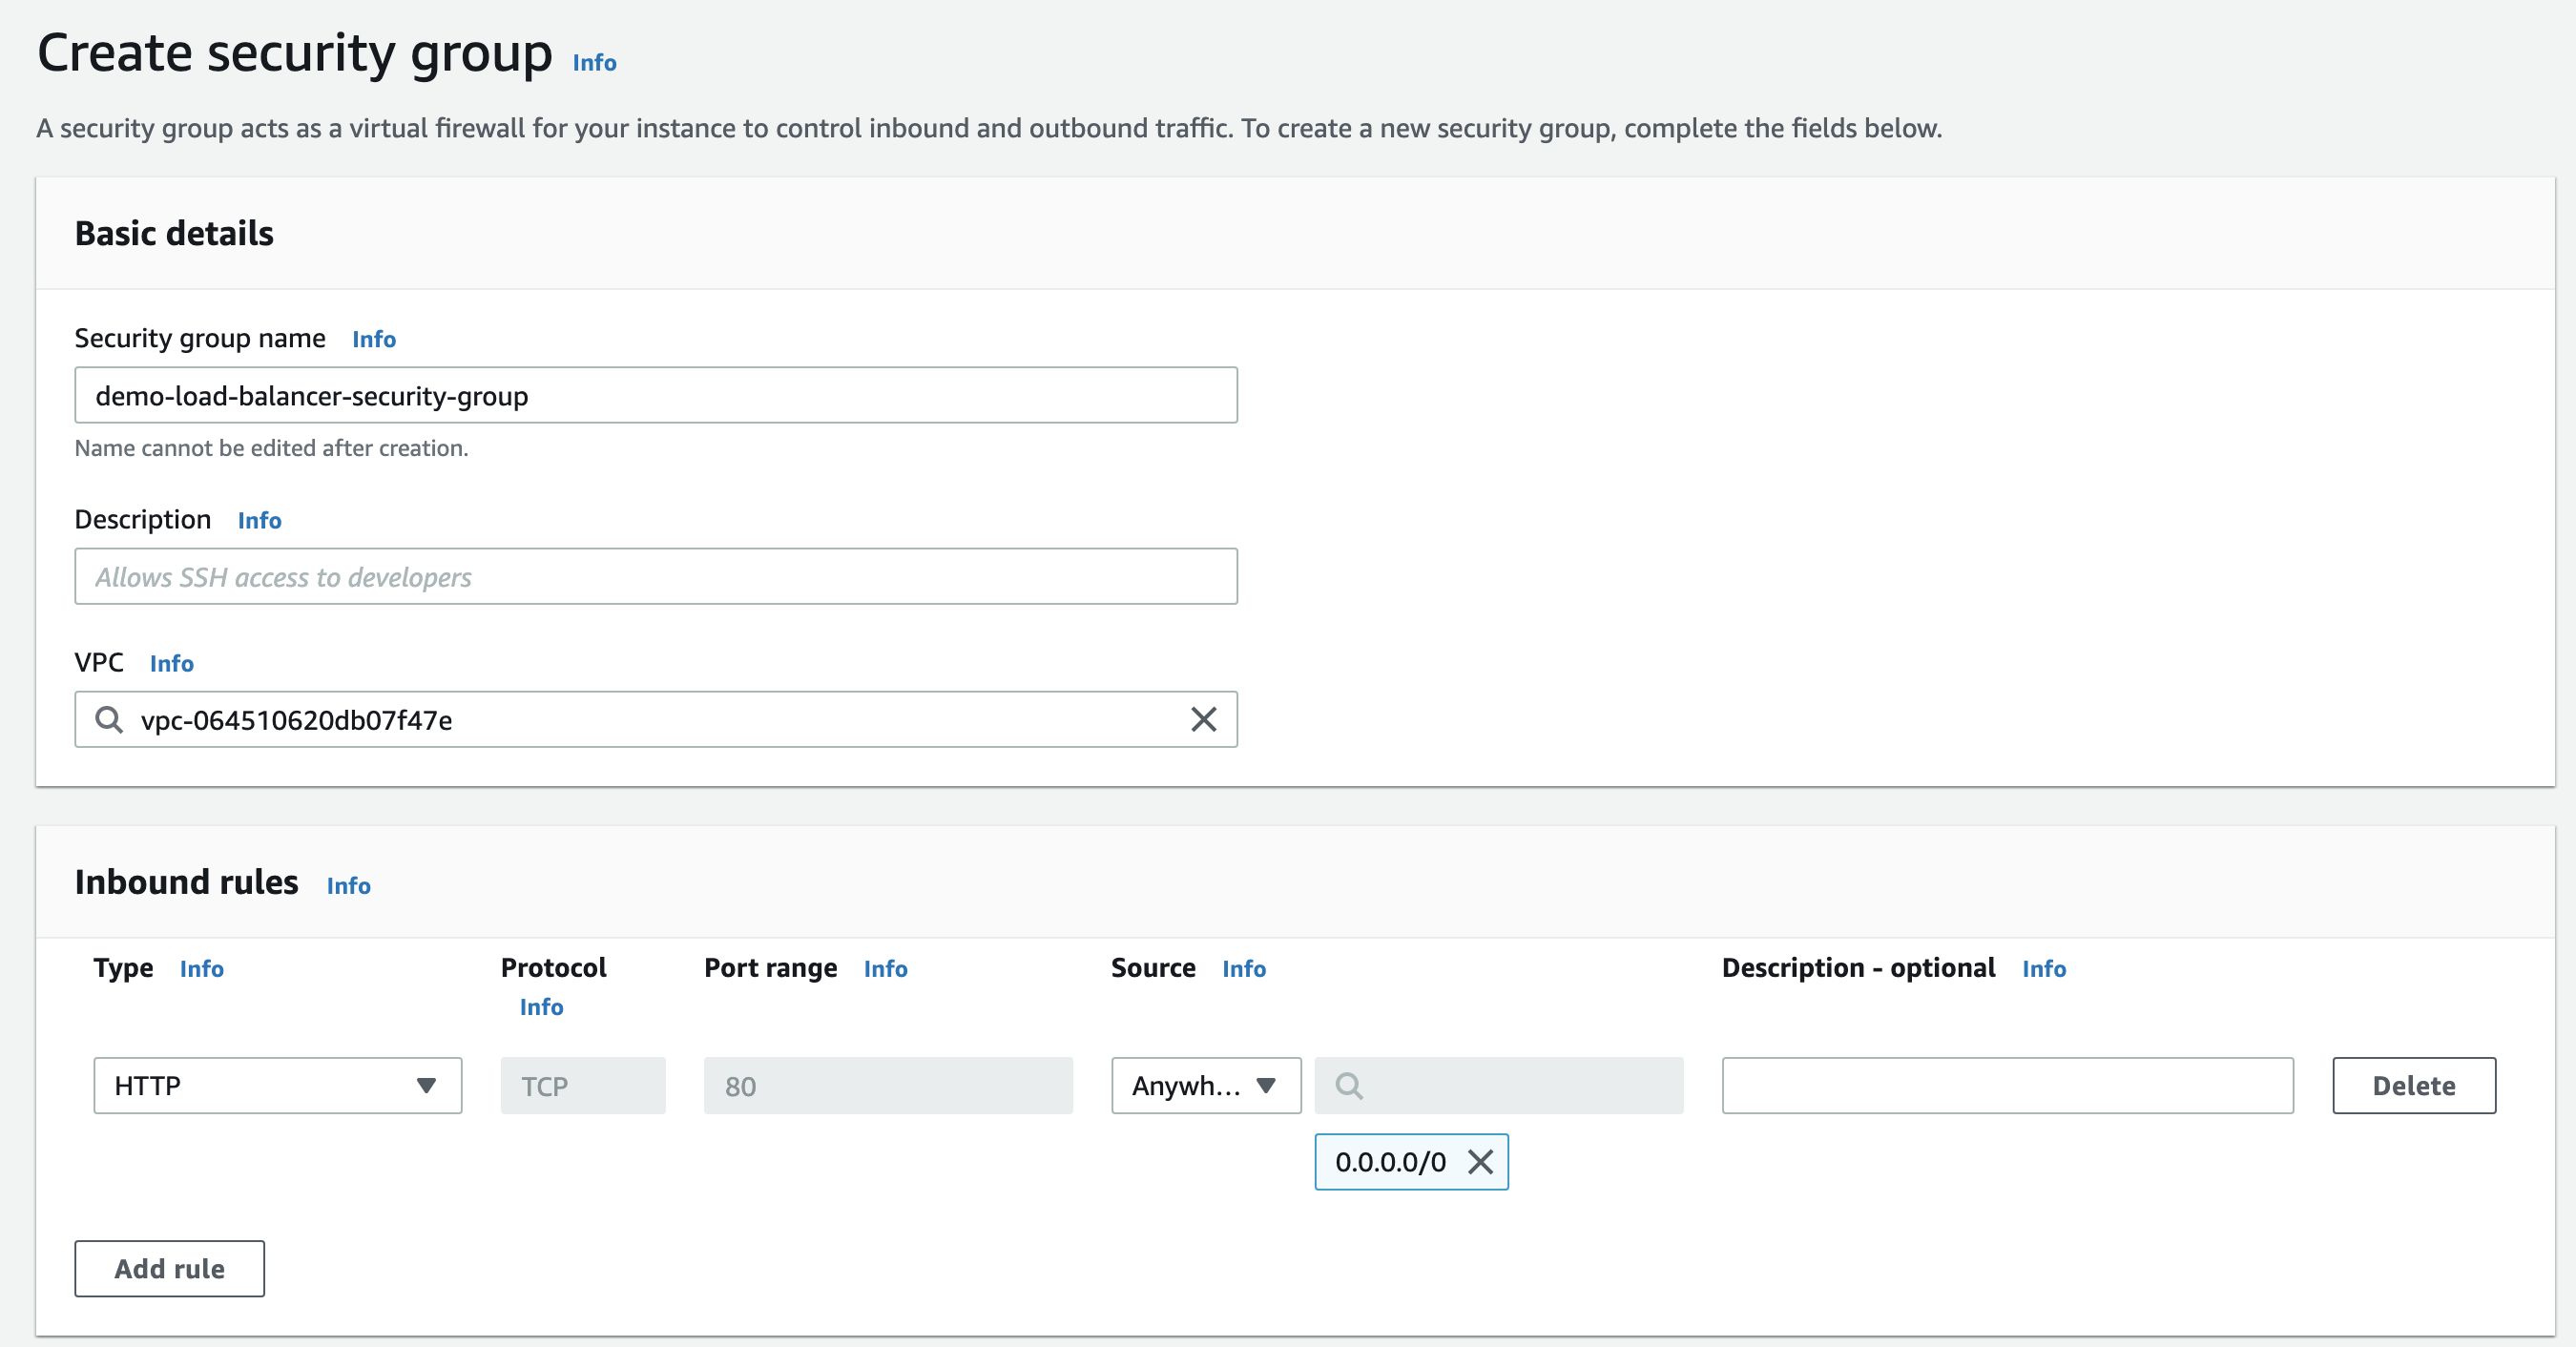
Now, let’s go to EC2 and create a security group that allows port 80 for HTTP request.
Then, let’s continue the Application Load Balancer configuration.
Link the security group we just created in ALB. 
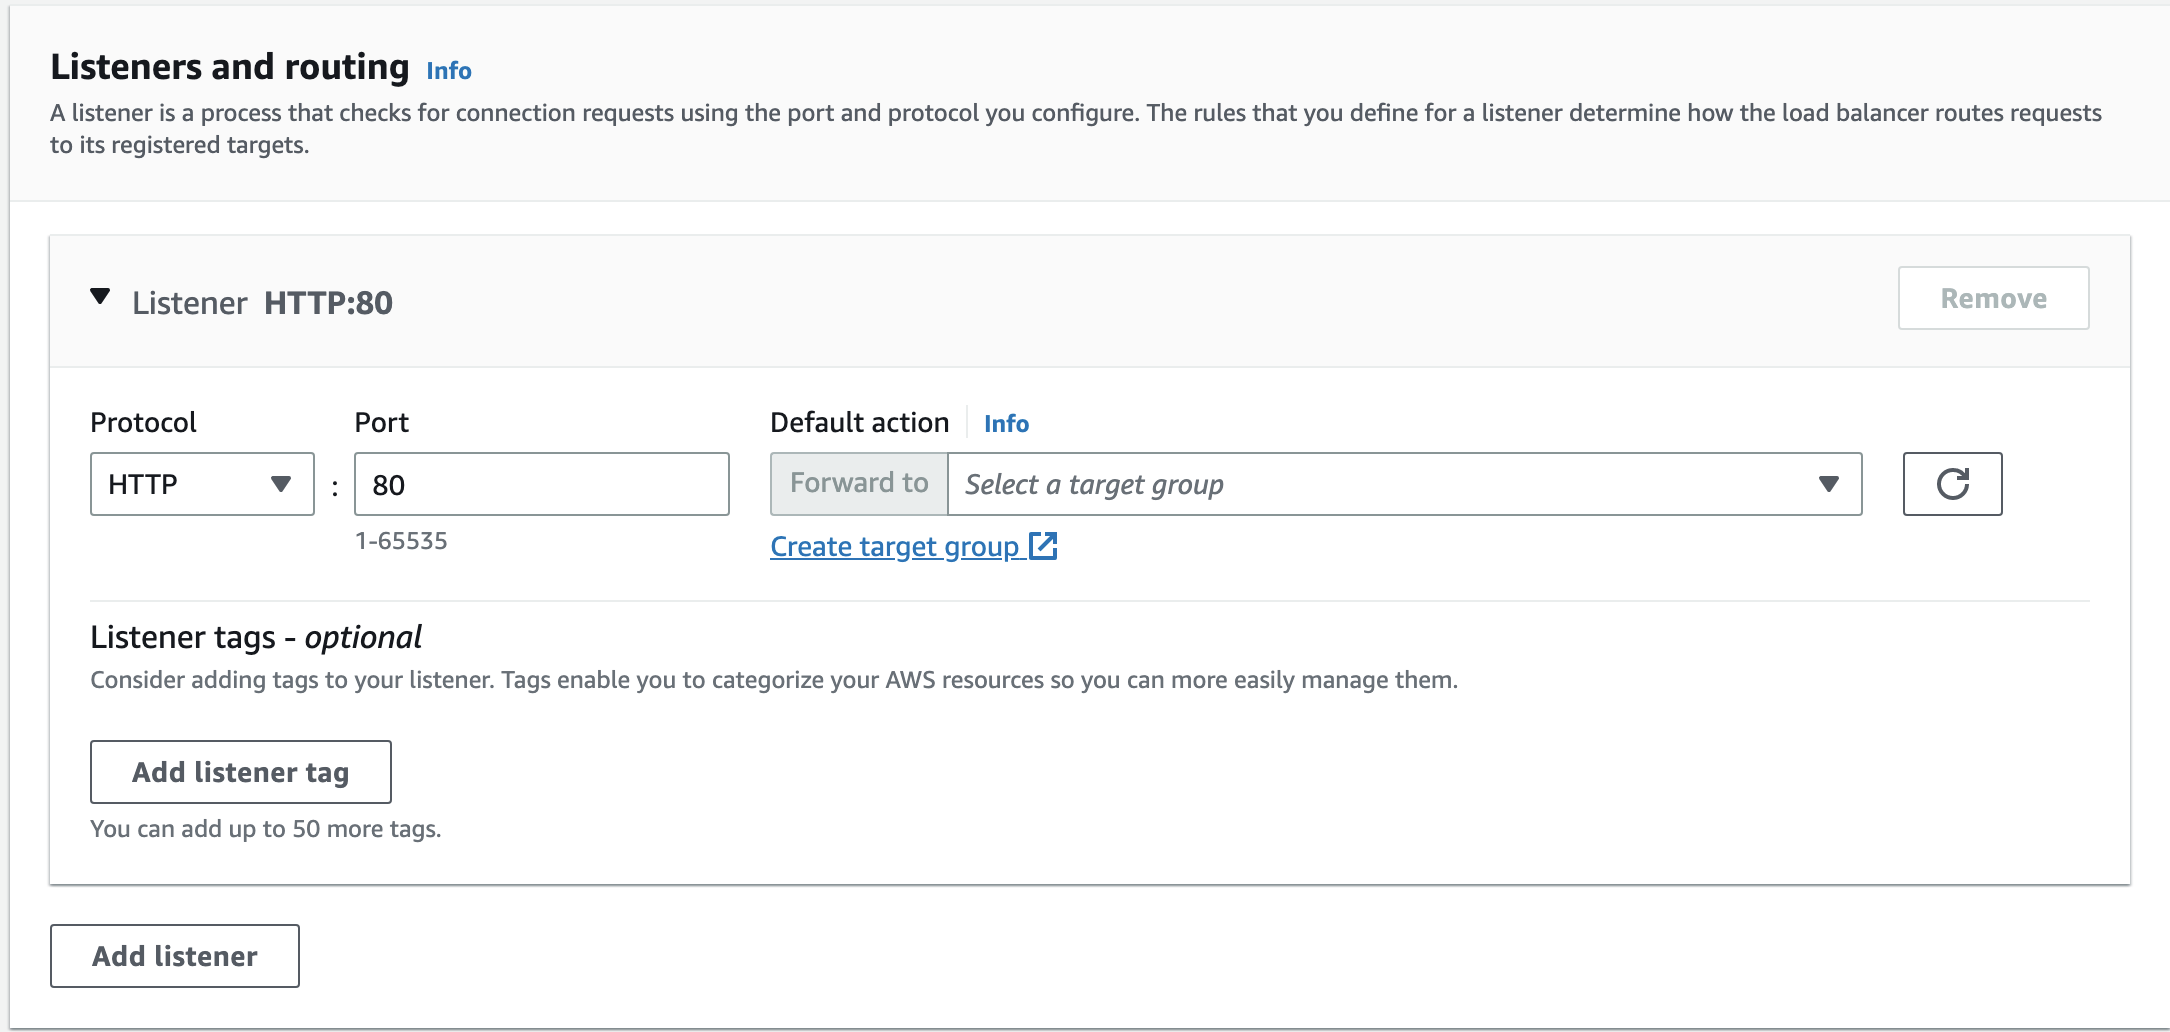
Scroll down and click “Create target group”
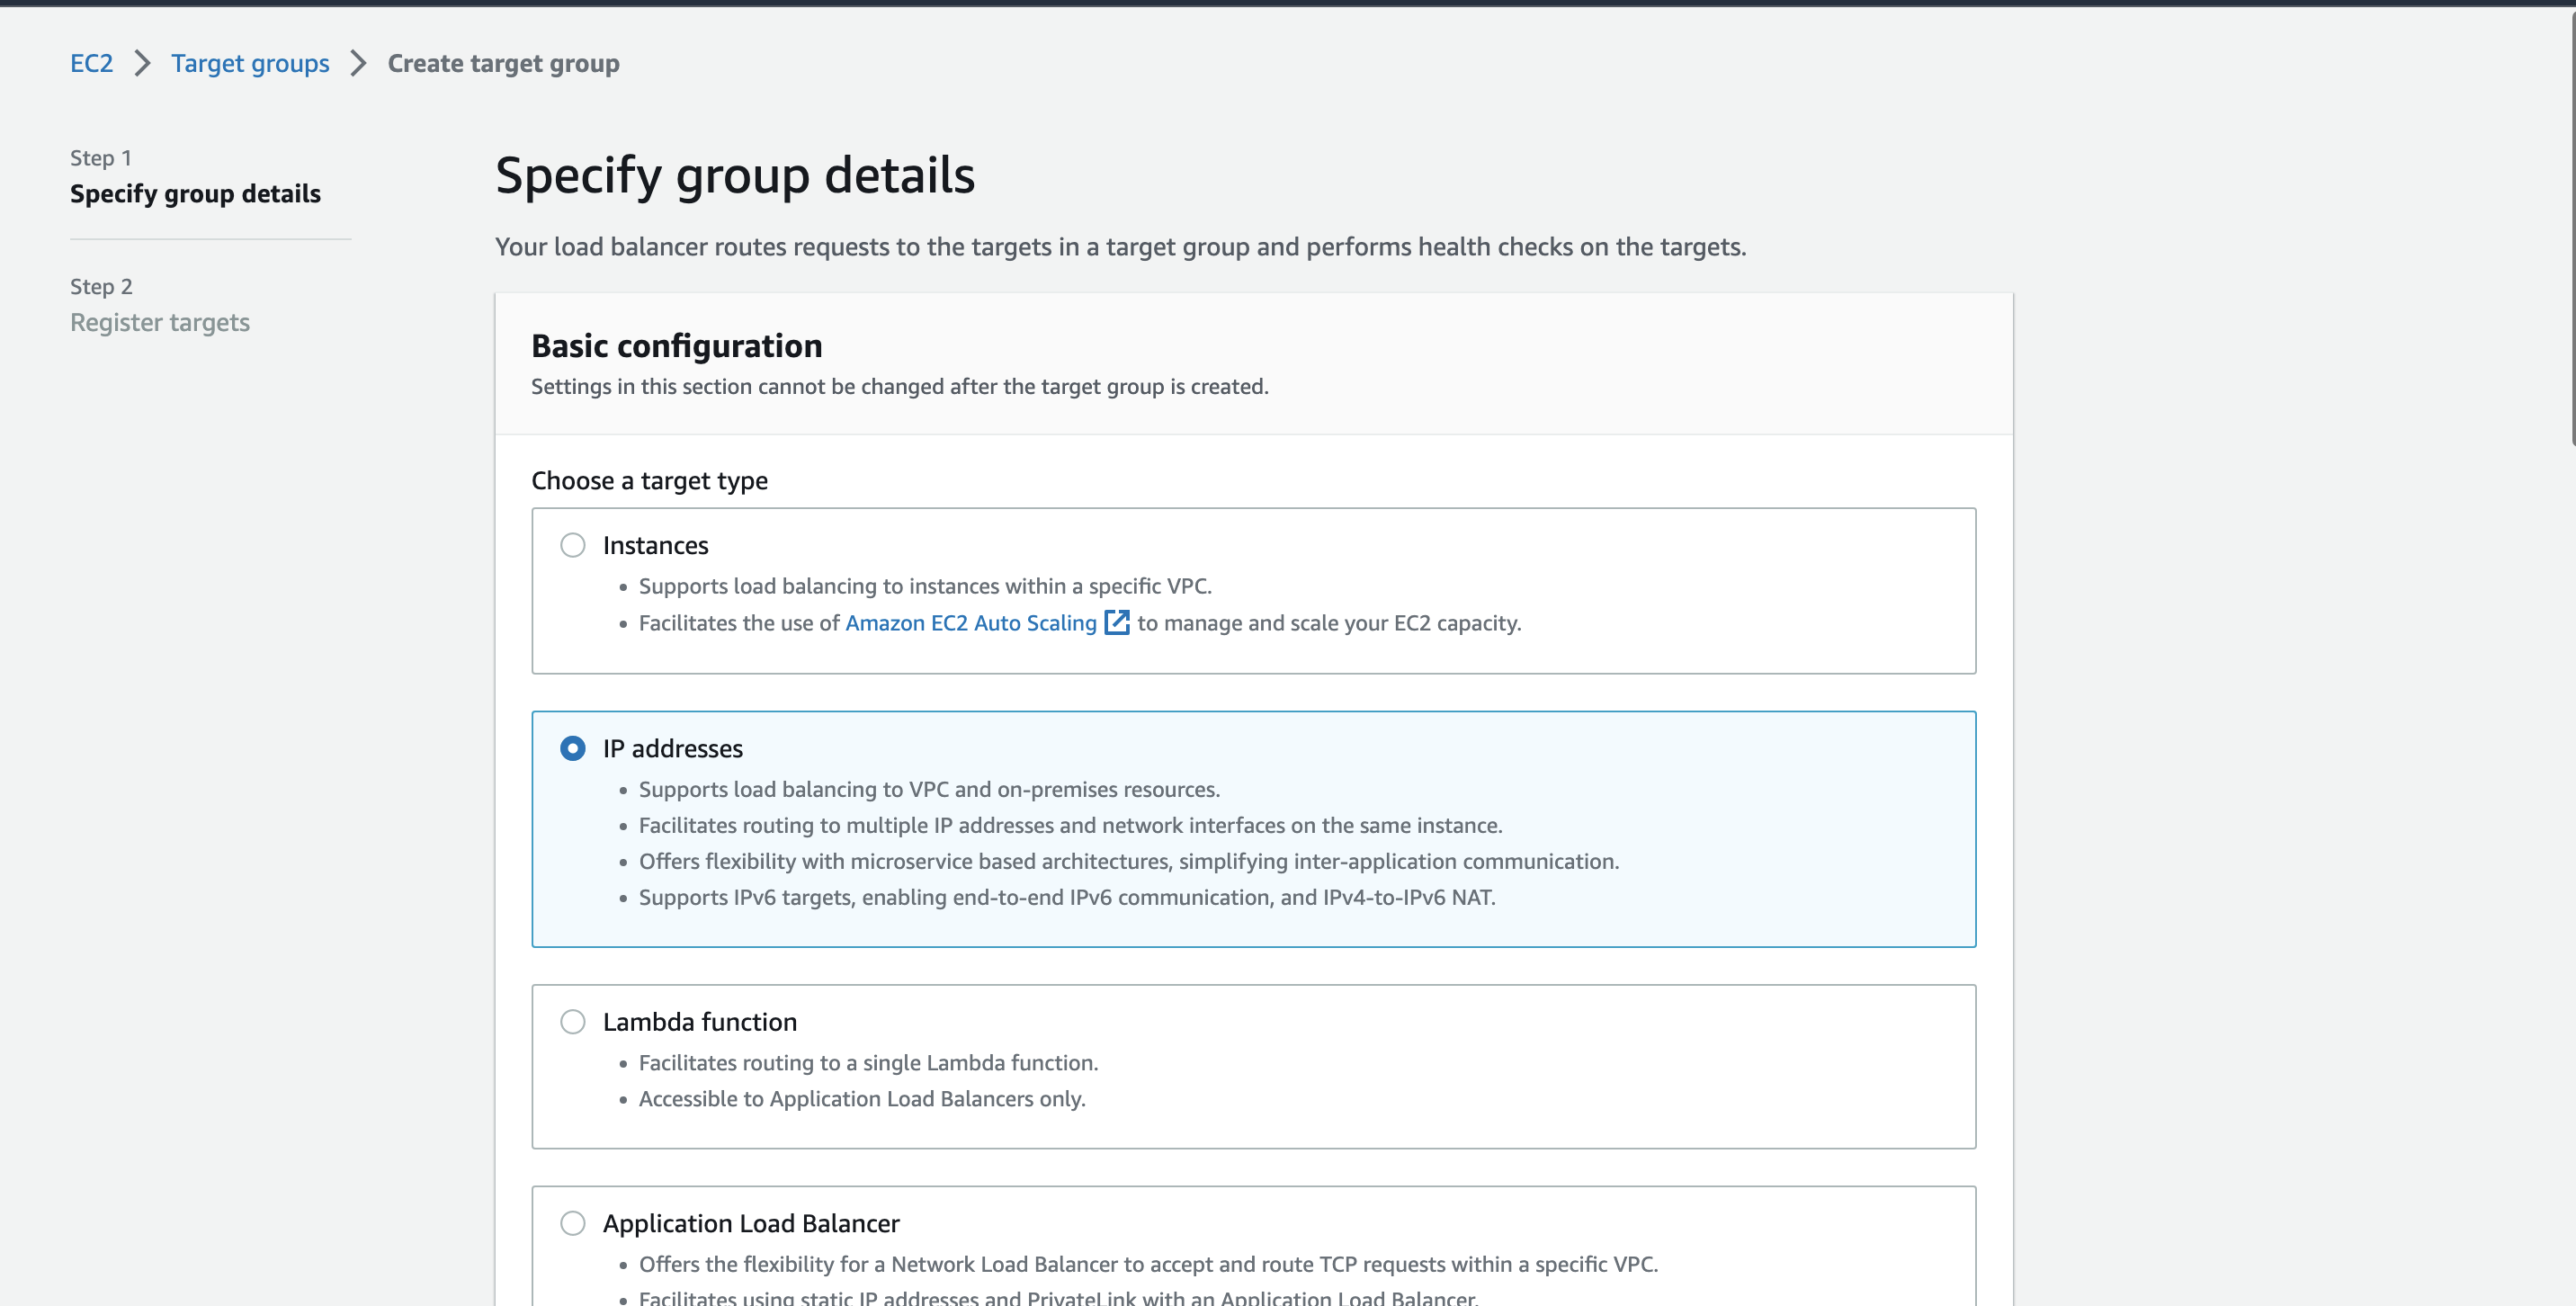
Create a target group
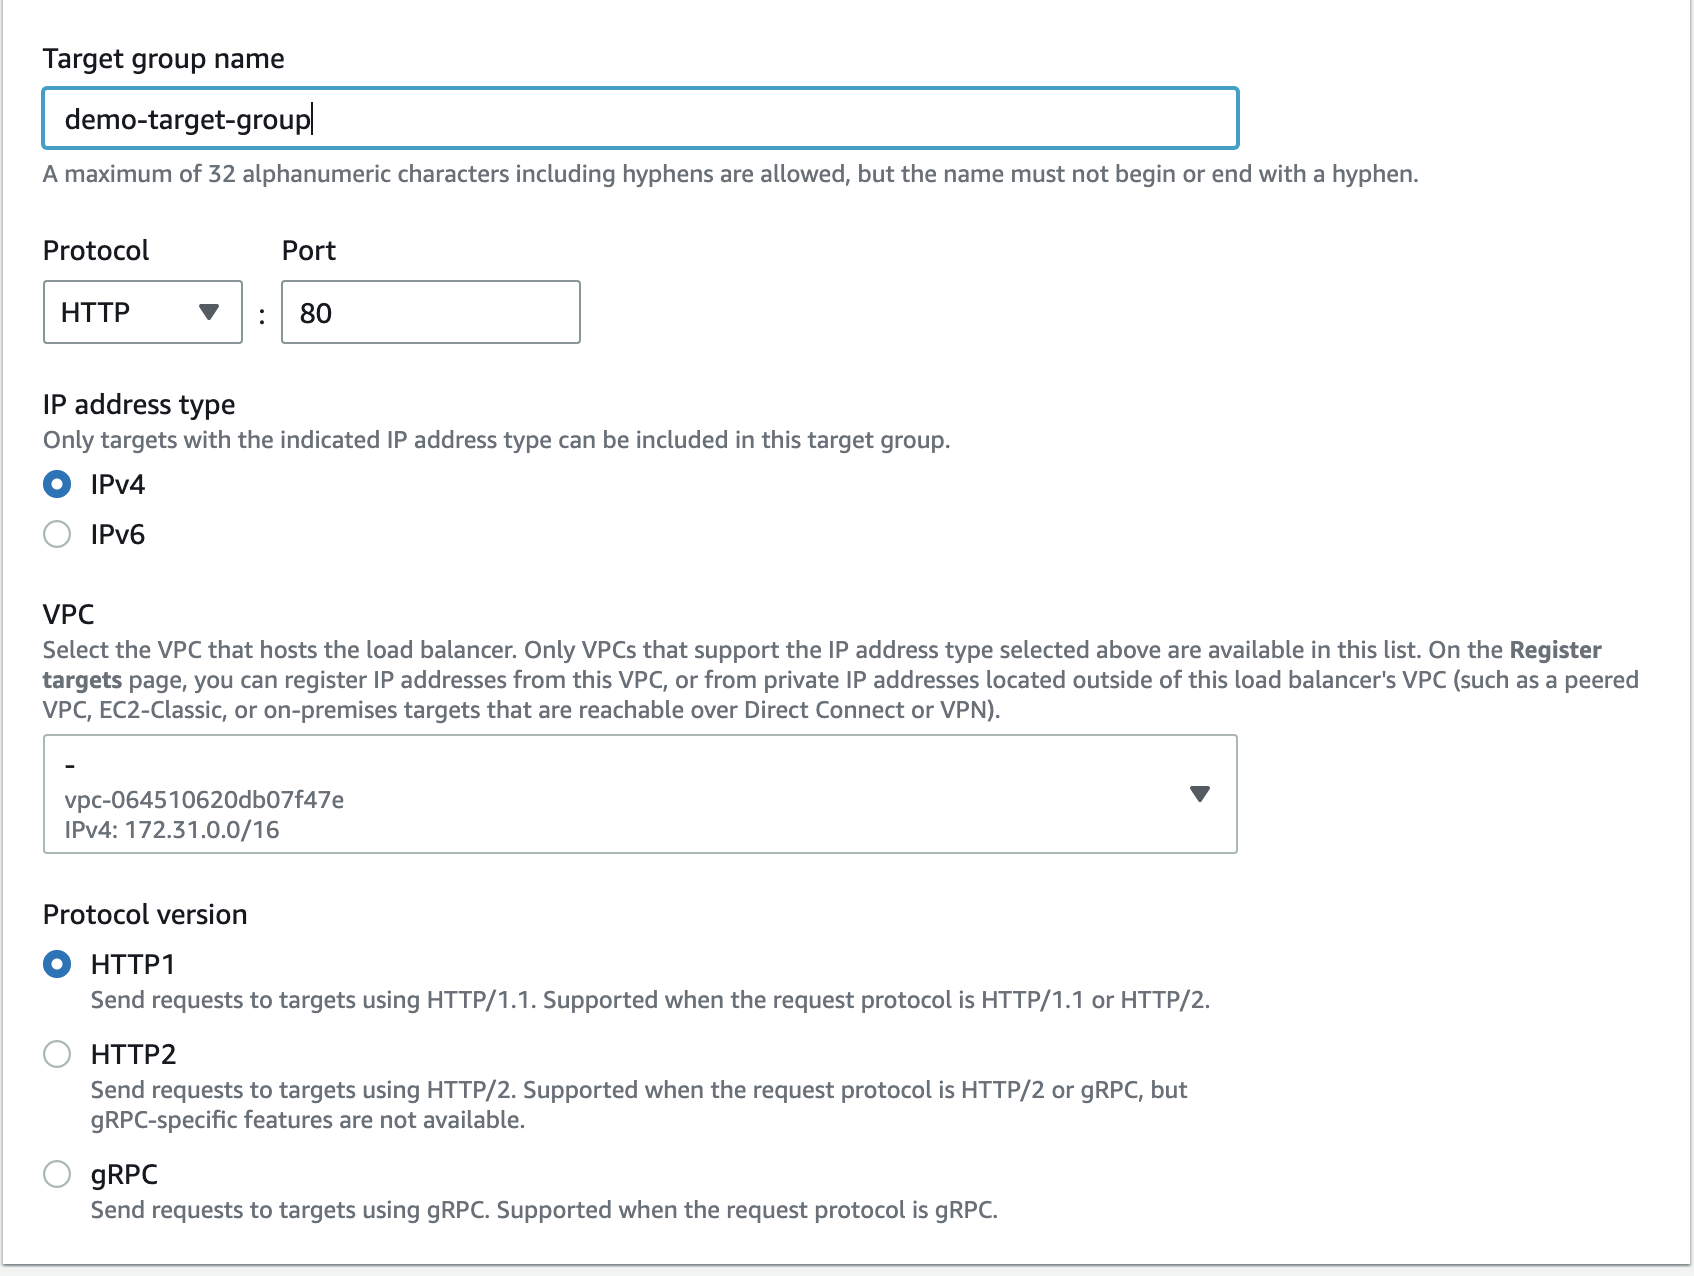
Let’s create a target group.
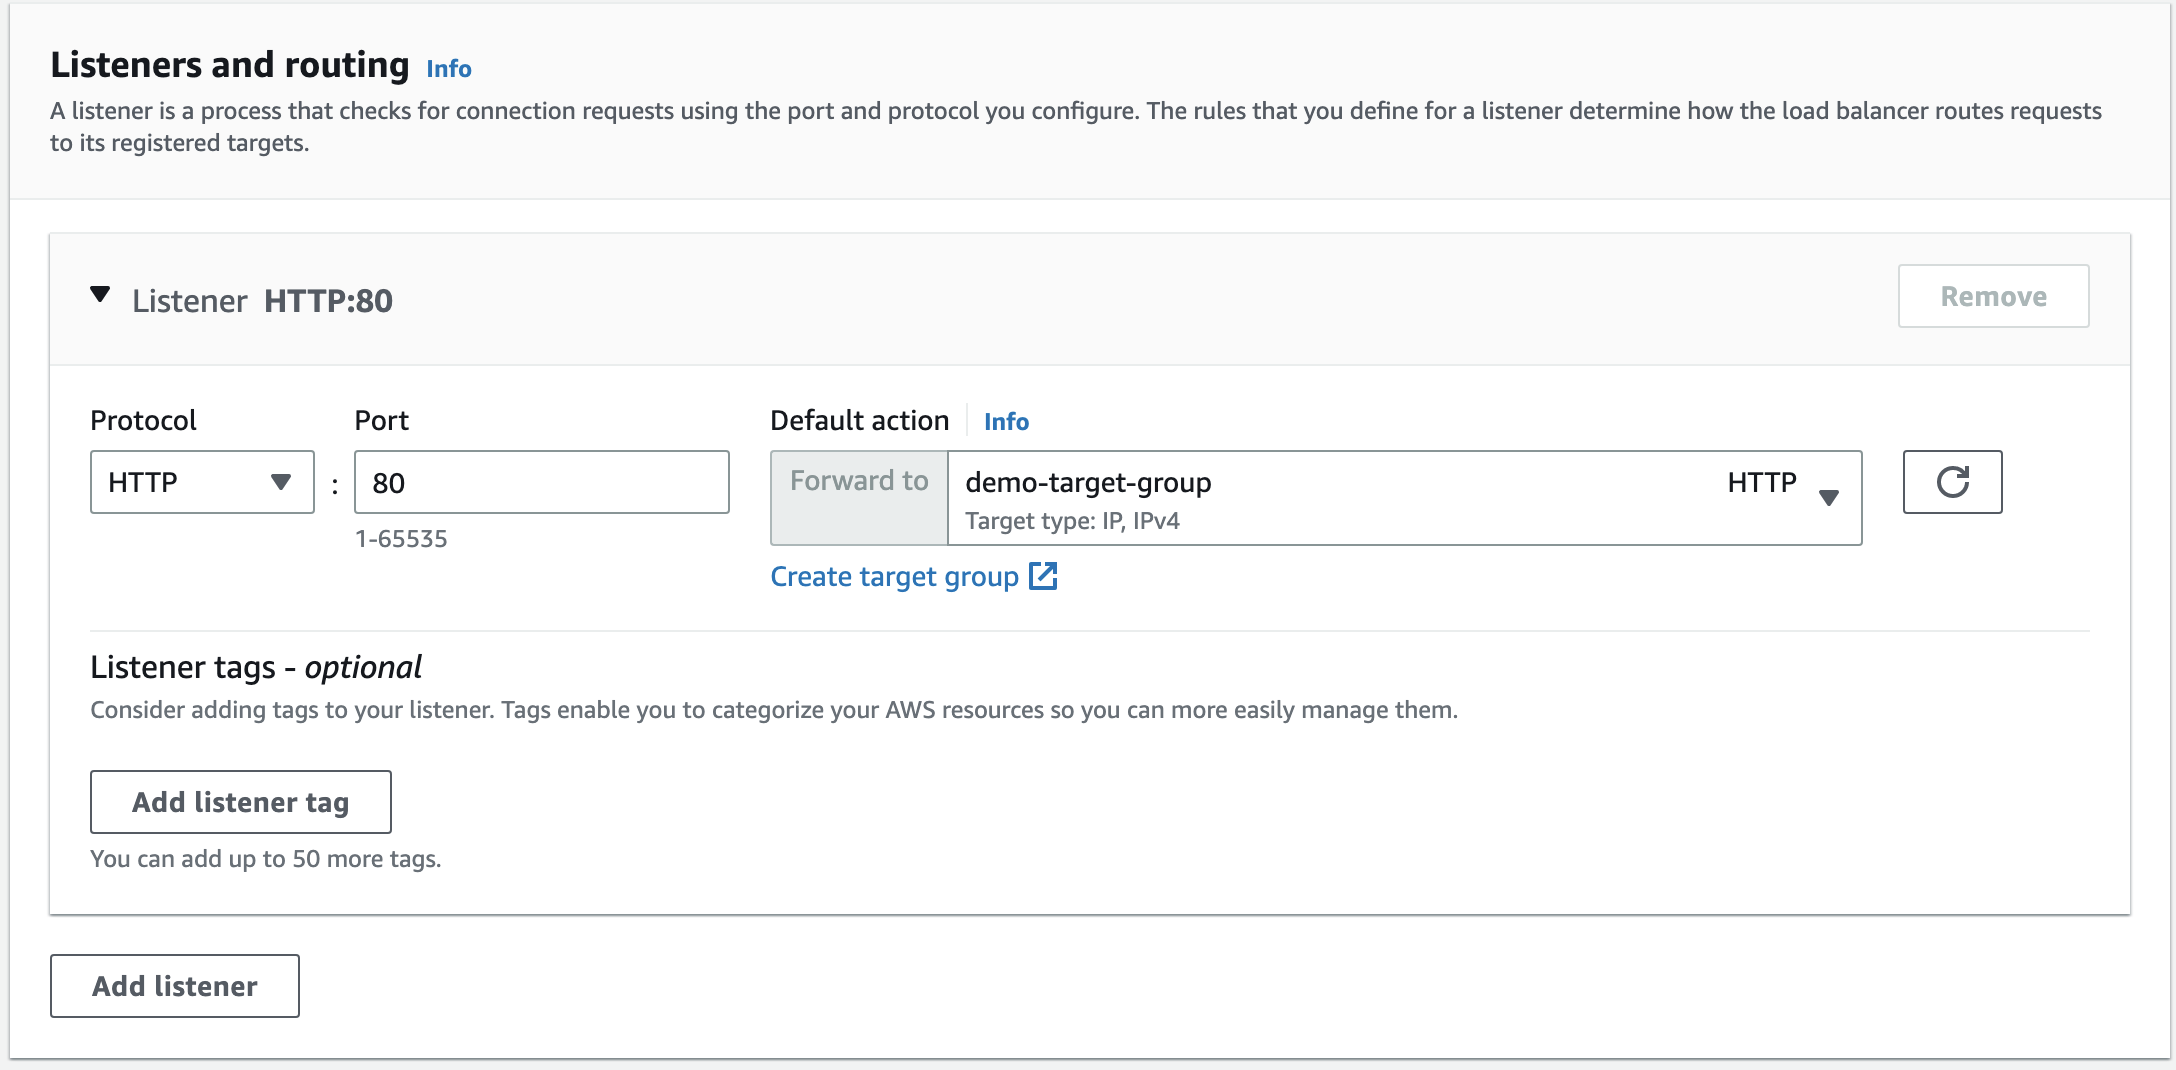
After creating a target group, go back to ALB configuration, and link the created target group.
Finally, click “Create load balancer”. 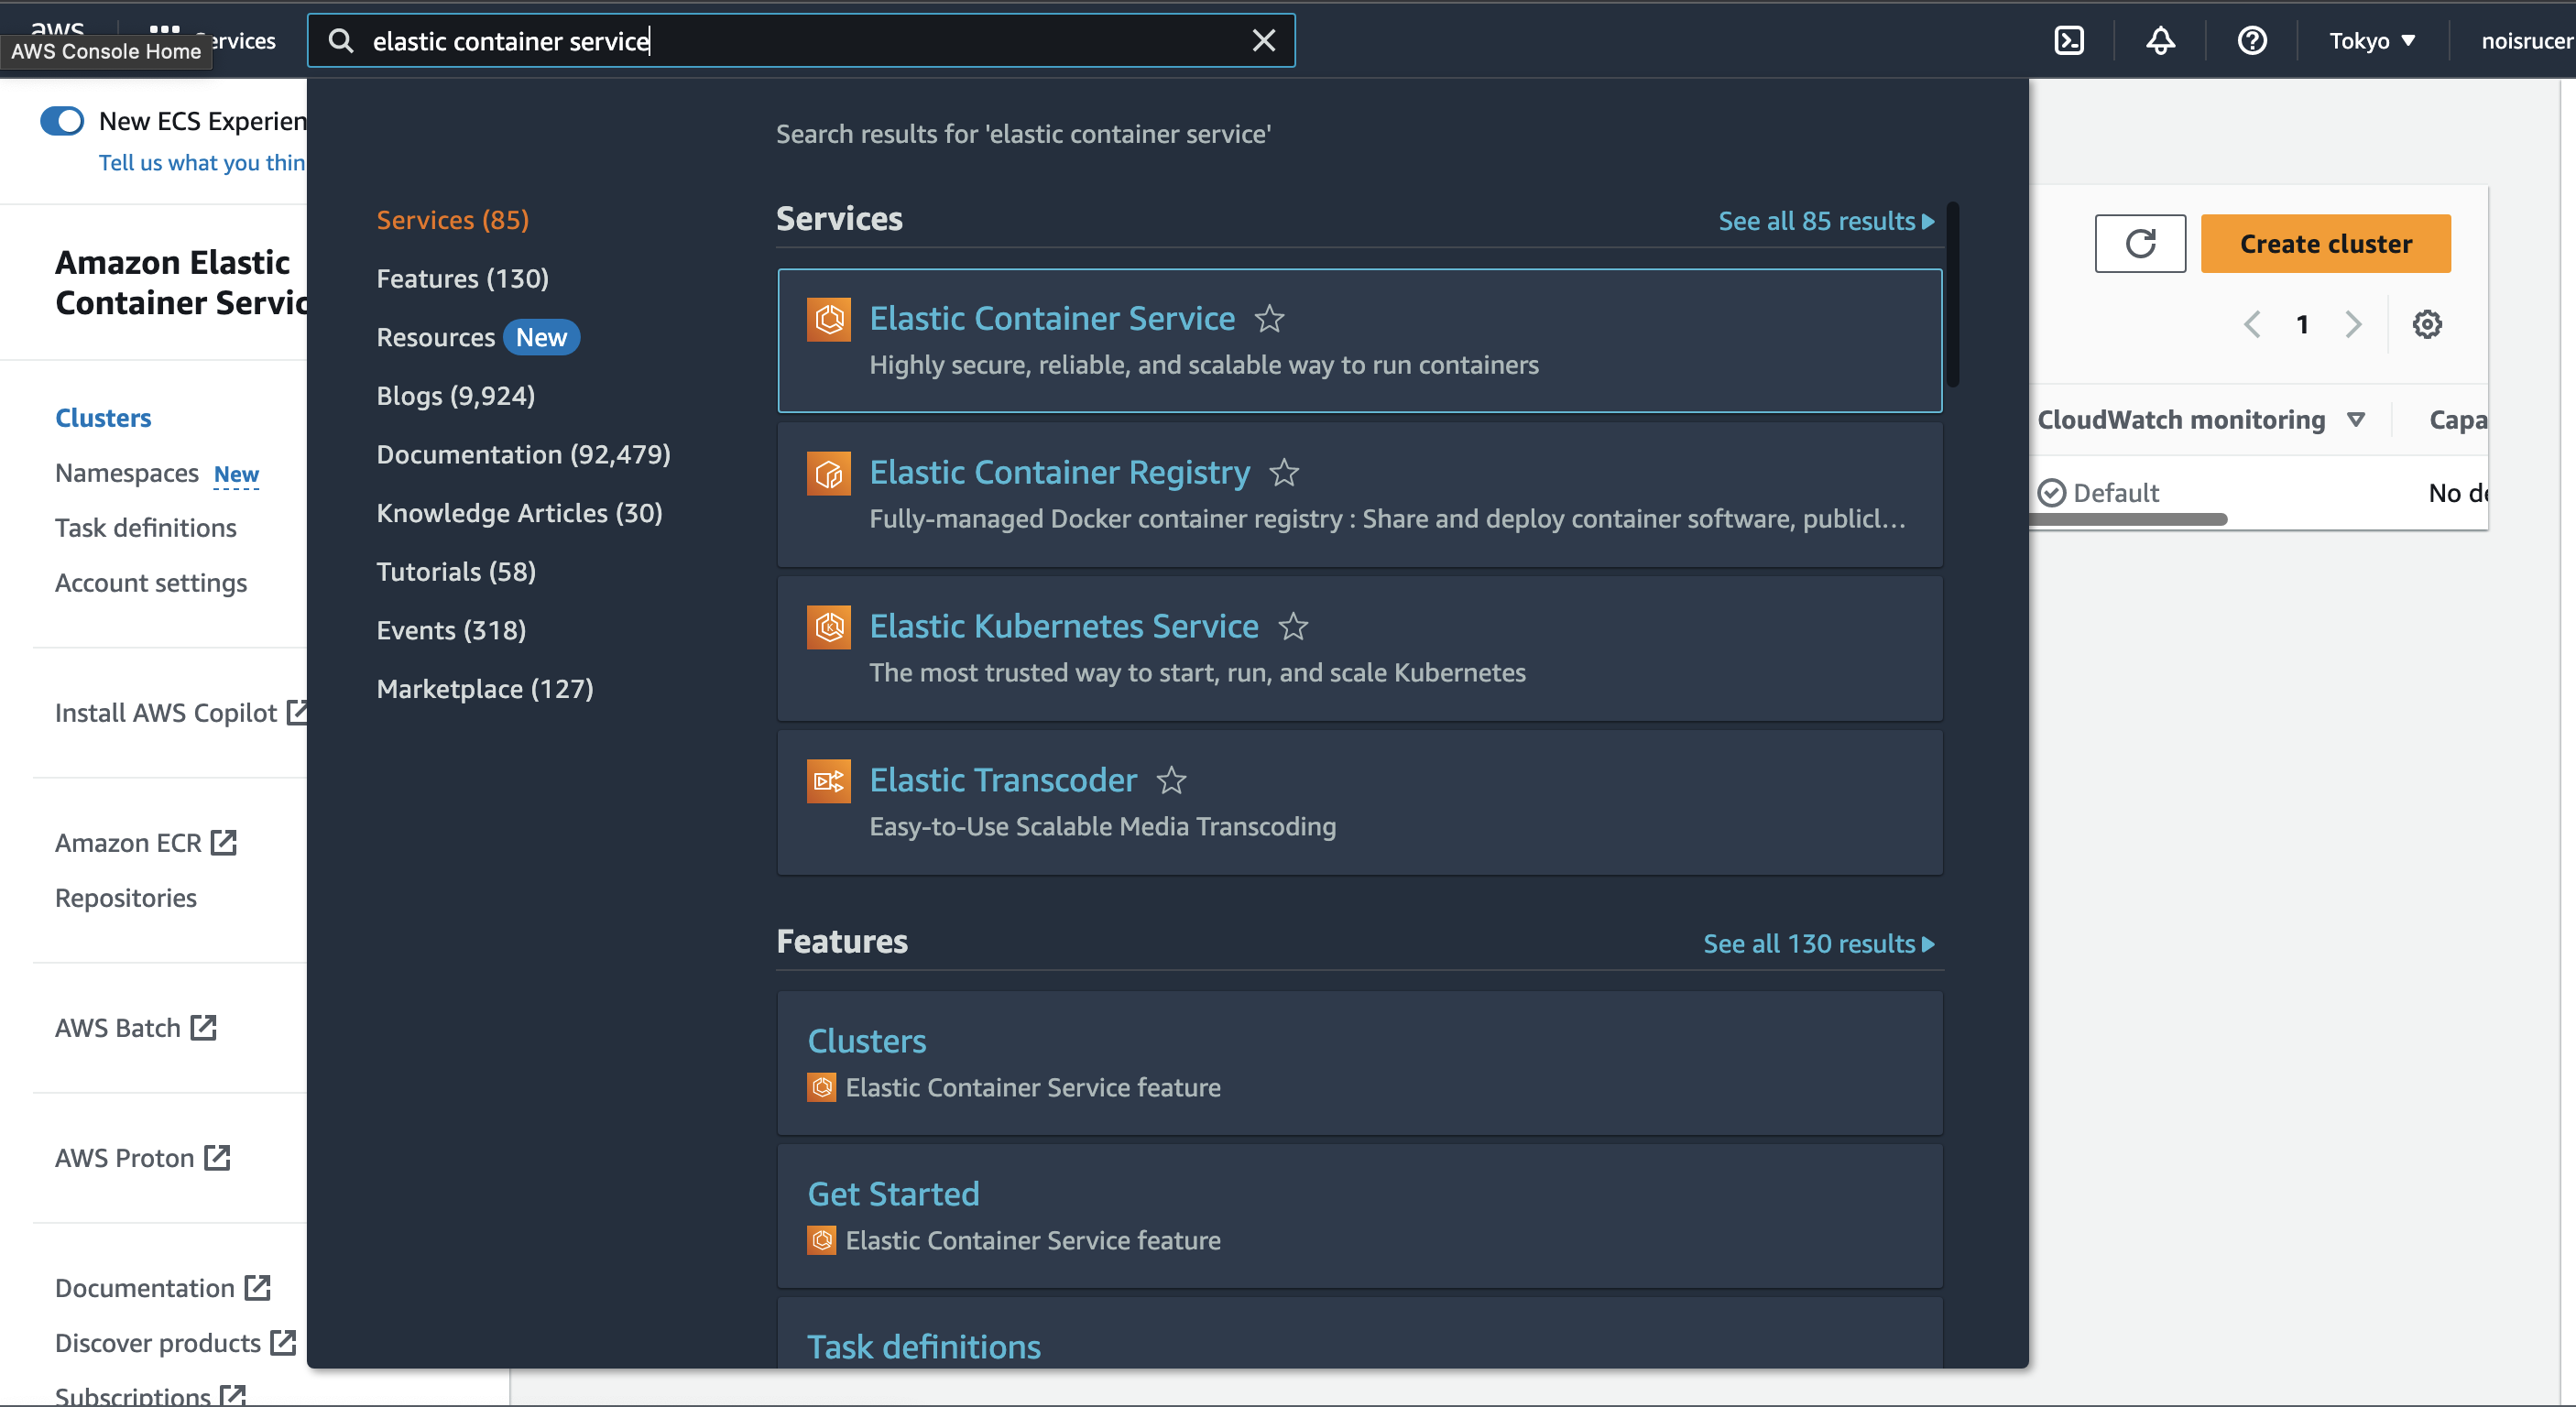
2. Create a Task Definition
Let’s go back to ECS service and create a cluster.
Provide a cluster name and scroll down to the bottom and select “Create”.
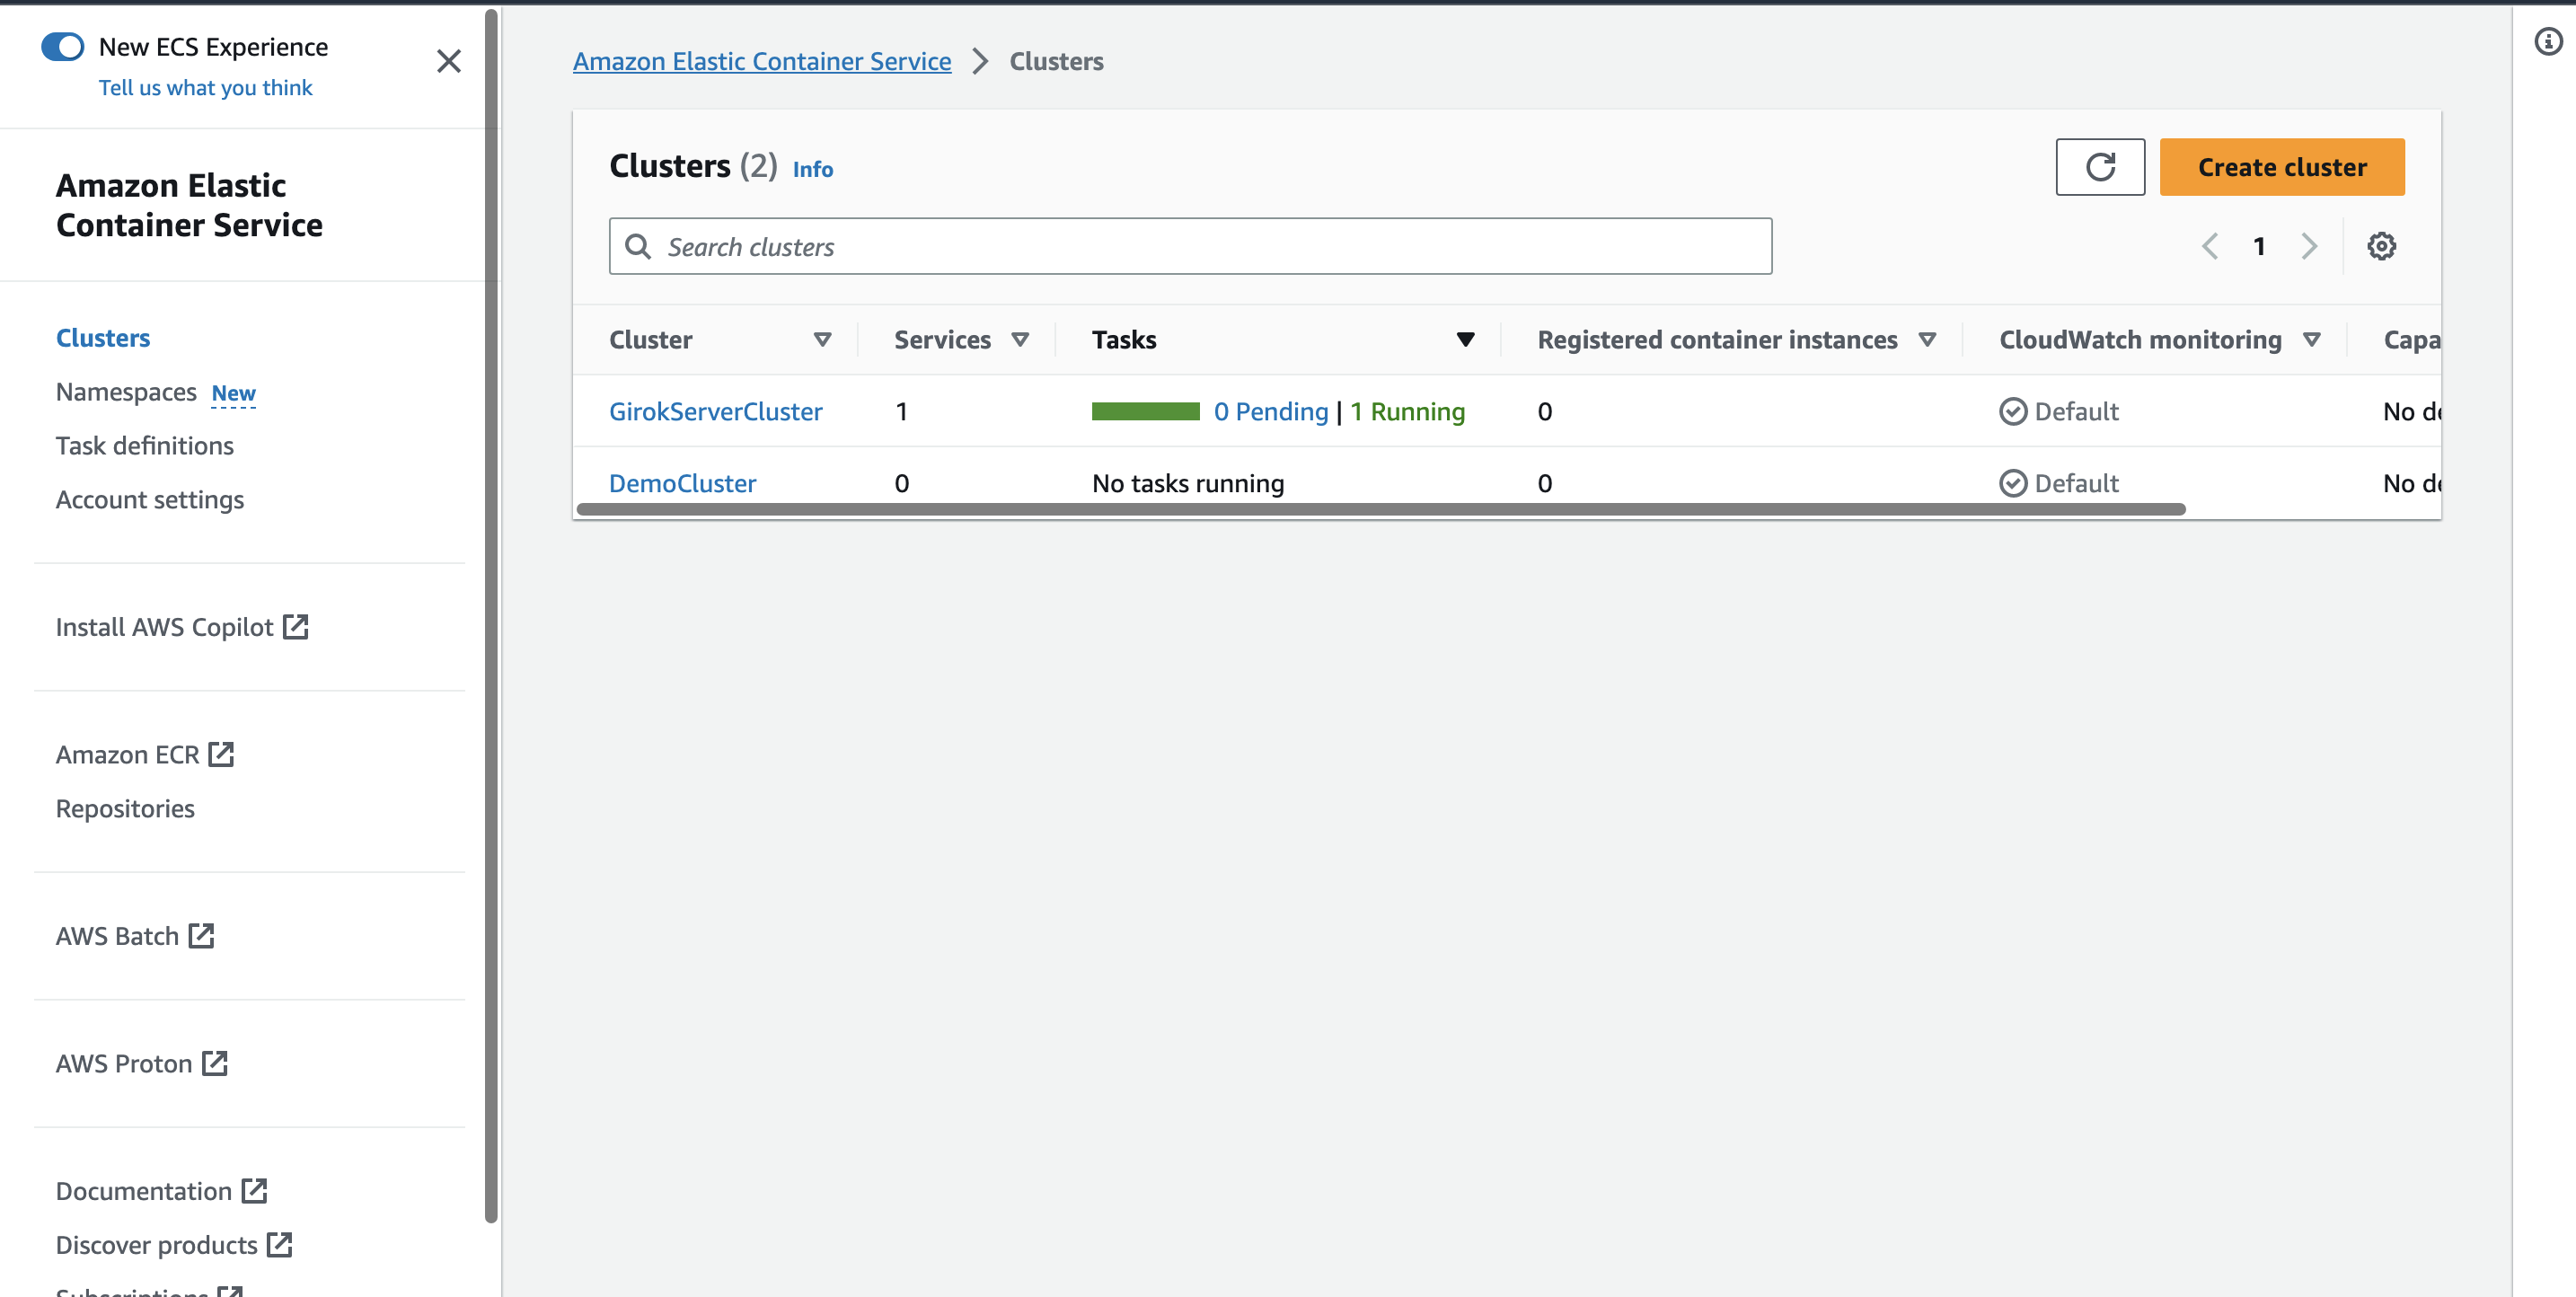
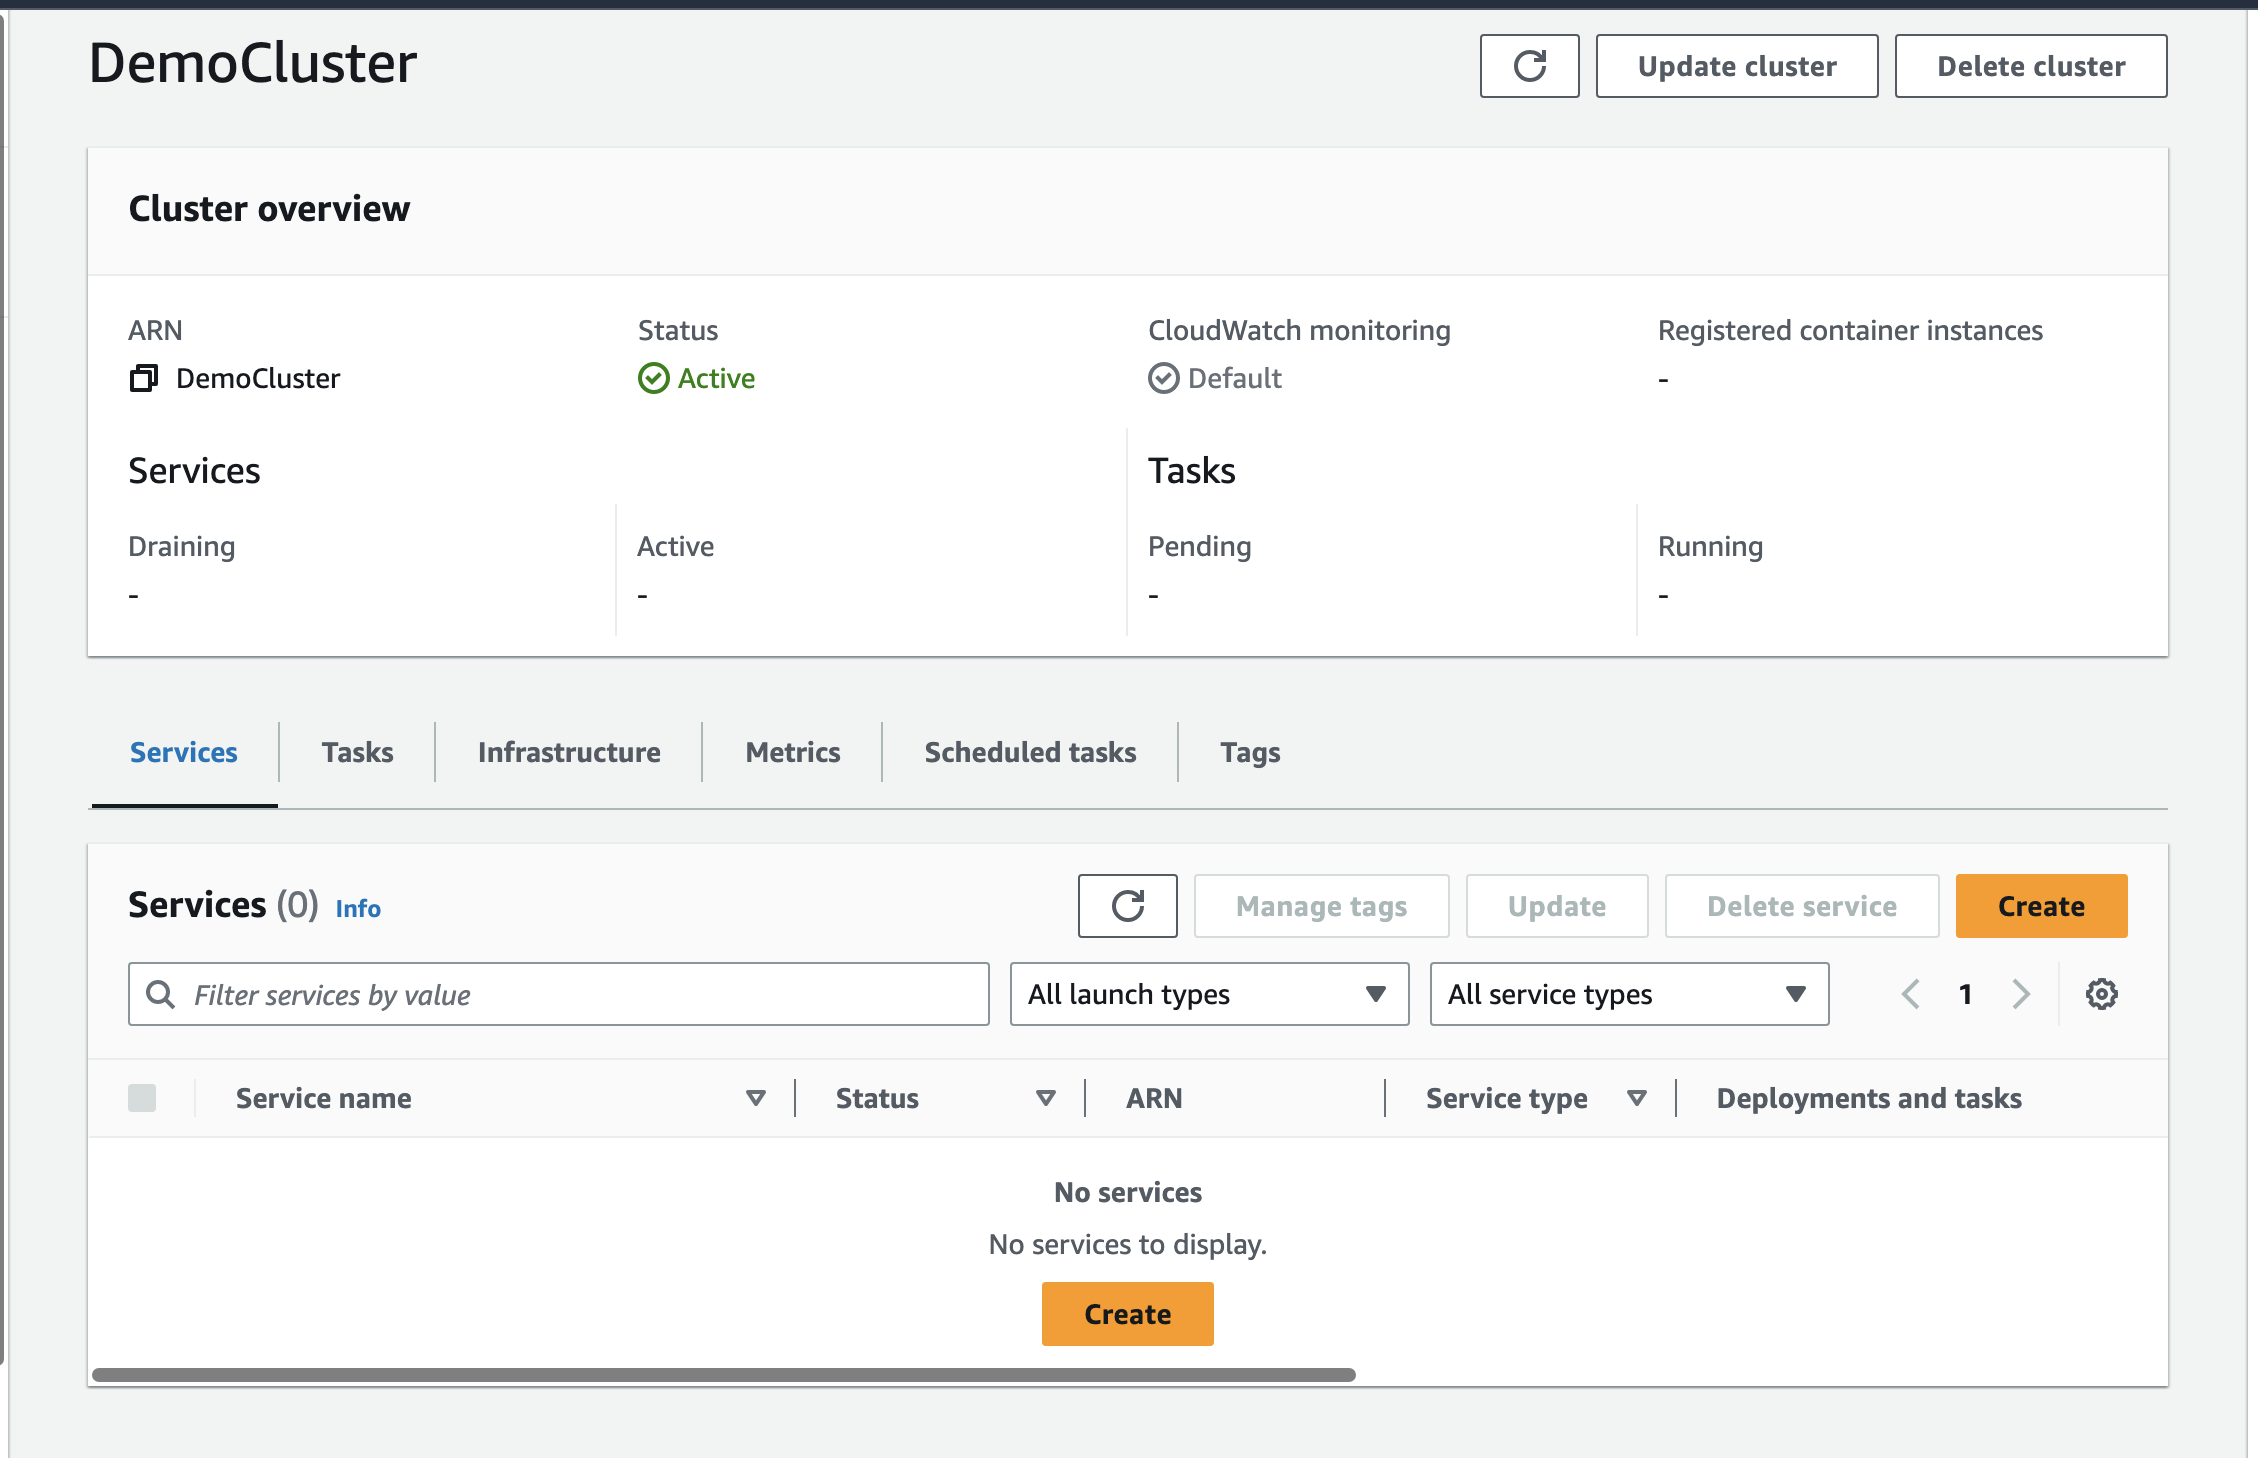
You can see the clutser we just created.
3. Create a task definition
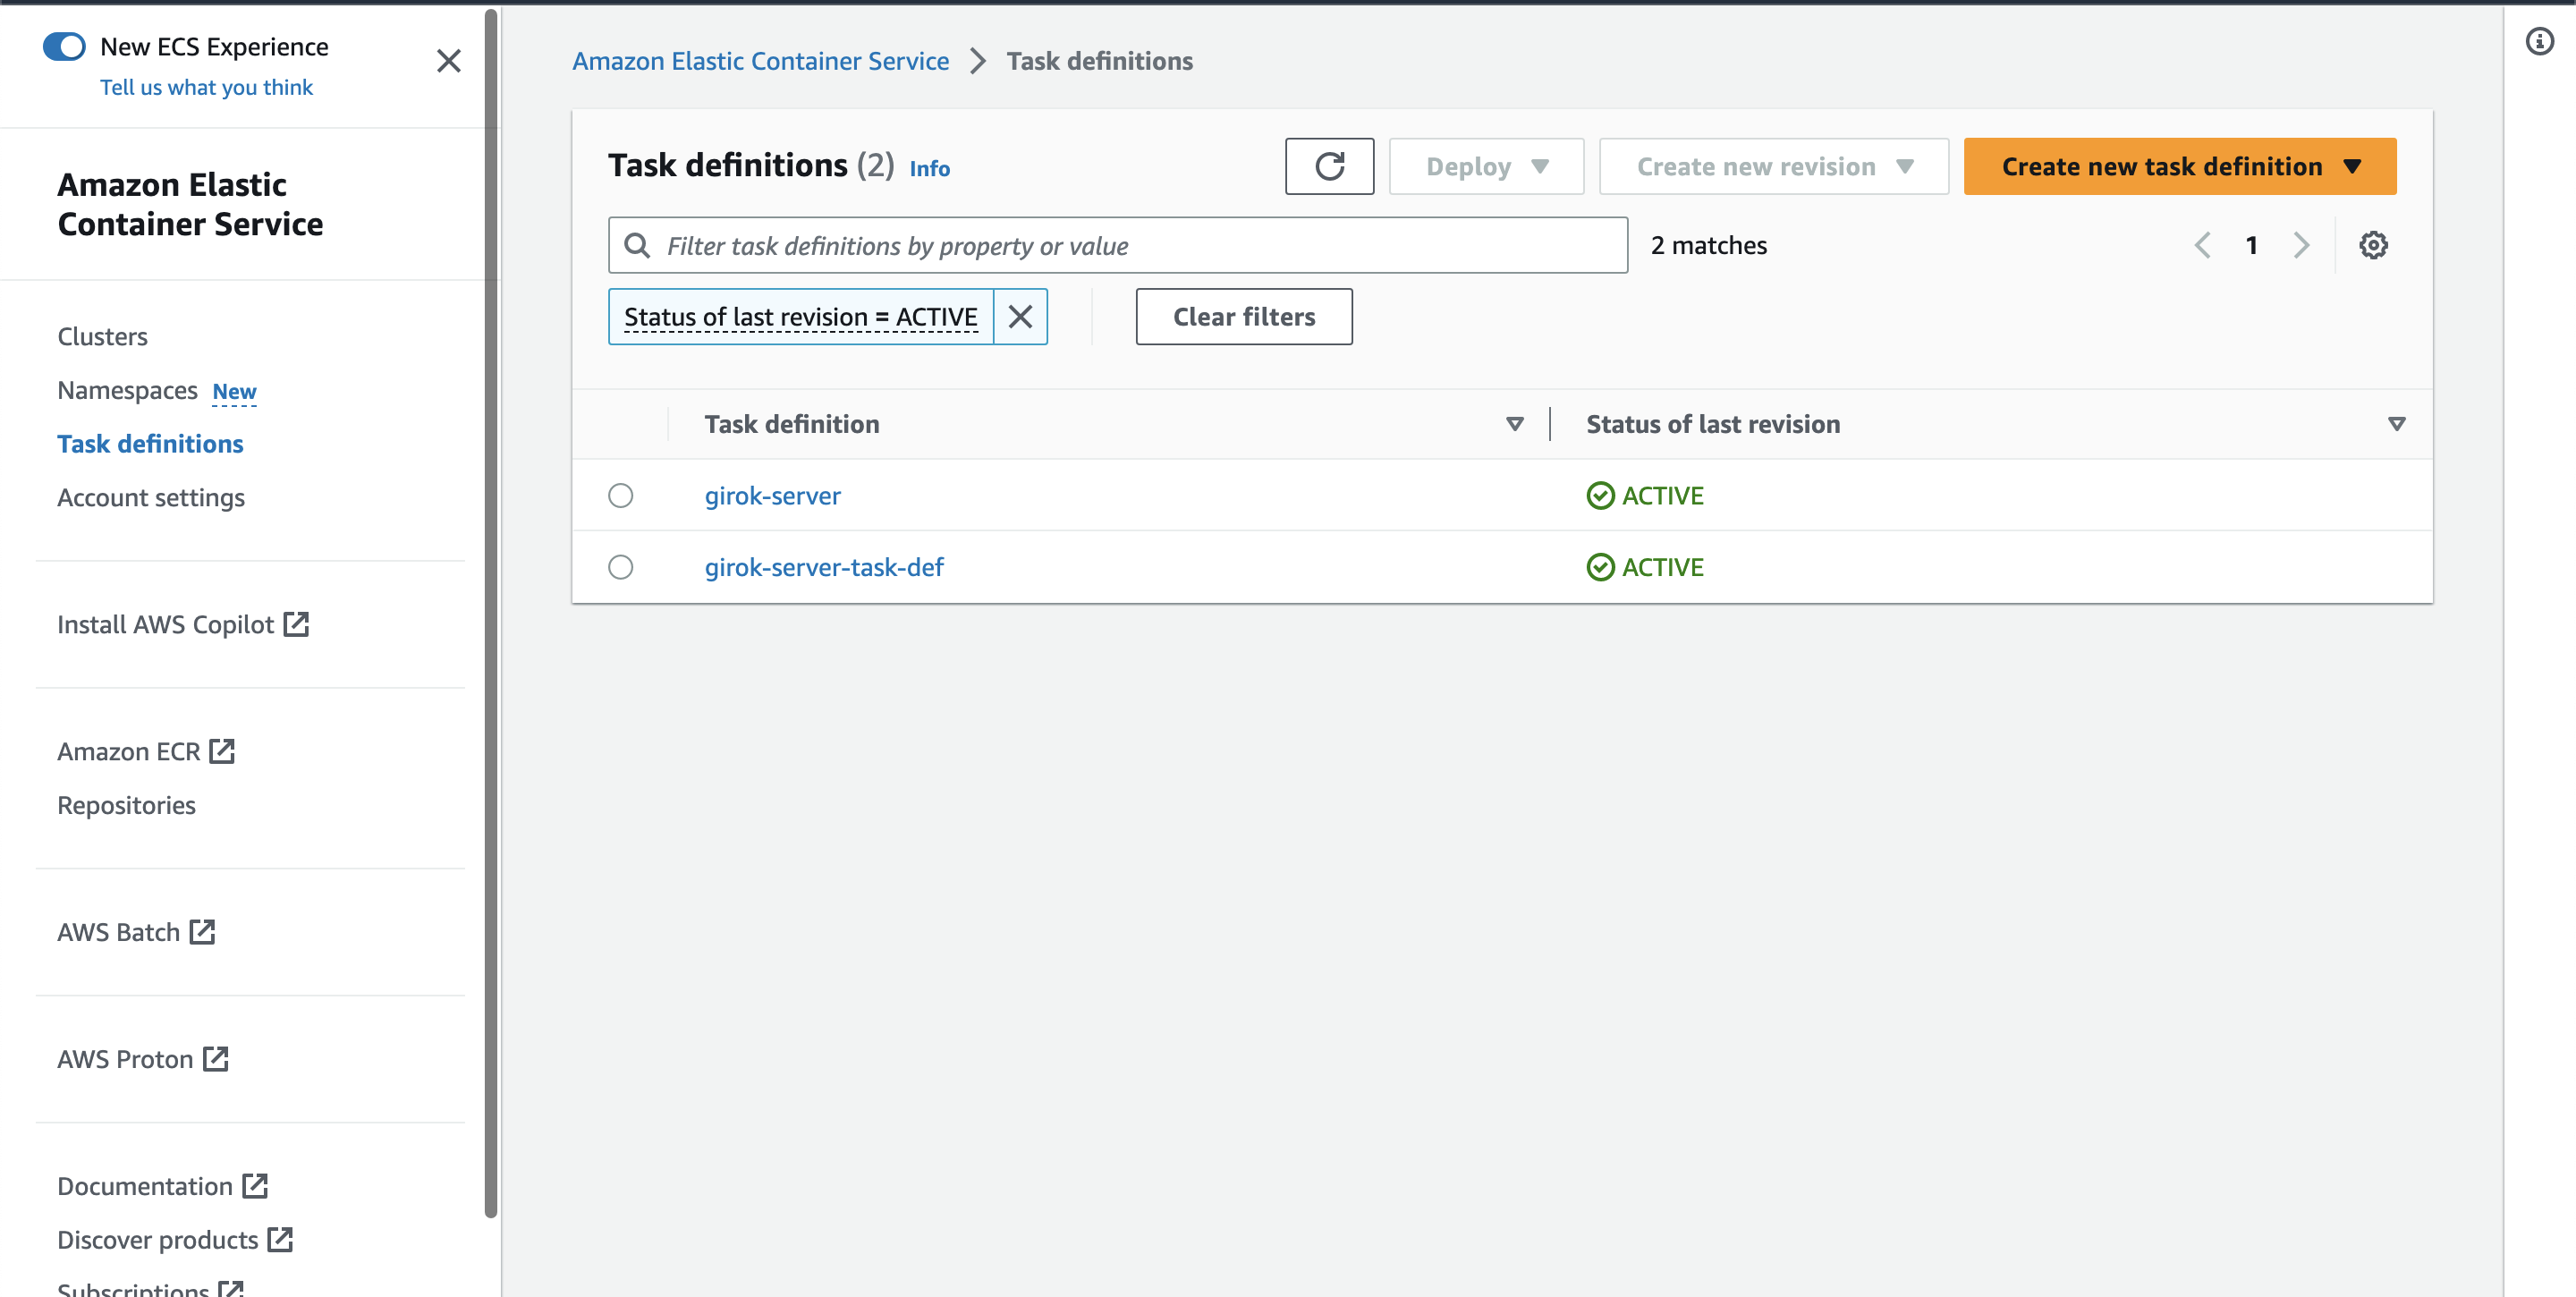
Select “Task definitions” in the left panel and click “Create new task definition”. A task definition is like a docker-compose that defines the behaviors and settings of our serivce such as port mapping, which docker image we’ll be using, CPU/memory usage, and so on.
Let’s go ahead and create a new task definition.
Let’s add a task definition family name.
Then, grab the image name and image URL of the image we created before from ECR.
Then, enter them into Name and Image URI in the task definition container settings.
Also, since our container is listening on 8000, we define a port mapping indiciating that the container port is 8000. 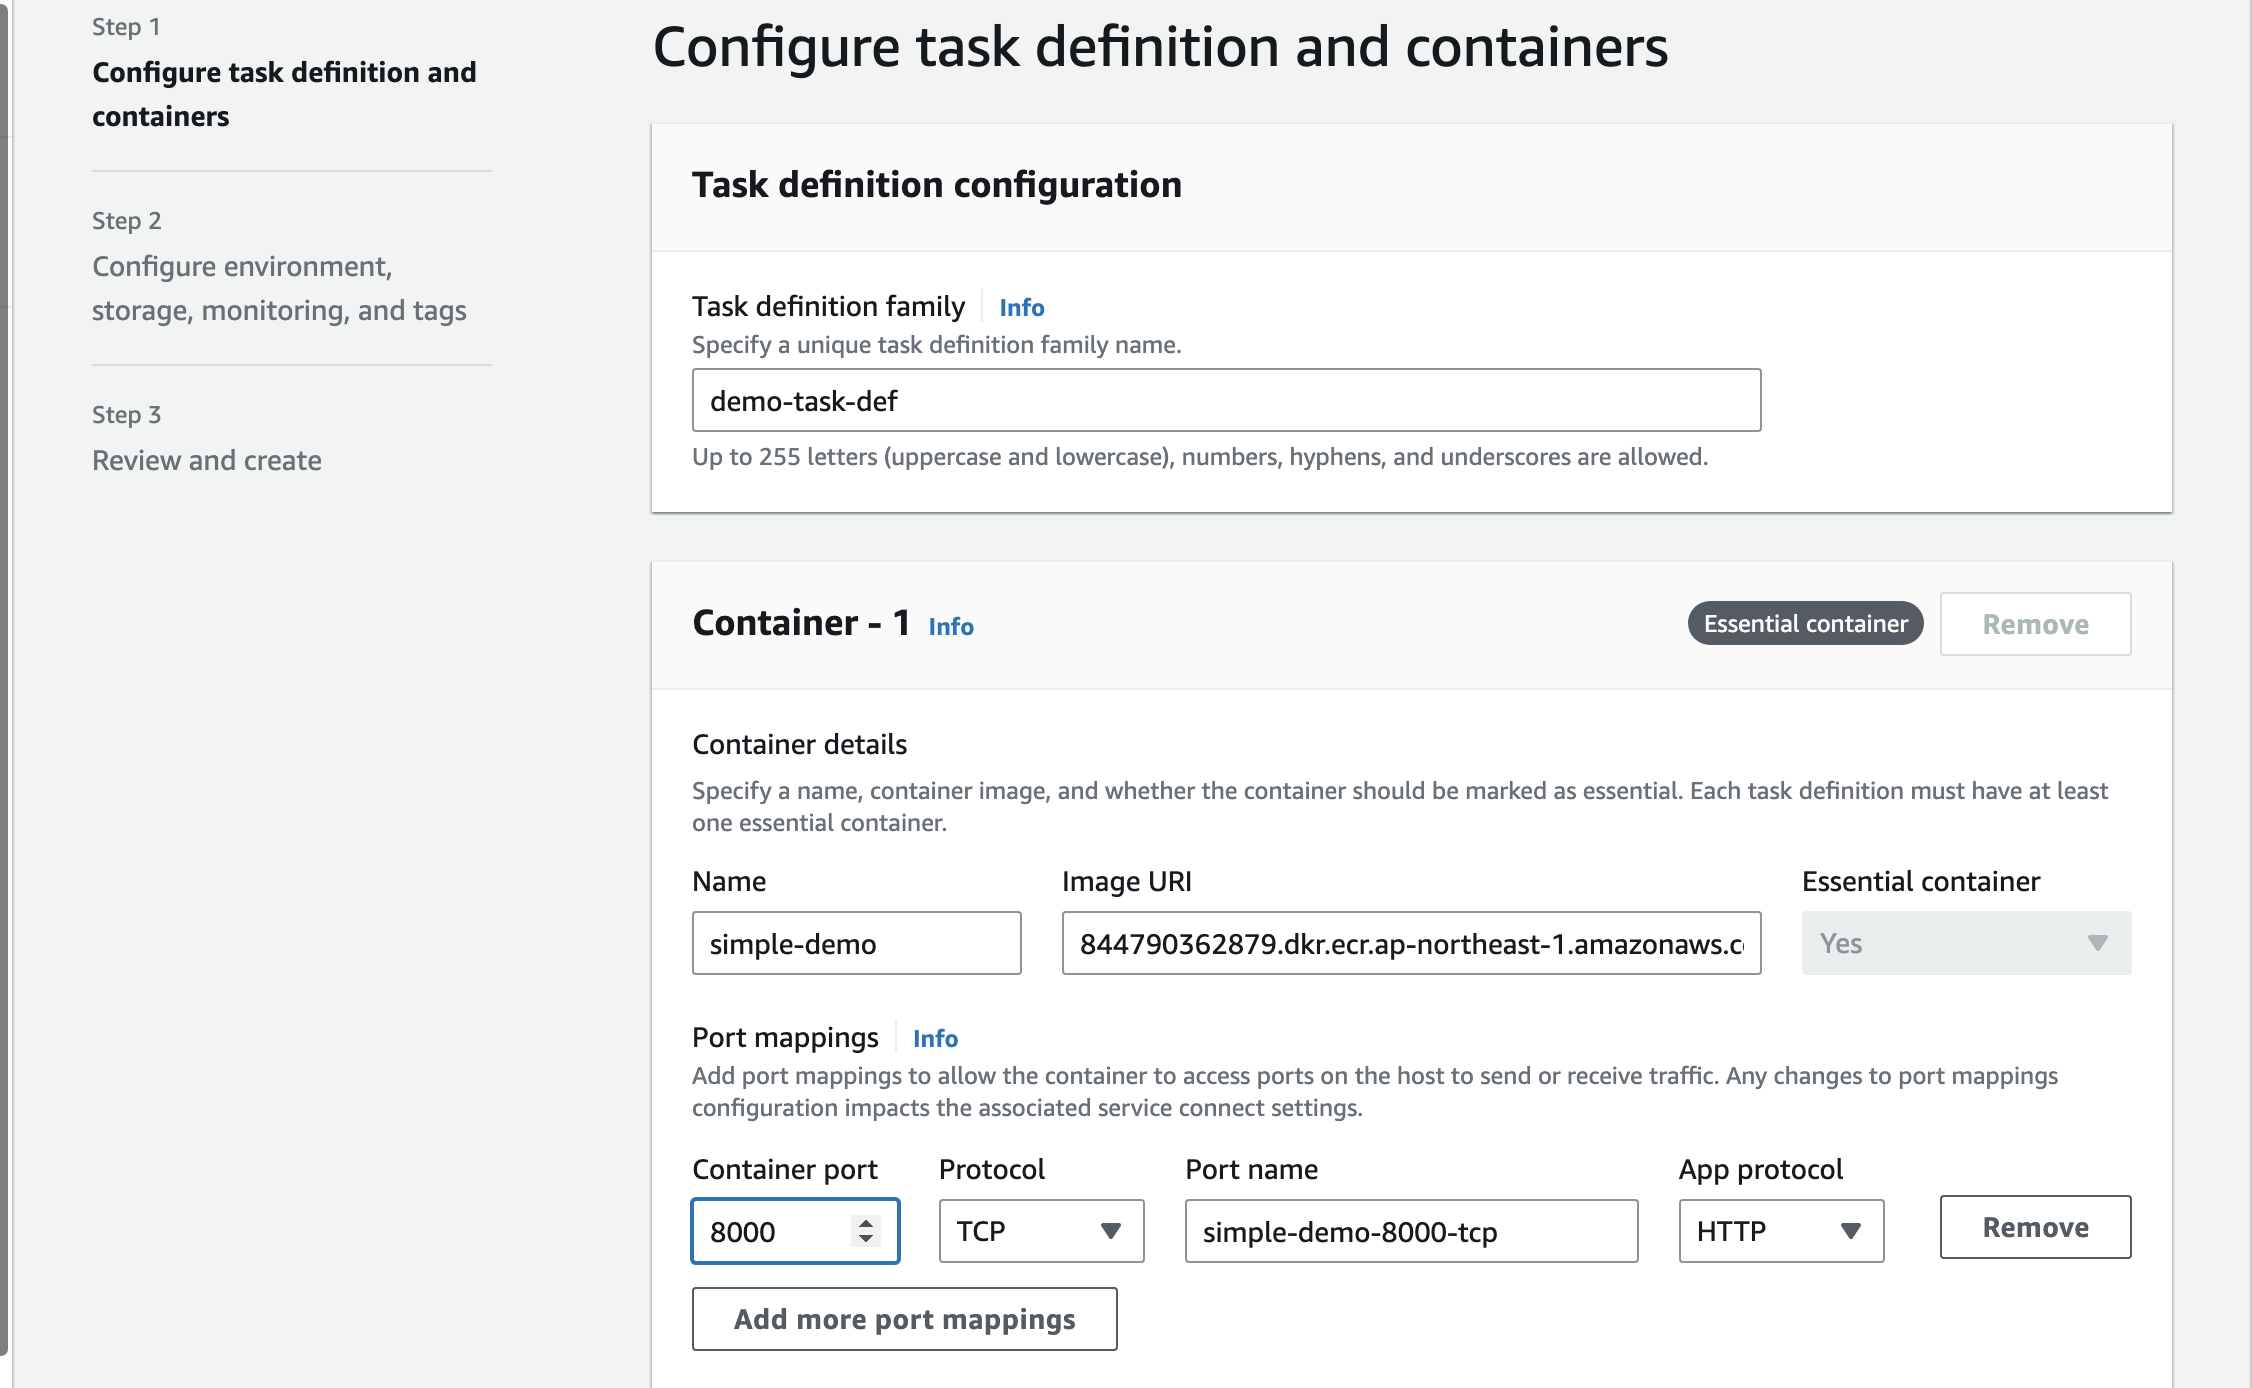
Scroll to the bottom and click “Next”.
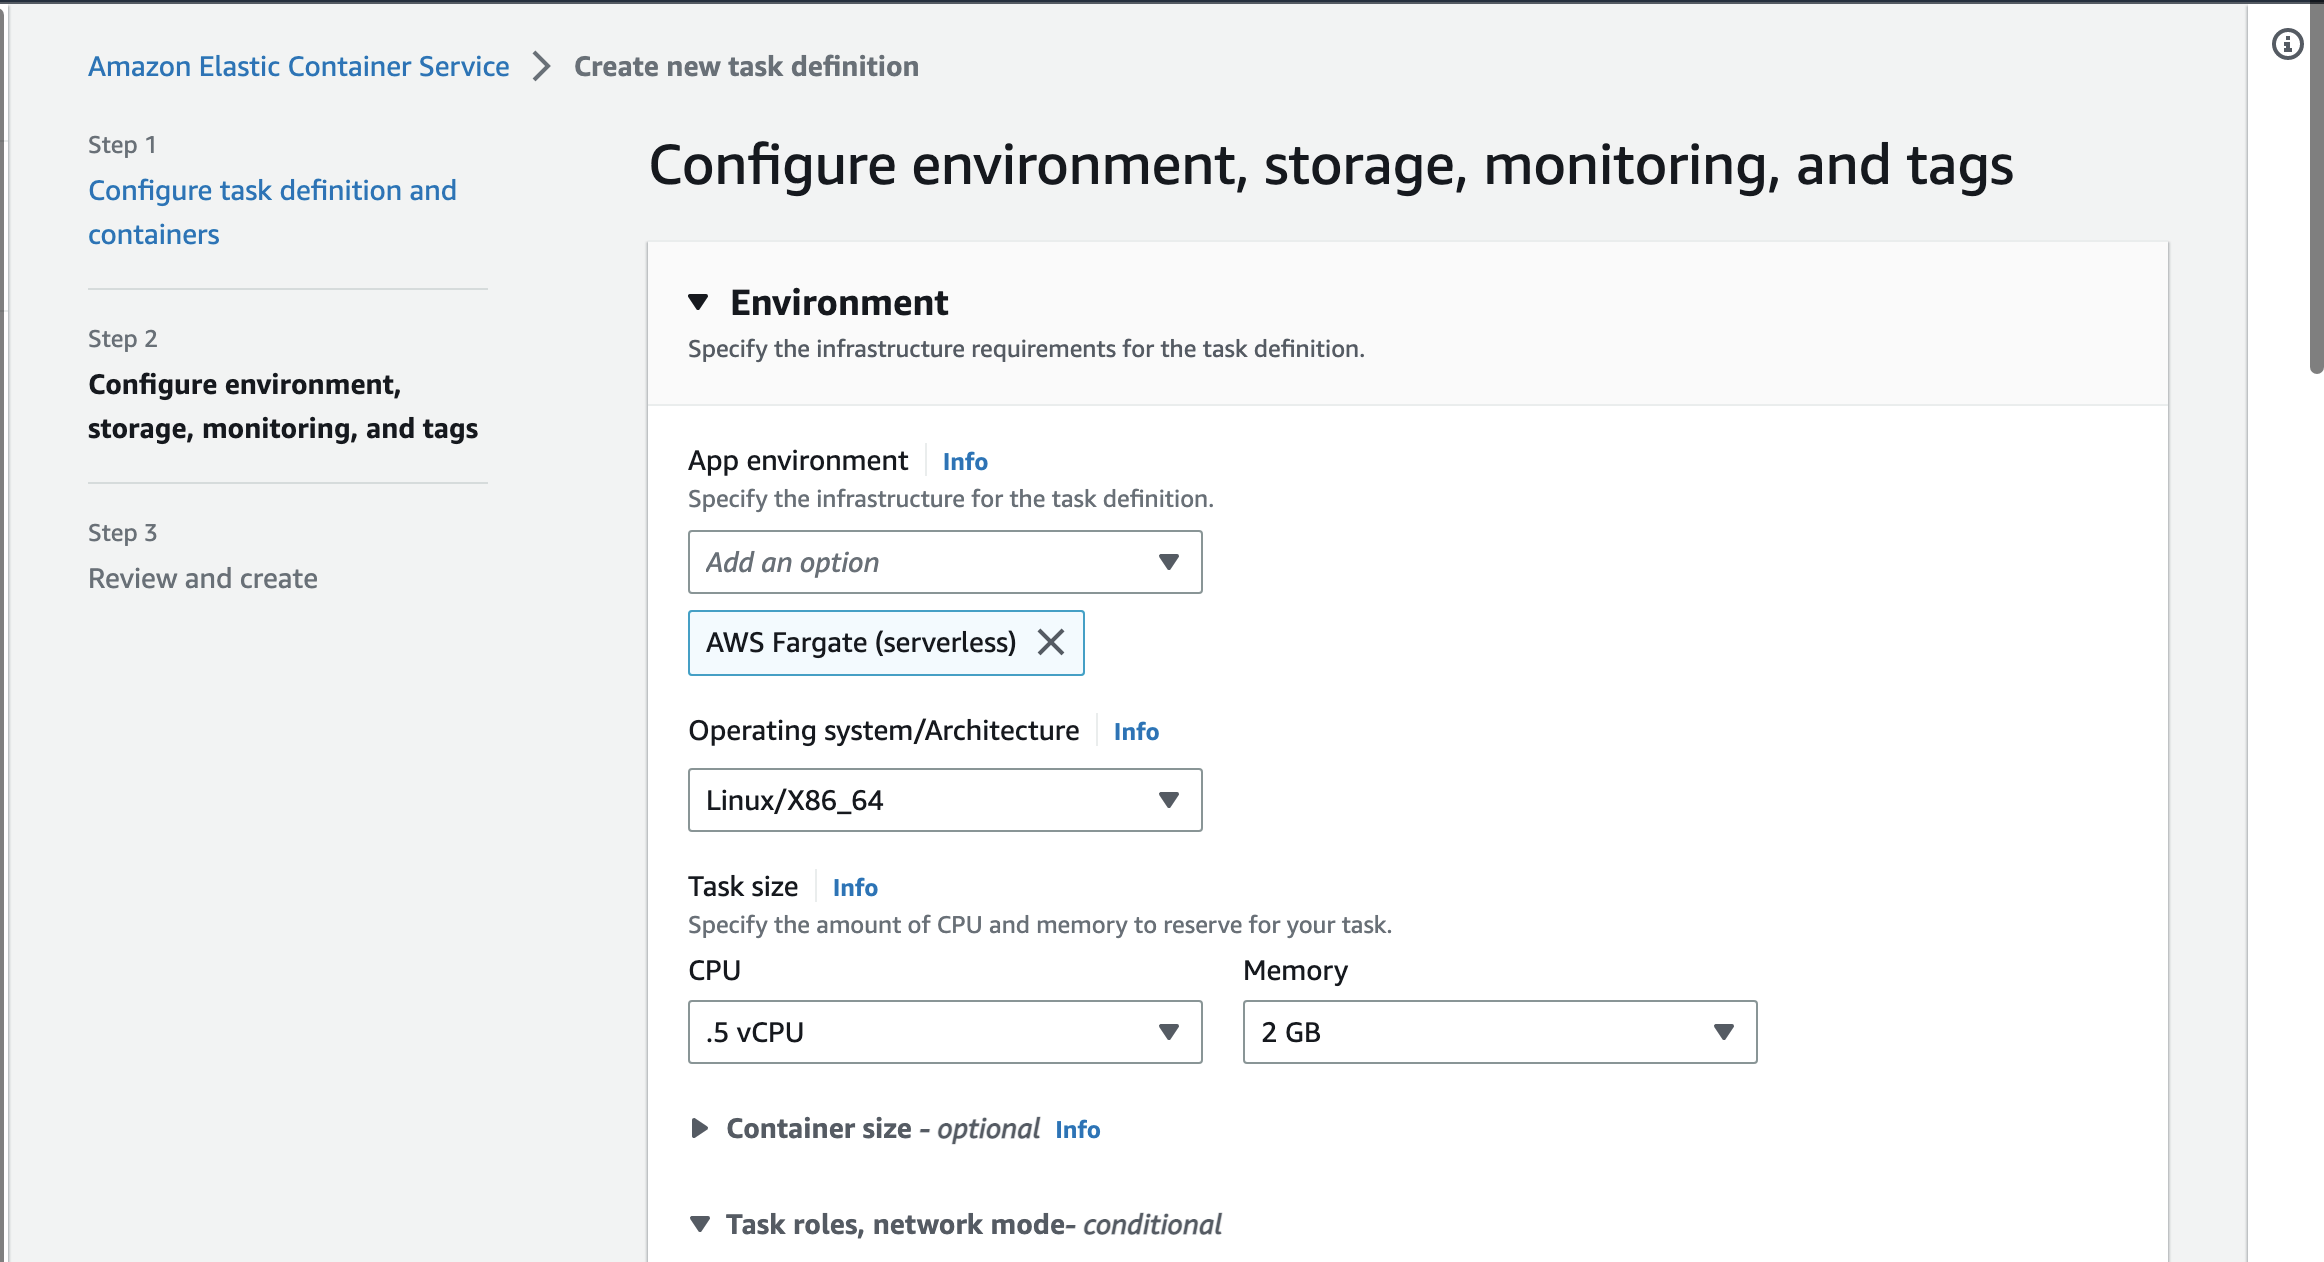
In the next page, select AWS Fargate(serverless) for App environment setting. Also, specify CPU and Memory usage for your need.
Next, assign Task role and Task execution role. 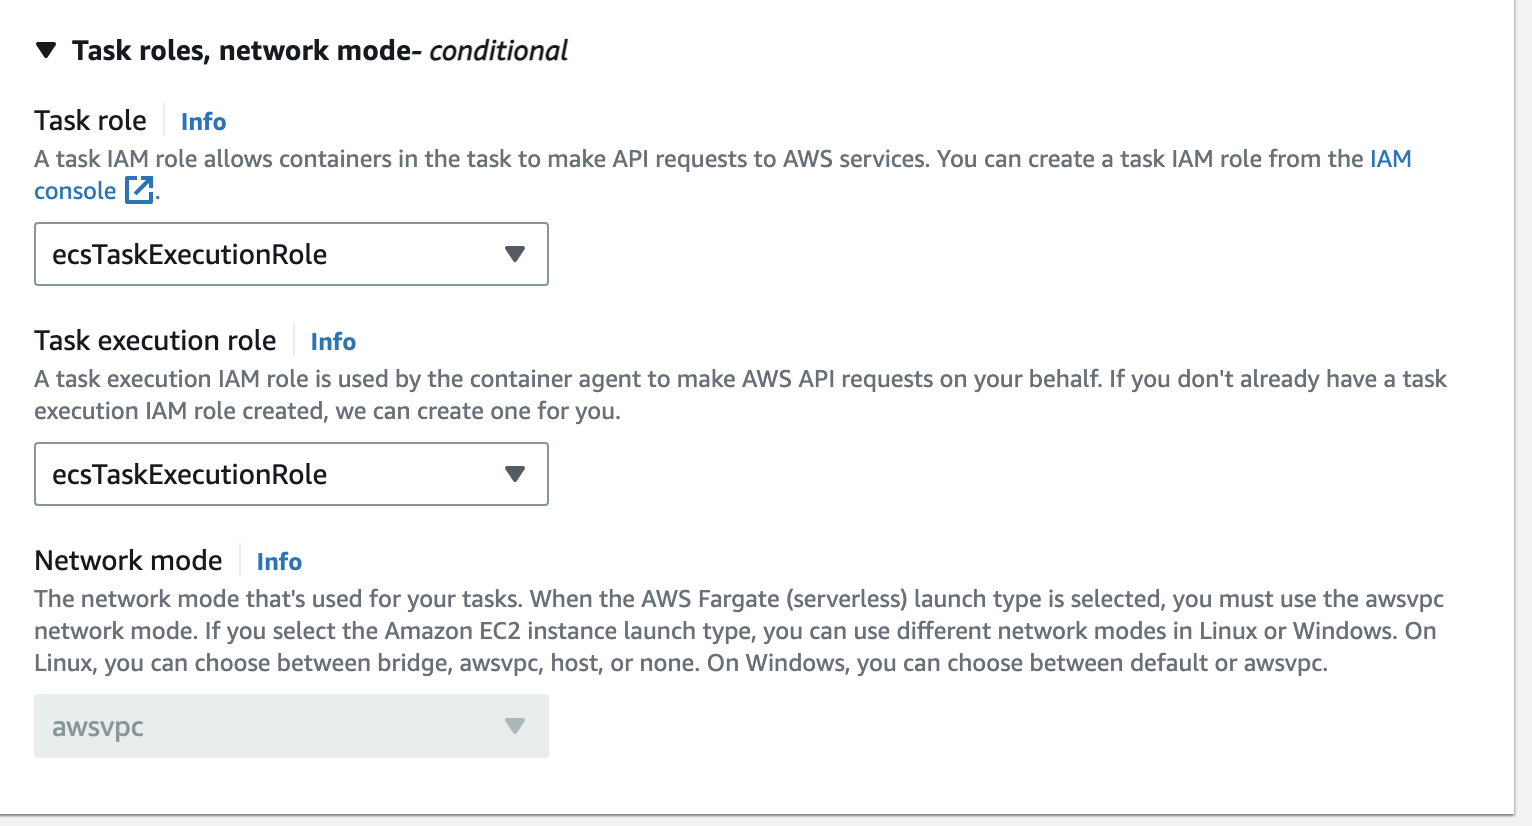
Scroll down to the bottom and create a task definition.
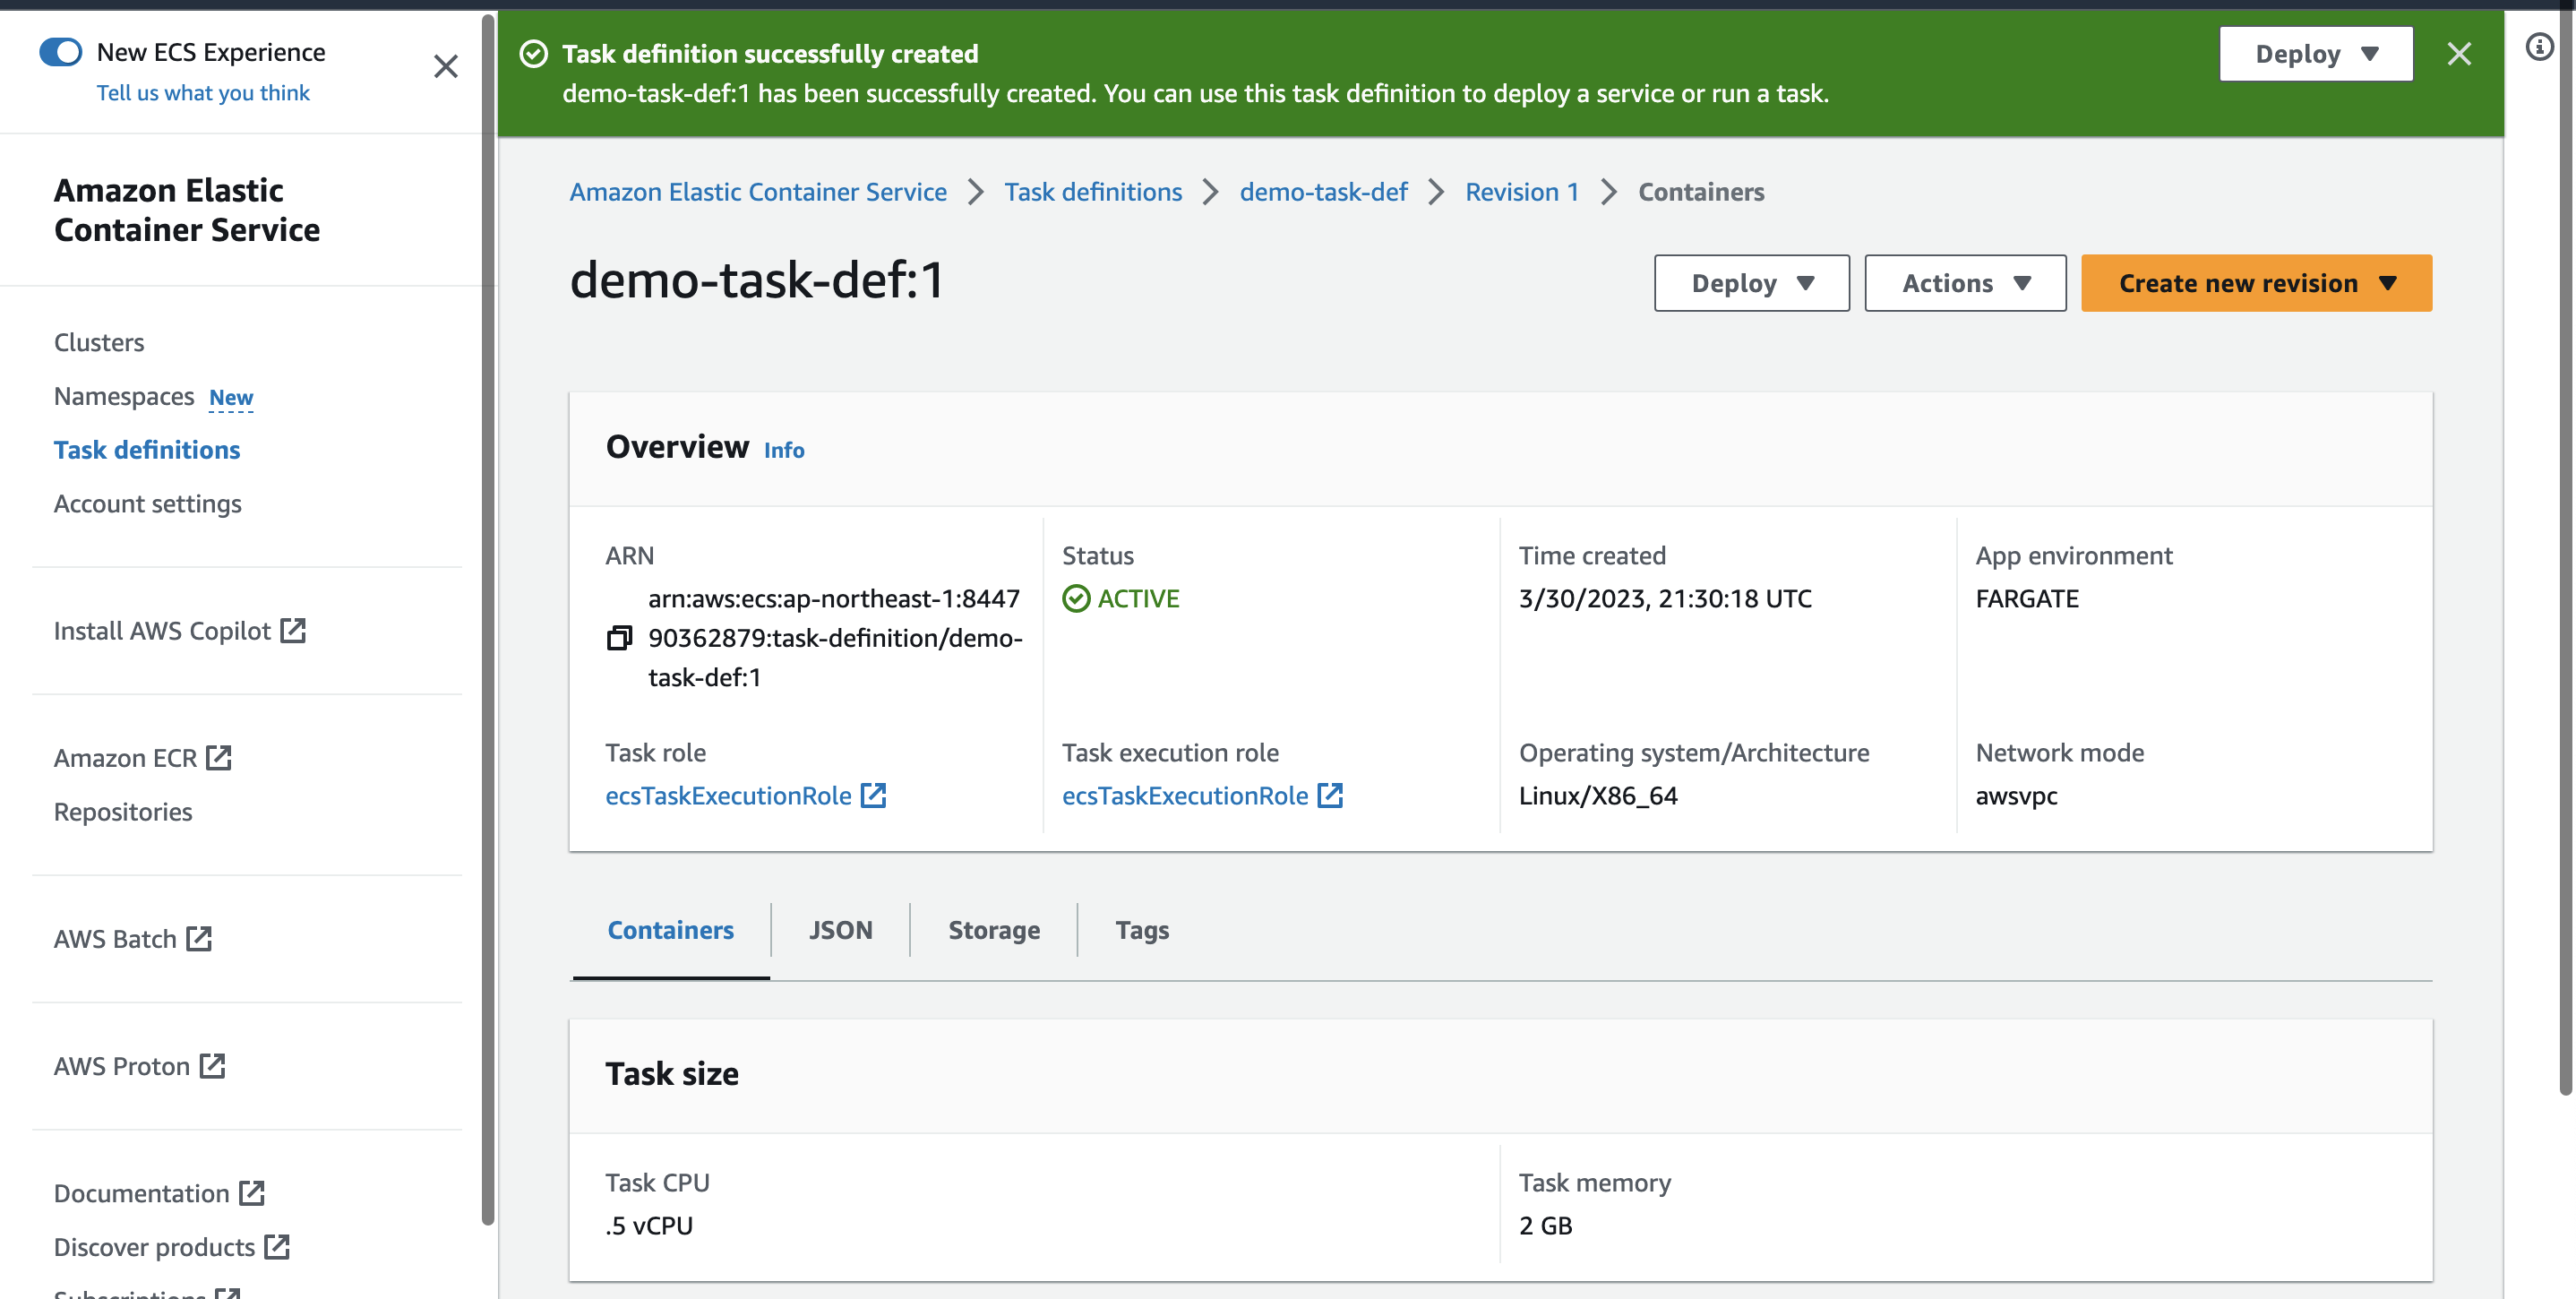
In dashboard, you can see our task definition is successfully created.
4. Create a service
Go to “Clusters” in the left panel and select our cluster.
Click our cluster. Then, select “Create” for under Services tab.
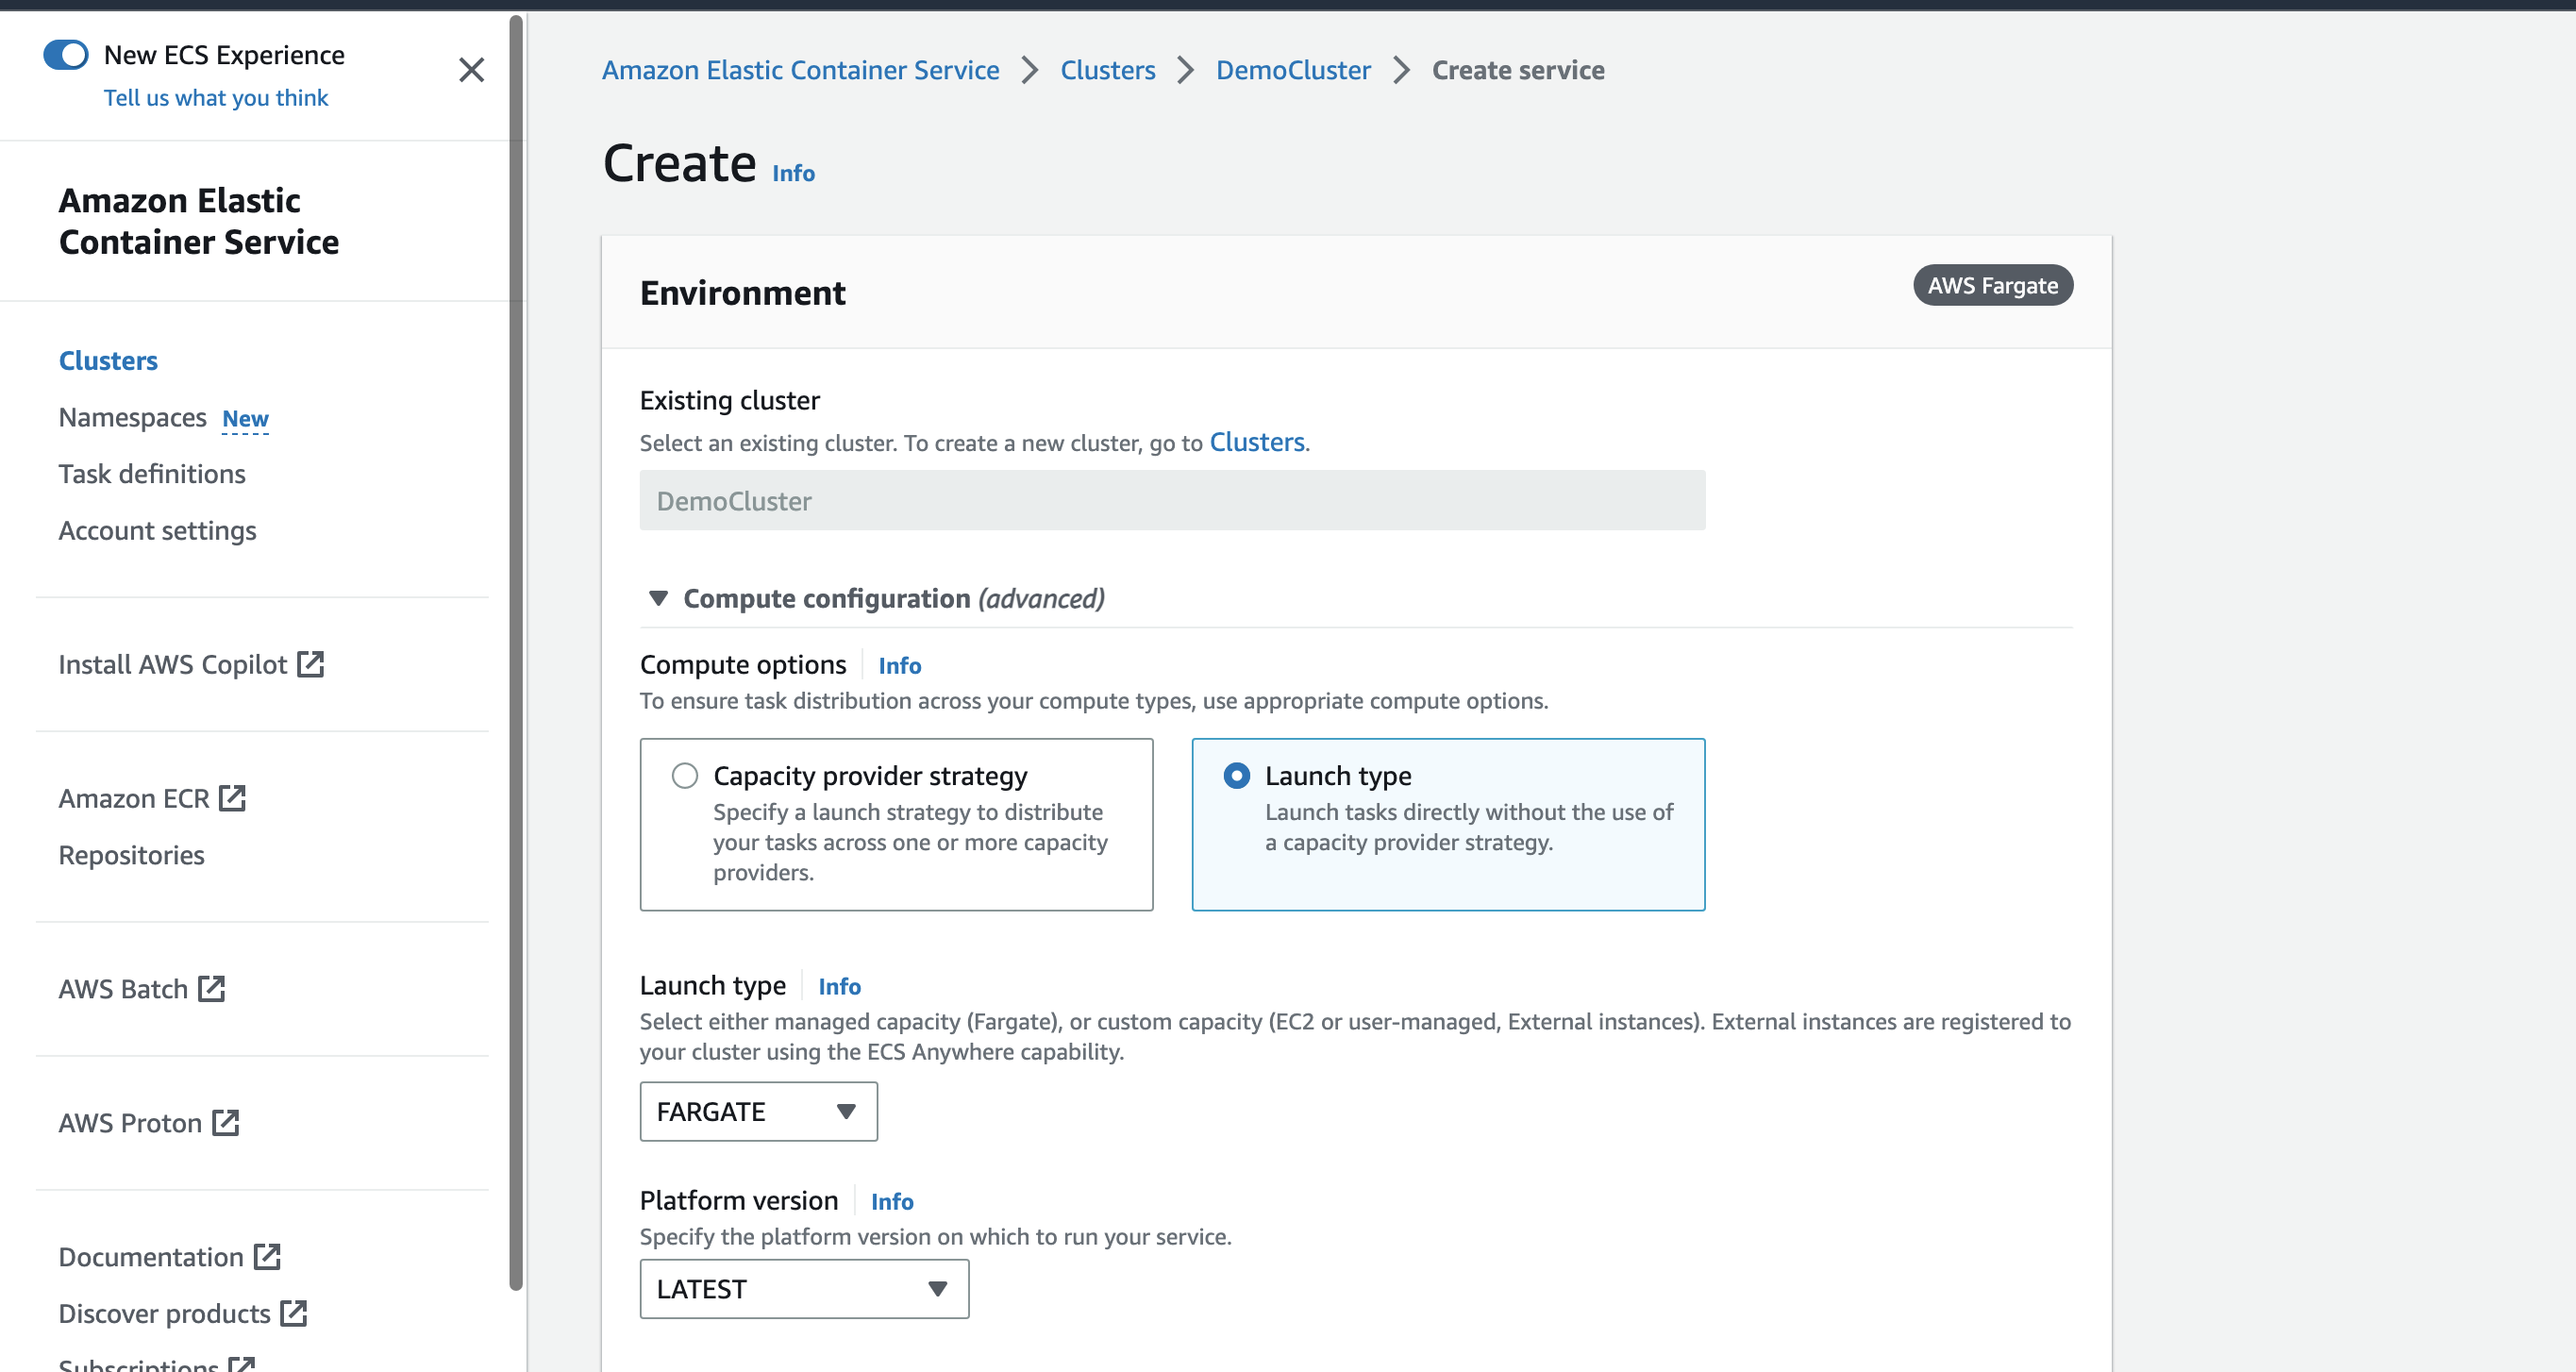
Select “Launch type” and set it to “Fargate”.
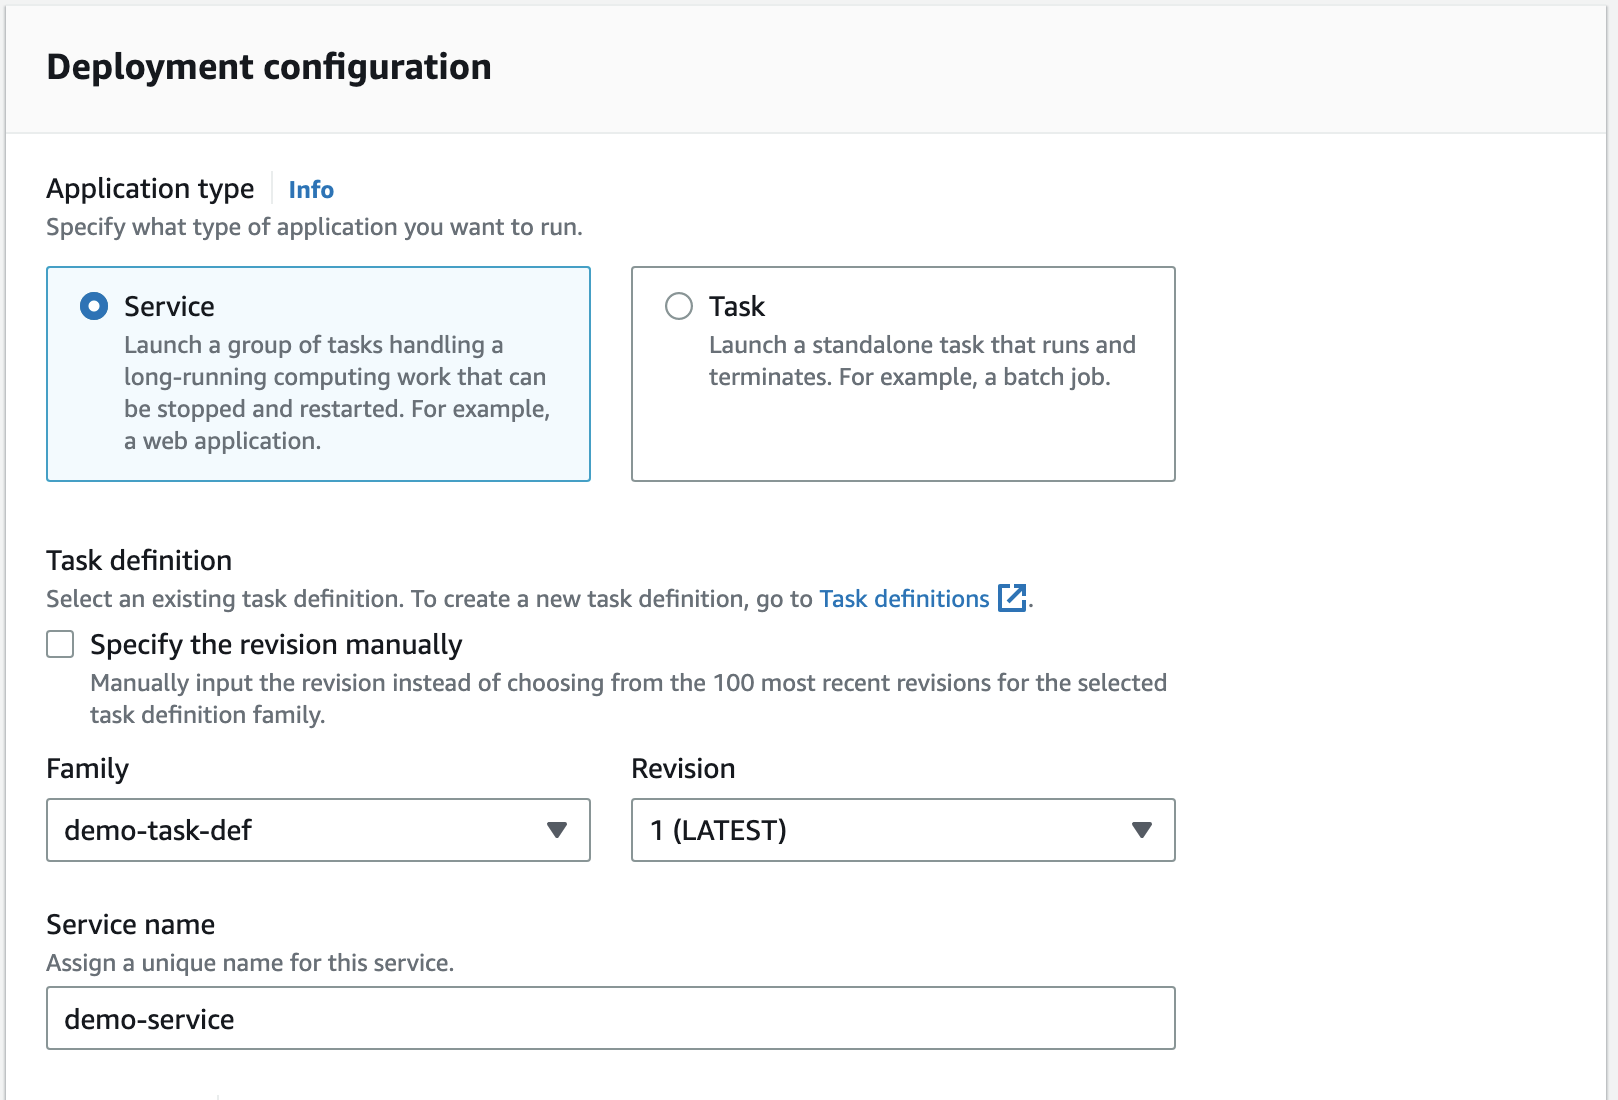
Now, link the task definition family into our service. Also, provide a service name.
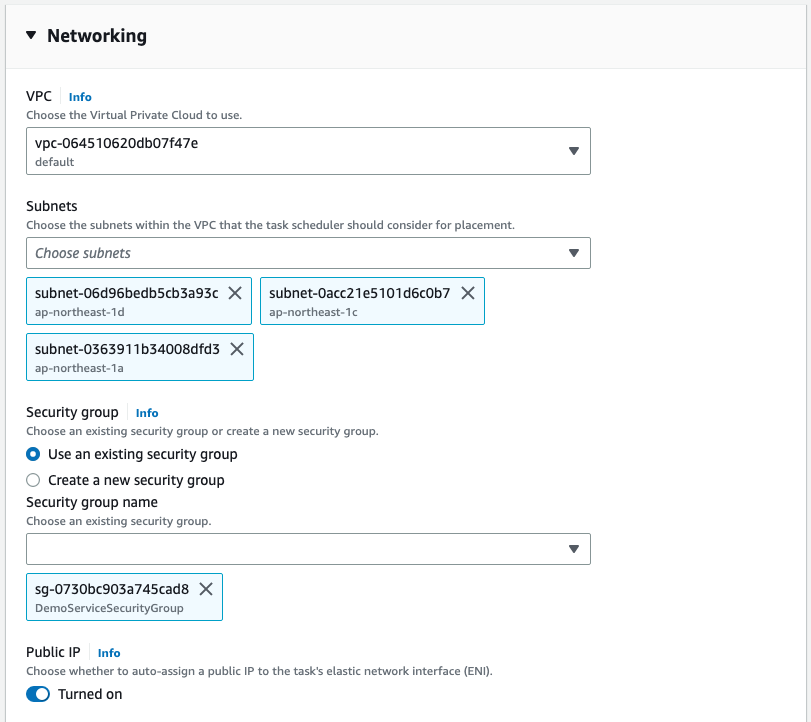
Since we mapped PORT 8000 for out container, create a security group that allows TCP 8000 PORT.
Link the security group in service configuration.
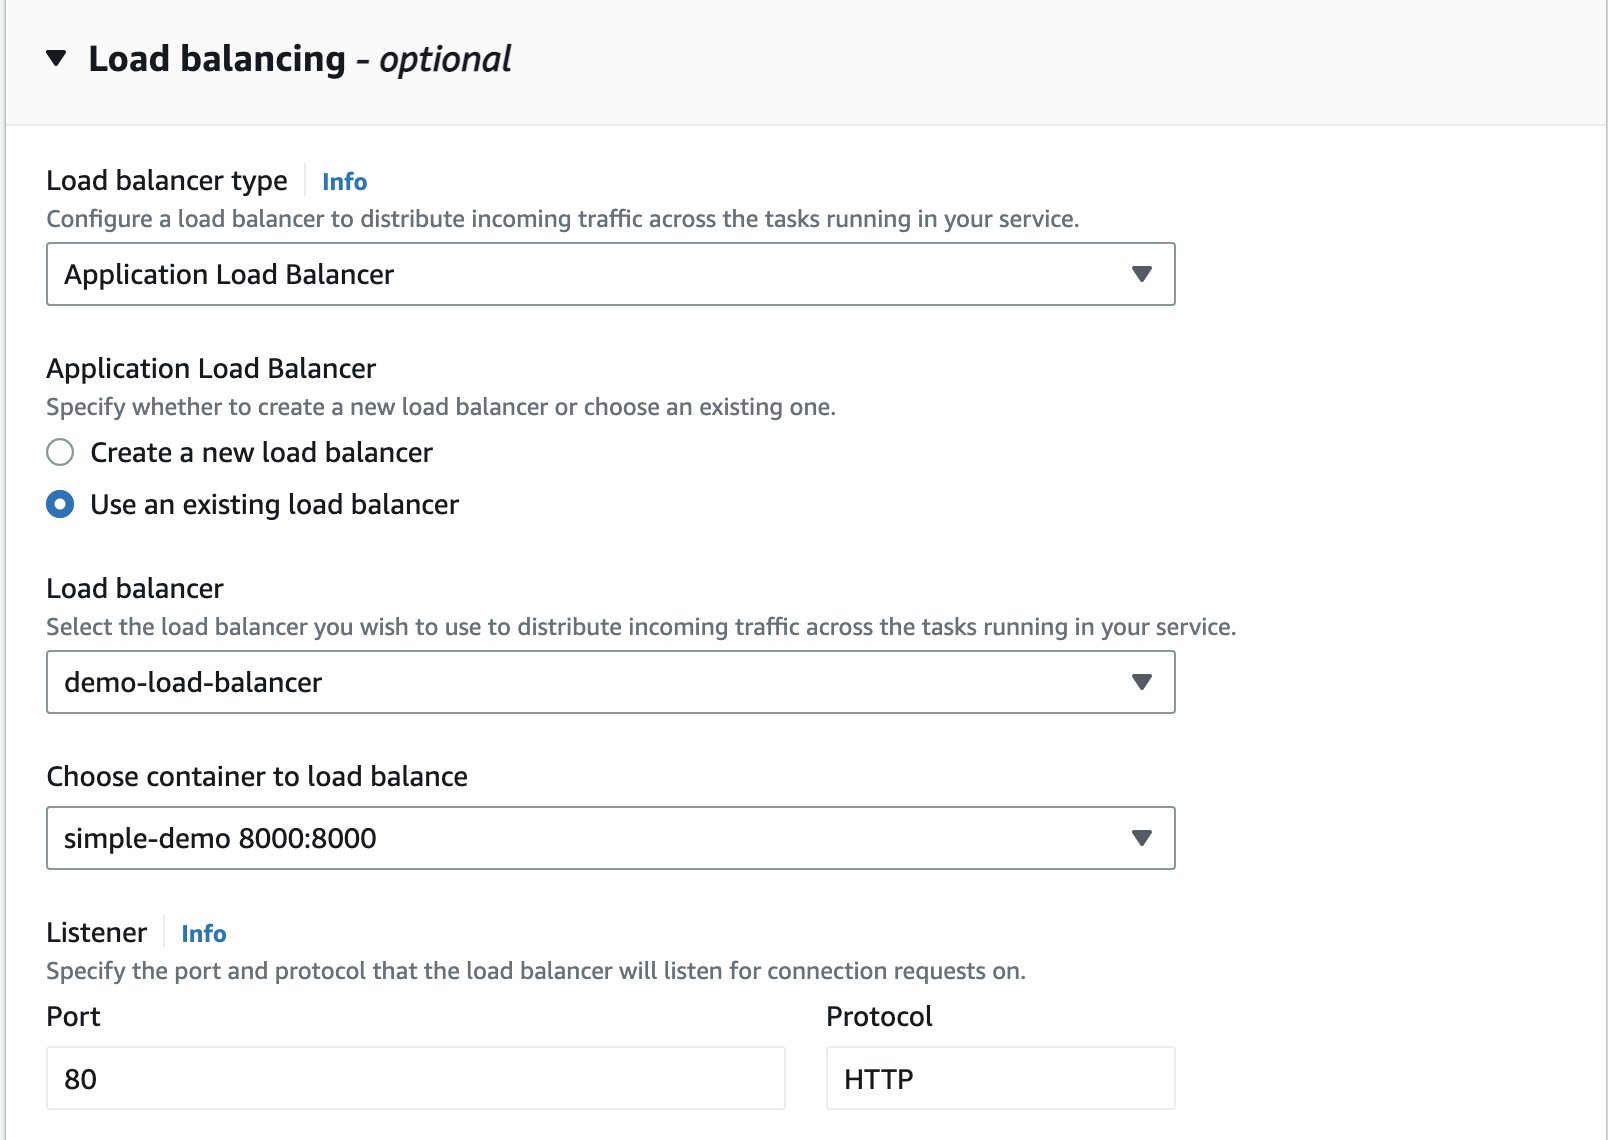
Now let’s link the load balancer we created.
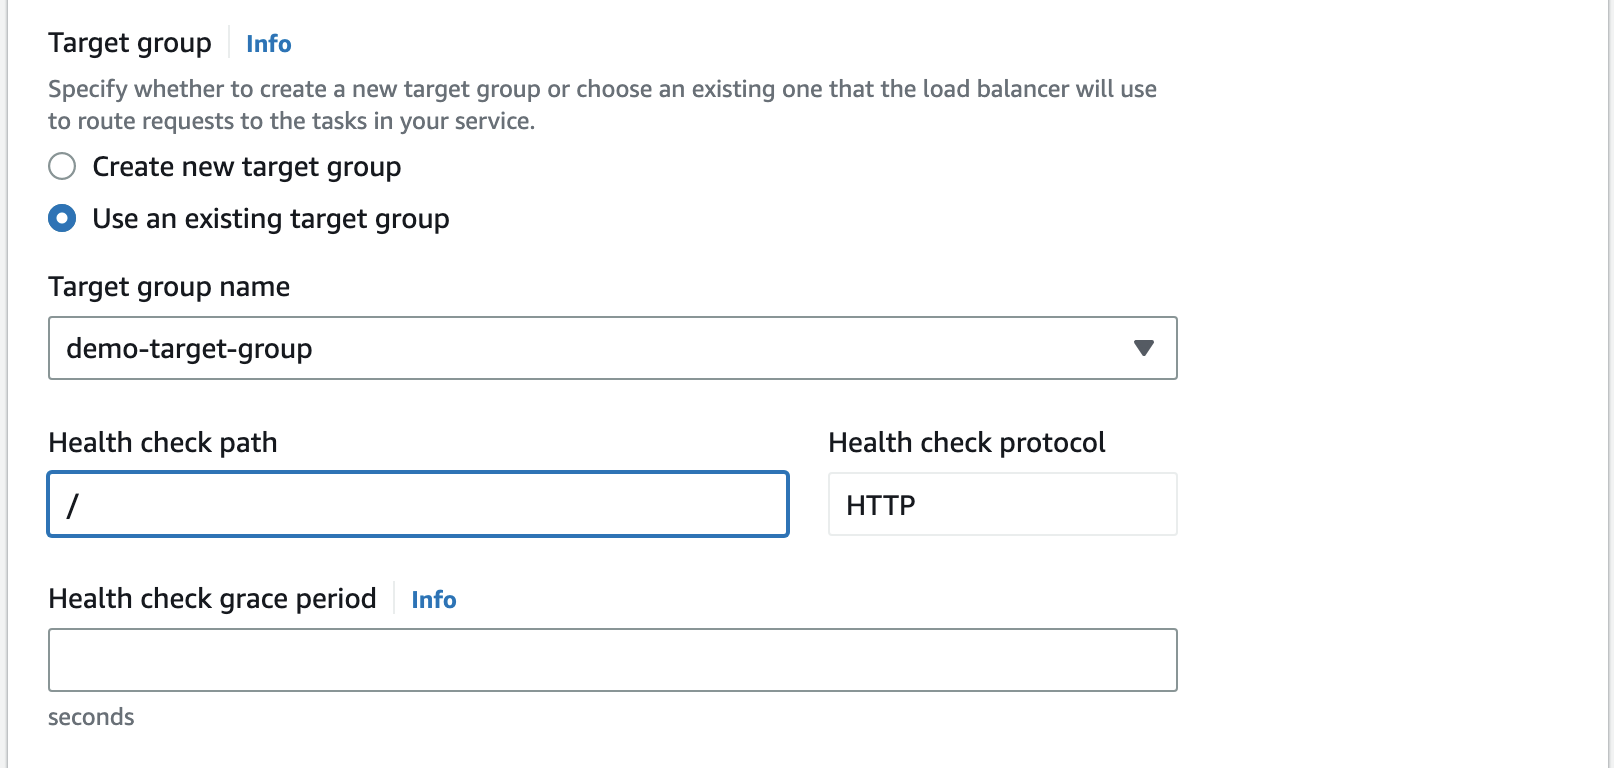
Also, limk the target group we created.
Scroll down to the bottom and click “Create”.
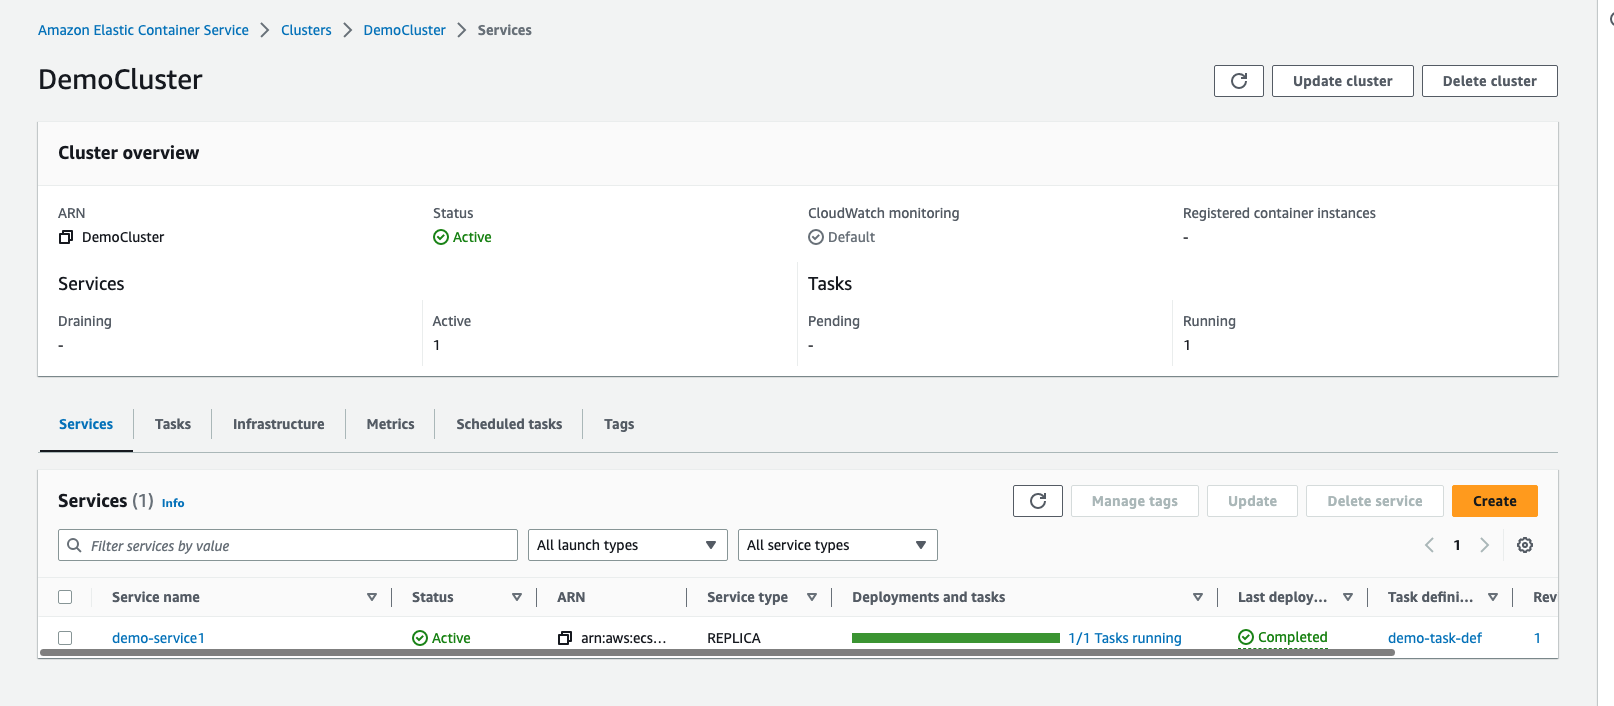
Now, we can see that our service has been successfully created.
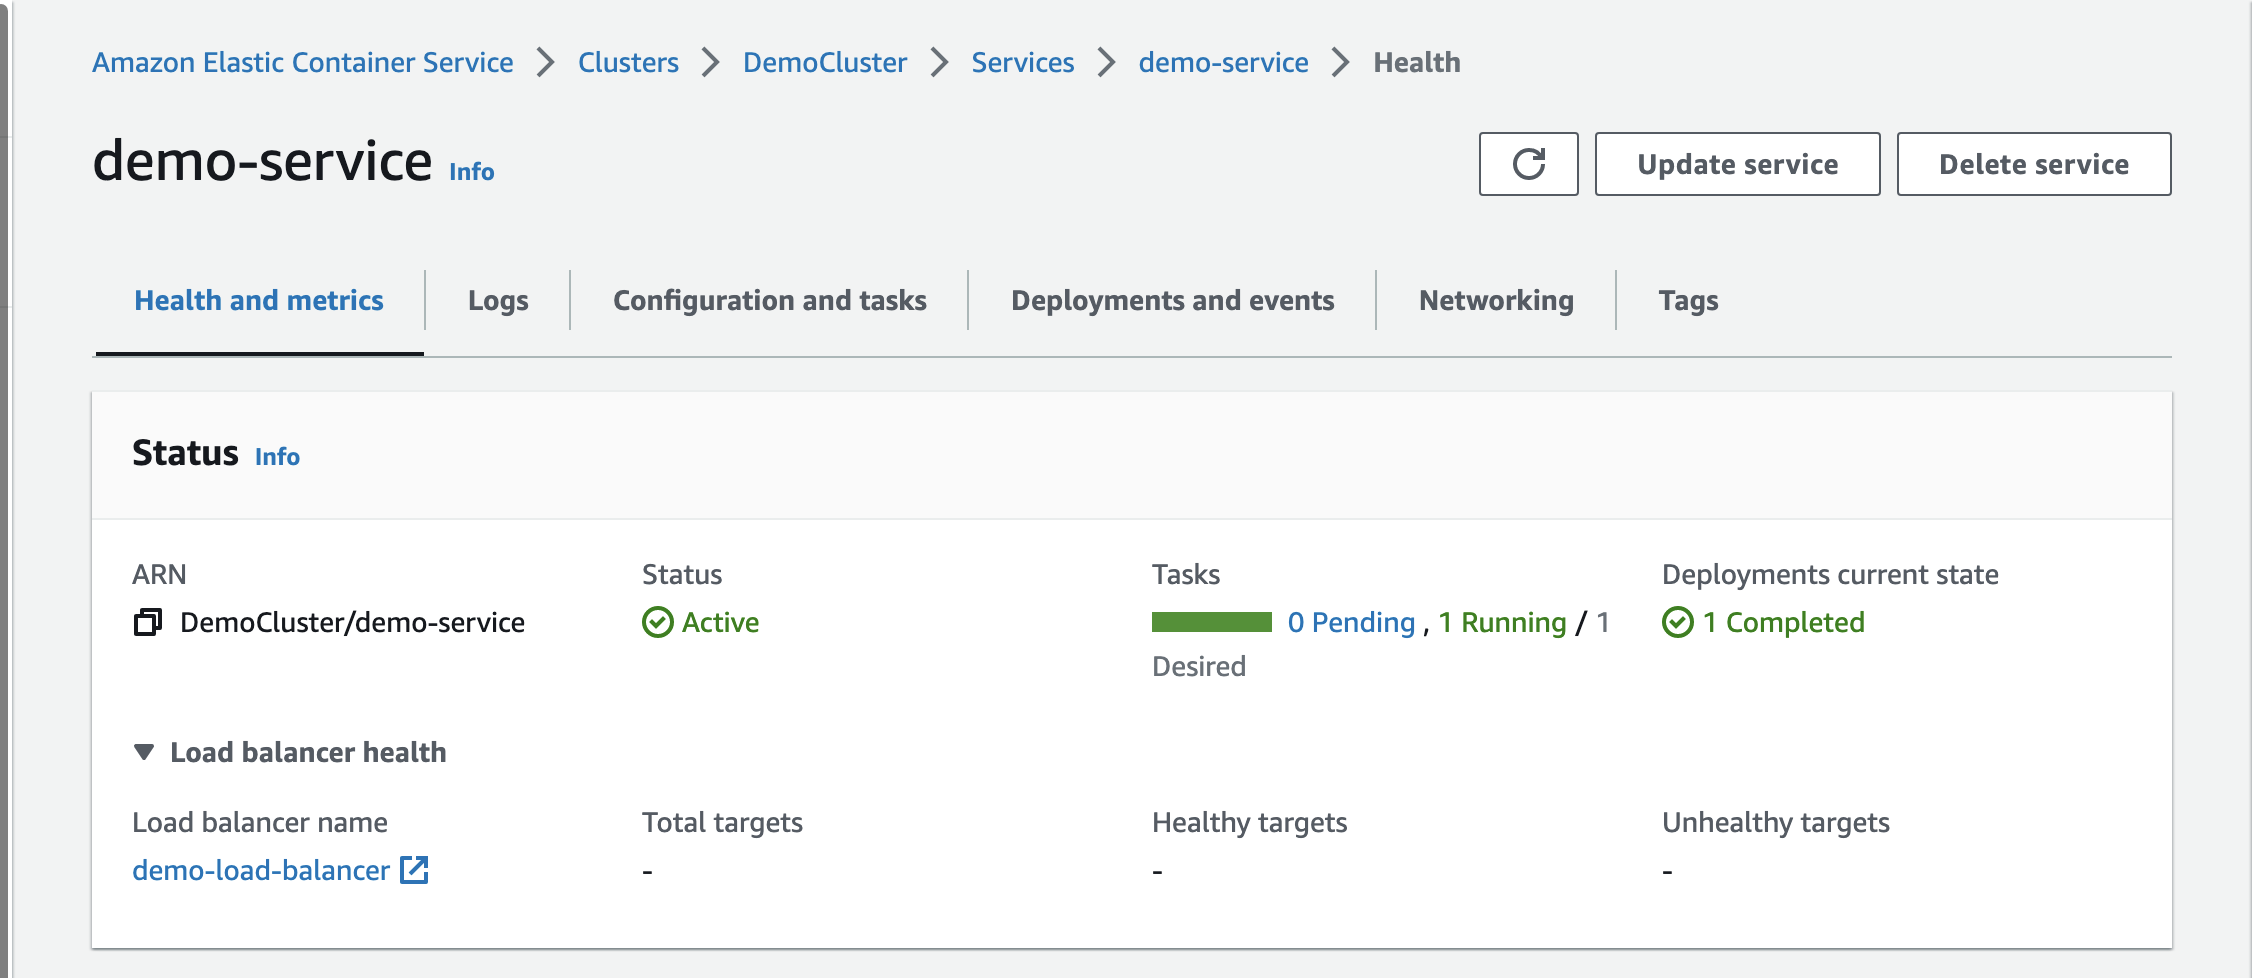
After a moment, we can see that our service is running successfully.
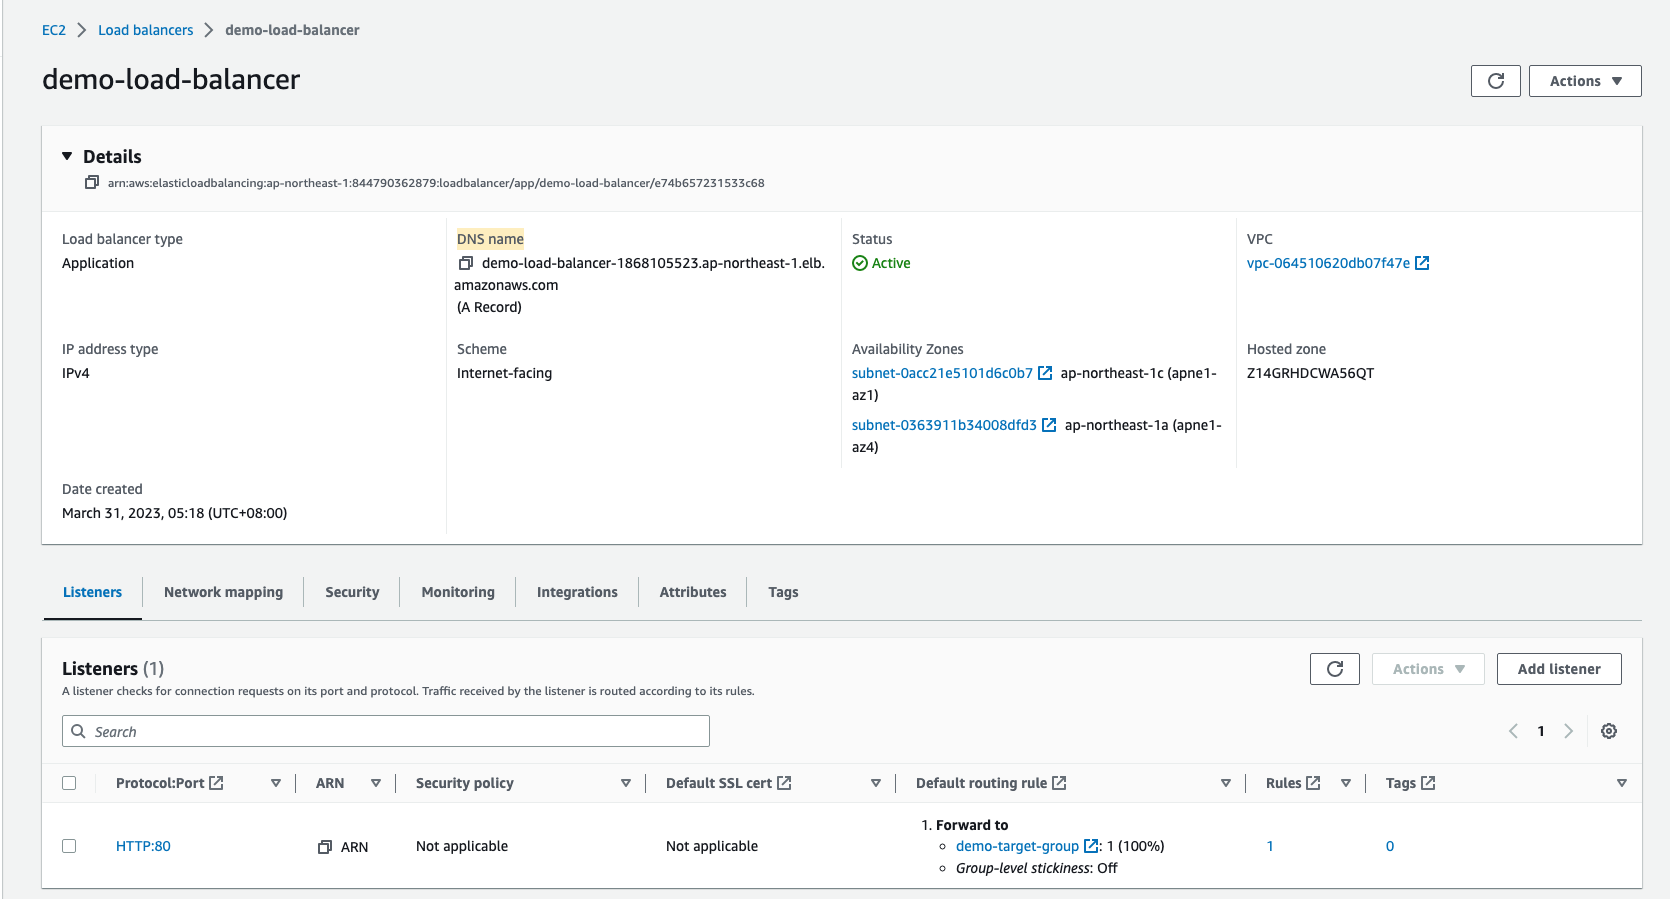
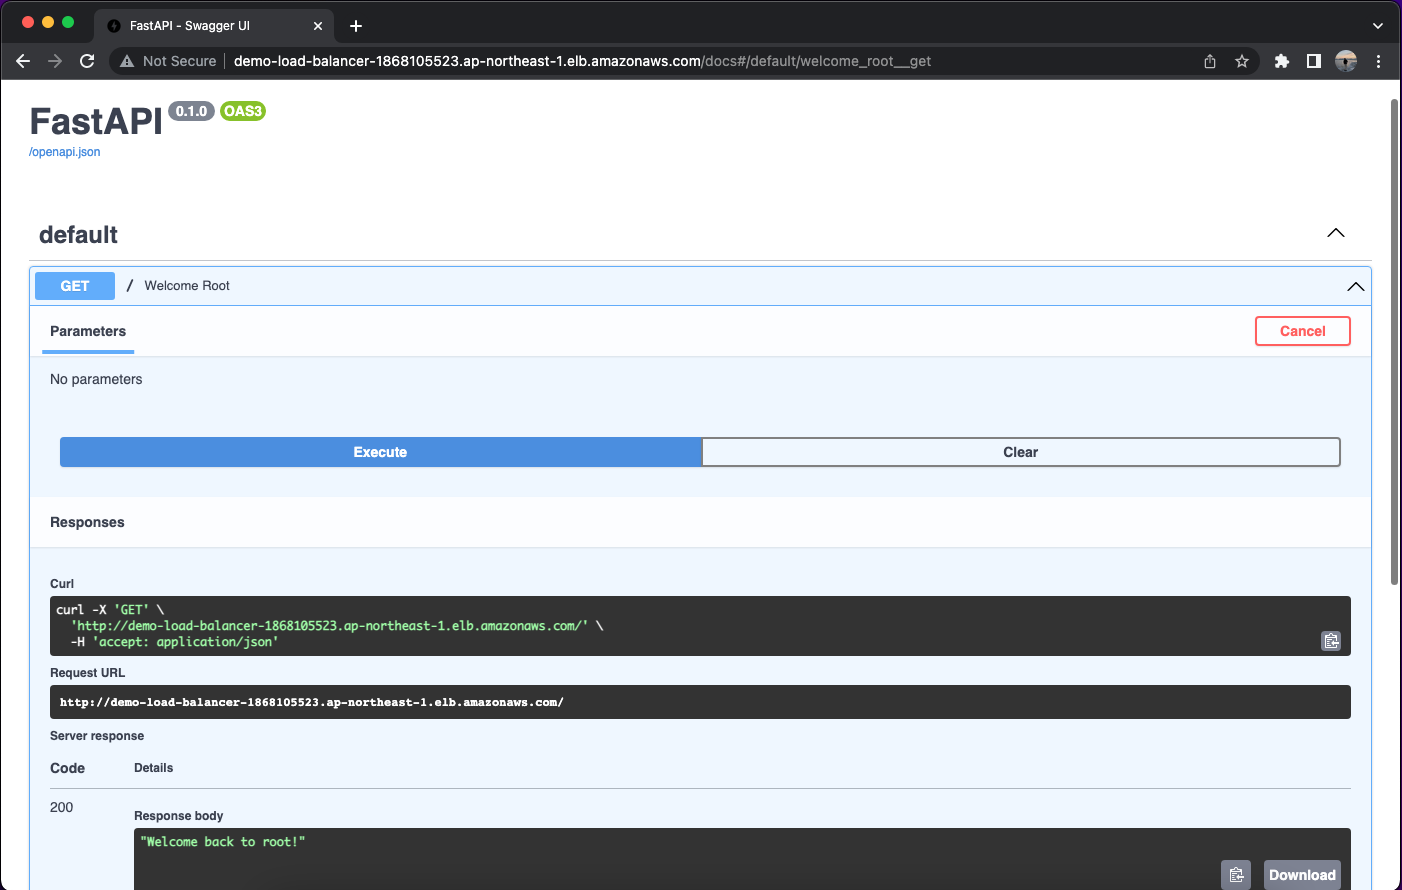
Now, to test our server, let’s go to the load balancer and copy the DNS name and paste it in a browser.
Congratulation! You can see that our server is successfully running.
5. Conclusion
In the next article, I’ll go over how to inject environment variables into the container using AWS Systems Manager Parameter Store.

