- Introduction
- Install Poetry
- Create a new project
- Install packages
- Build a Typer app
- README.md
- Fill out your package info
- Install our package to test it locally
- Distribute our package to PyPI
- Test our package with pip
- Update our package
1. Introduction
Typer is an amazing library that helps you build an amazing CLI app with python.
In the development process, you usually test your python command by executing the file directly python -m my_command.py -p 5. However, how do you actually distribute it to PyPI repository so that other people can download your library and use it with only the package name?
In this article, we’ll create a simple CLI app called goat_calc which has two commands named calc and hello.
calc takes two arguments. If the user provides --add option, print the sum. If the user provides --sub option, then print the subtraction.
hello simply prints “hello”.
2. Install Poetry
We’ll be using poetry to distribute our package to PyPI. We have a couple of options to install poetry.
In this post, we’ll use pipx to install it. For other installation options, please visit install poetry
First, install pipx.
1
pip install pipx
Then, install poetry.
1
pipx install poetry
3. Create a new project
Go to any directory like ~/Desktop and initiate our first project by
1
poetry new goat_calc
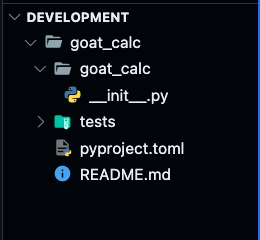
Then, you’ll see that the folder named goat_calc/ is created. Under goat_calc/ directory, there’s another folder named goat_calc/ also. The outer goat_calc/ directory is our project root folder and you can actually change its name to your preference.
Let’s now go to the outer goat_calc/ folder and open up vscode.
1
2
cd goat_calc
code .
4. Install packages
Let’s install typer by
1
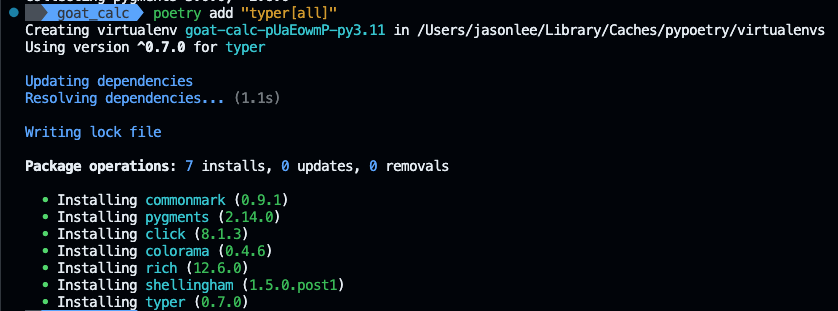
poetry add "typer[all]"
Then, activate the poetry virtual environment by
1
poetry shell
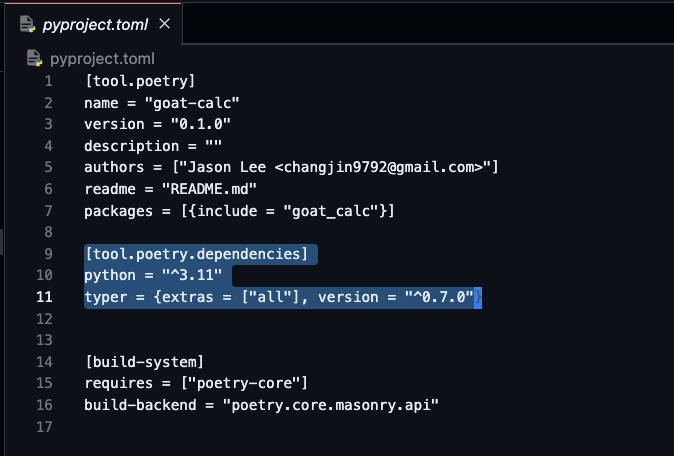
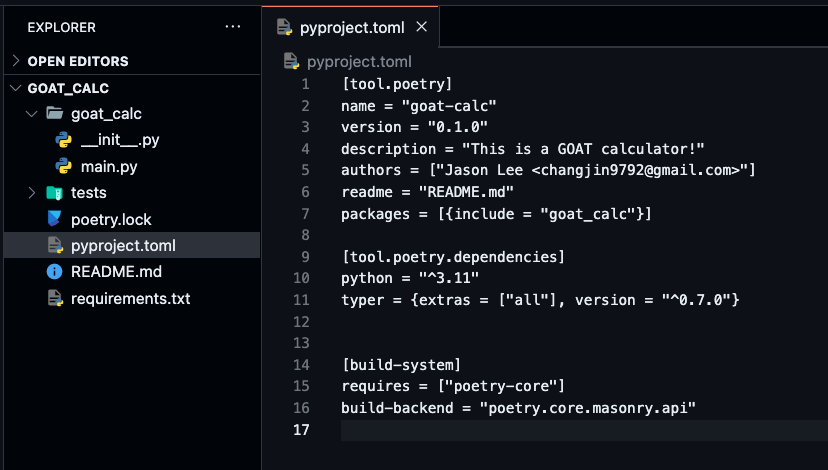
Then, your pyproject.toml will look as follows
In case you already have requirements.txt ready, I wrote a script for you to generate poetry-compatible dependencies.
Create a python file and paste the below code and execute it. Then, new_requirements.txt will be generated. Copy them and paste under [tool.poetry.dependencies] in pyproject.toml file.
1
2
3
4
5
6
7
8
9
10
11
12
13
14
file_path = "requirements.txt"
poetry_requirements_path = "new_requirements.txt"

new_requirements = ''
with open(file_path, 'r') as f:
    while True:
        line = f.readline()[:-1]
        if not line:
            break
        name, version = line.split('==')
        new_line = name + f"=\"{version}\""
        with open(poetry_requirements_path, "a") as ft:
            ft.write(new_line + "\n")
5. Build a Typer app
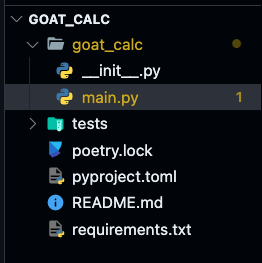
Create main.py under goat_calc/ directory.
Let’s make a simple Typer app with two commands: calc and hello
/goat_calc/main.py
1
2
3
4
5
6
7
8
9
10
11
12
13
14
15
16
17
18
import typer

app = typer.Typer()

@app.command()
def calc(
    x: int = typer.Argument(..., help="first number"),
    y: int = typer.Argument(..., help="second number"),
    is_add: bool = typer.Option(..., "--is-add", help="Set this flag to add. Otherwise, subtract.")
):
    print(x + y if is_add else x - y)

@app.command()
def hello():
    print("hello")

if __name__ == "__main__":
	app()
Let’s now try if it works.
To see all the commands, enter python3 goat_calc/main.py --help
Let’s execute calc command with --add option,
1
python3 goat_calc/main.py calc 2 3 --add
Now with --sub option.
1
python3 goat_calc/main.py calc 2 3 --sub
hello command
It seems work pretty well!
6. README.md
It’s better to provide the documentation of features of the library to users.
7. Fill out your package info
By default, the version is set to 0.1.0.
Write a brief description summarizing the current release.
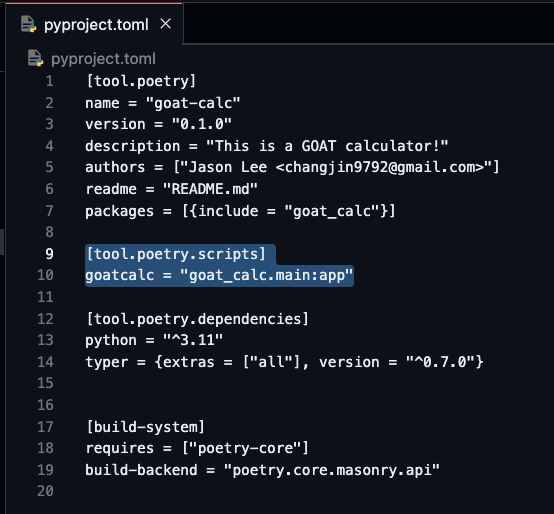
Now, we don’t want to make users to execute our package typing python3 main.py calc 2 3 --add. Let’s add a script that would define the command to run our package in pyproject.toml file.
The goatcalc on the left-hand side is actually the command users type to run our package like git. The right-hand side defines the path to our app which we defined earlier in main.py. However, we need to remove __name__ == "__main__" in main.py since the script will call app() instead for us.
1
2
3
4
5
6
7
8
9
10
11
12
13
14
15
16
17
18
import typer

app = typer.Typer()

@app.command()
def calc(
    x: int = typer.Argument(..., help="first number"),
    y: int = typer.Argument(..., help="second number"),
    is_add: bool = typer.Option(..., "--is-add", help="Set this flag to add. Otherwise, subtract.")
):
    print(x + y if is_add else x - y)

@app.command()
def hello():
    print("hello")

# REMOVED __name__ == "__main__"
8. Install our package to test it locally
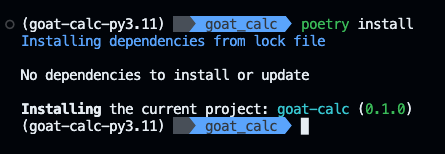
Let’s install our package to run it locally by
1
poetry install
Now, let’s test if our package works fine. You can now use goatcalc command without providing python interpreter.
It seems working well!
9. Distribute our package to PyPI
It’s time to distribute our package to PyPI so that other people can download it!
Let’s first create a wheel package by
1
poetry build
Then you’ll see the following dist/ folder created in the project directory. 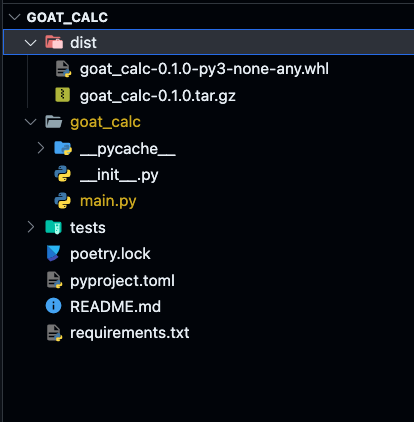
The next step is to go to PyPI website and create an account. After you log in, go to Register API Token to register a new API token.
For the scope field, select Entire account (all projects). Later you can change it to be restricted to specific packages.
After creating an API token, go back to the terminal and enter
1
poetry config pypi-token.pypi <your APi token>
Now, you’re ready to publish your package!
1
poetry publish --build
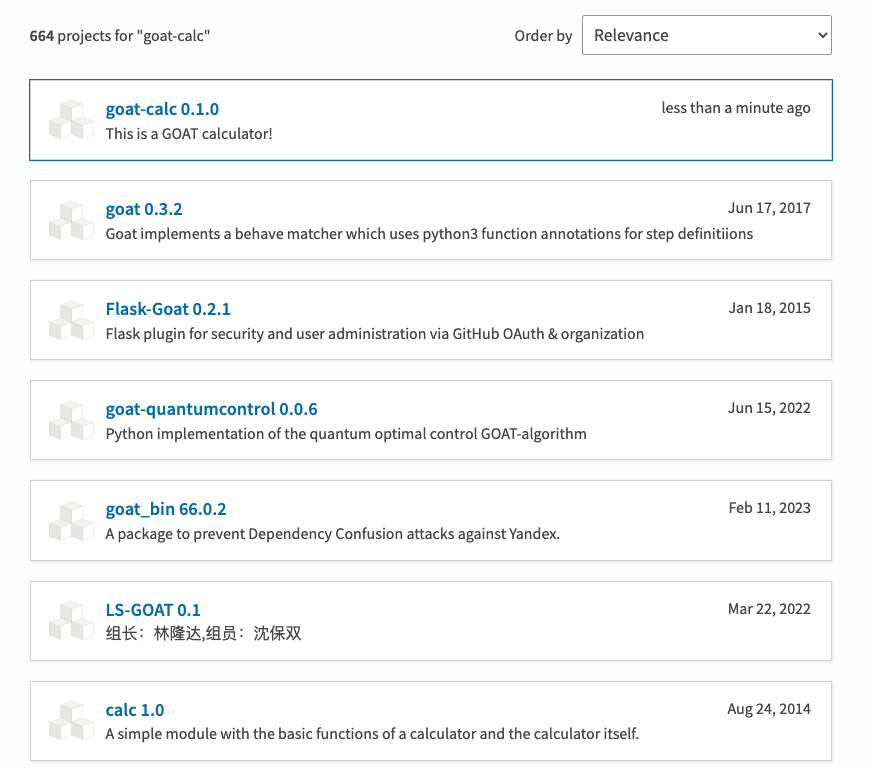
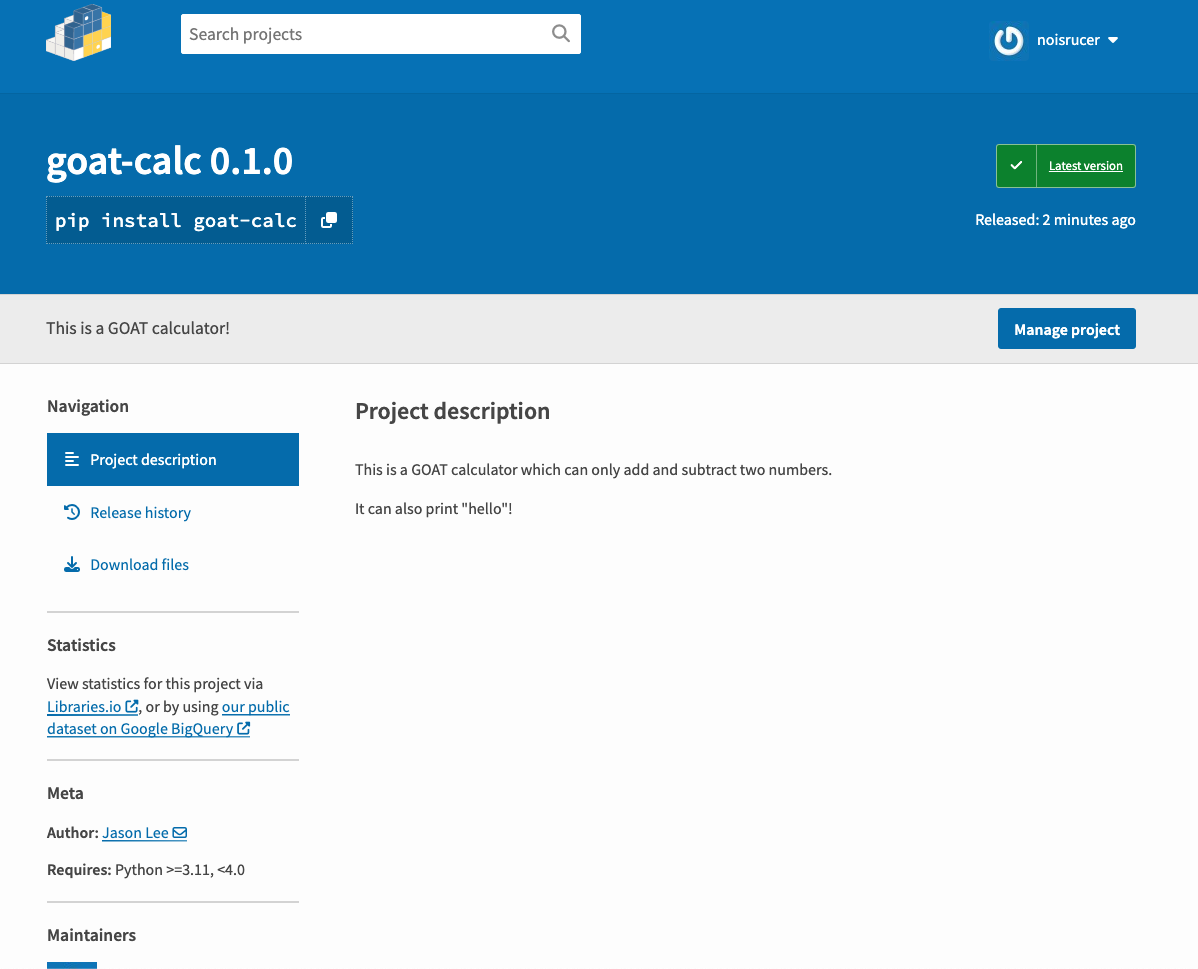
Yay! You have successfully published your pakcage to PyPI. Let’s go to PyPI to check our package.
Search for goat-calc and you see our package has been successfully published.
Congratulations! Now you have your own amazing package.
10. Test our package with pip
Finally, let’s go back to our terminal and install our package by
1
pip install goat-calc
After installing some dependencies you’ll see that our package with version 0.1.0 has been installed!
Let’s test our commands.
Yay! It works great!
11. Update our package
You’ll obviously want to update our packages with new features.
Let’s modify our main.py
1
2
3
4
5
6
7
8
9
10
11
12
13
14
15
16
import typer

app = typer.Typer()

@app.command()
def calc(
    x: int = typer.Argument(..., help="first number"),
    y: int = typer.Argument(..., help="second number"),
    is_add: bool = typer.Option(..., "--add/--sub", help="Set this flag to add. Otherwise, subtract.")
):
    print(x + y if is_add else x - y)
    print("Updated") # THIS IS UPDATED

@app.command()
def hello():
    print("hello")
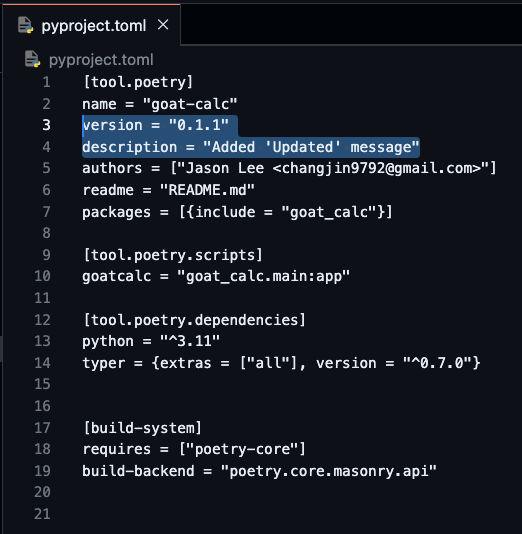
Also, modify the next release version and description in pyproject.toml.
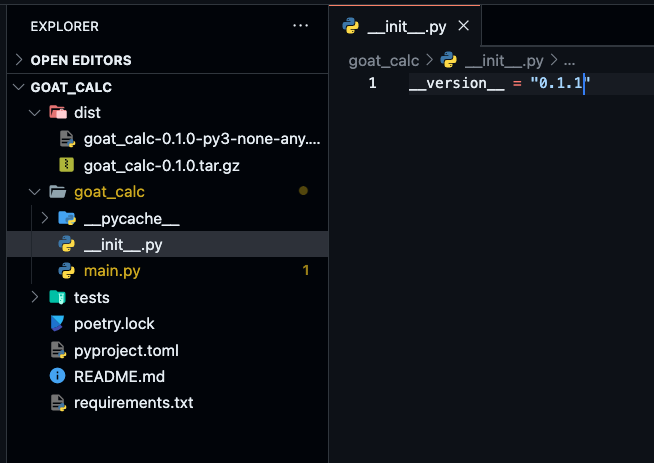
Finally, modify goat_calc/__init__.py file as below
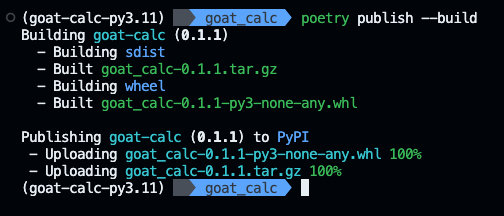
Let’s publish our next release by
1
poetry publish --build
Let’s upgrade our package by
1
pip install goat-calc --upgrade
Let’s test it out!
You can see our change has been successfully updated.

