Guide to distribute, install with pip, and use our custom PyPI package.
1. PyPI
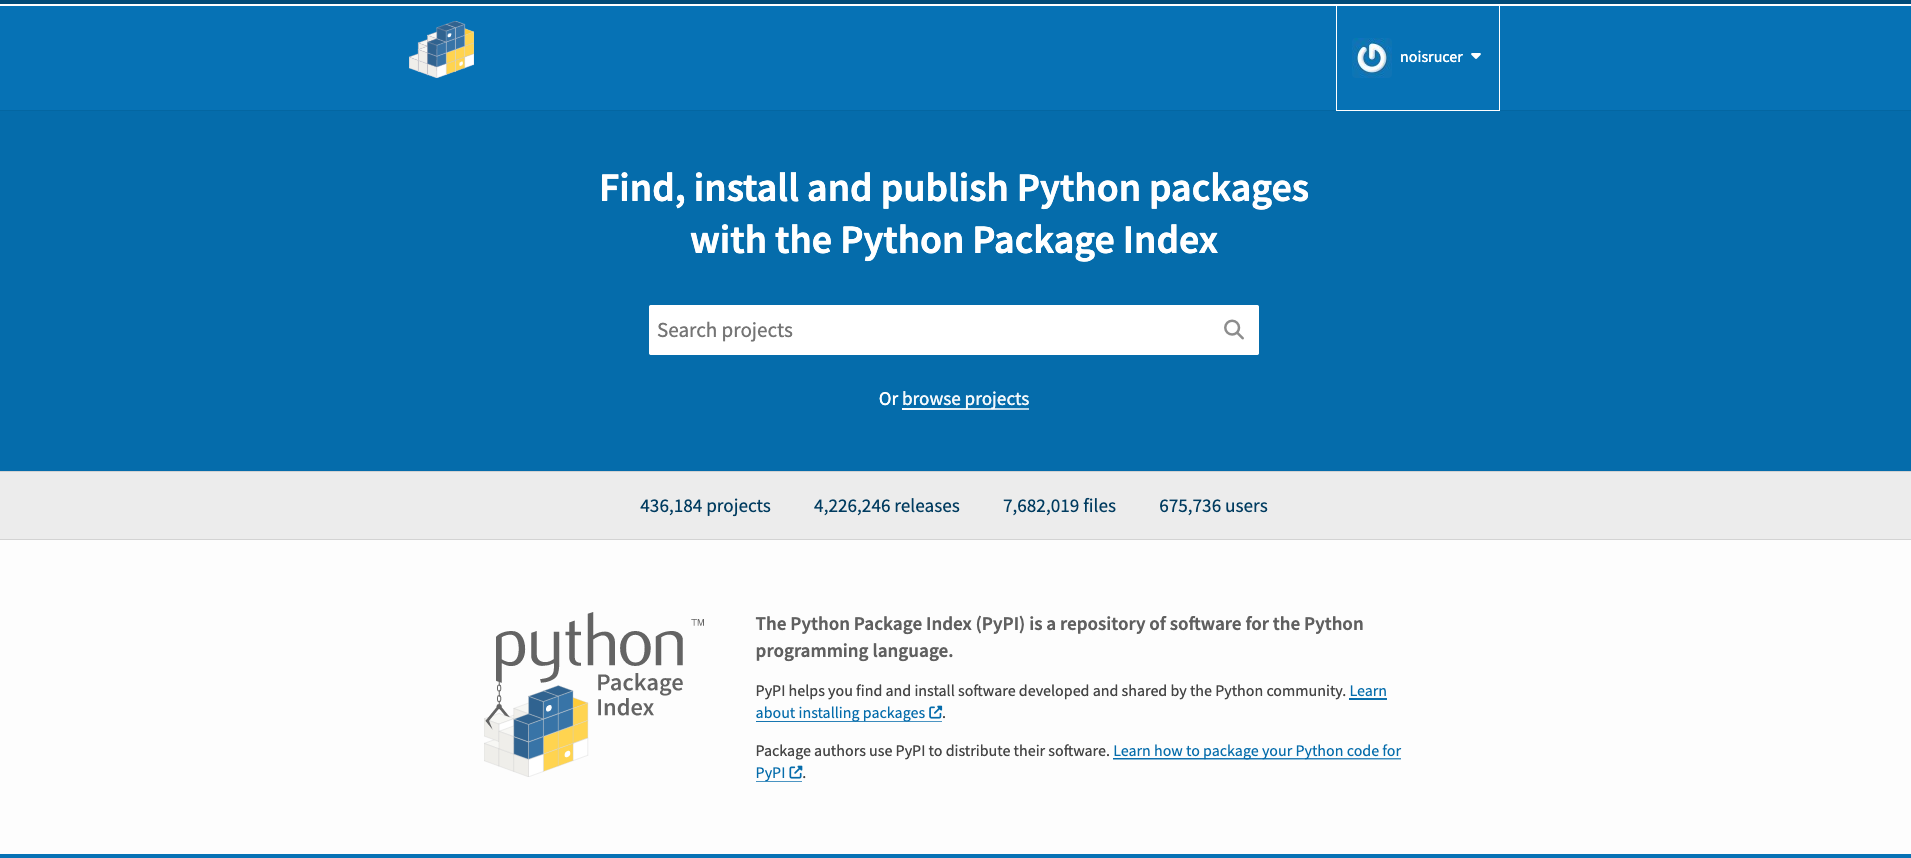
If you experienced Python before, you probably have used PyPI (Python Package Index) which is the Python package repository where you can install millions of different python packages that other developers wrote.
Using pip, you can download a package by
1
pip install <package-name>
Now, let’s write a simple program and distribute to PyPI then download it using pip.
2. Register in PyPI
Go to pypi.org and register for an account.
3. Directory structure
First choose a package name. This name must be unique so you could search to check if there’s a pre-registered package name.
Let’s say the package name you chose is geek_noisrucer2.
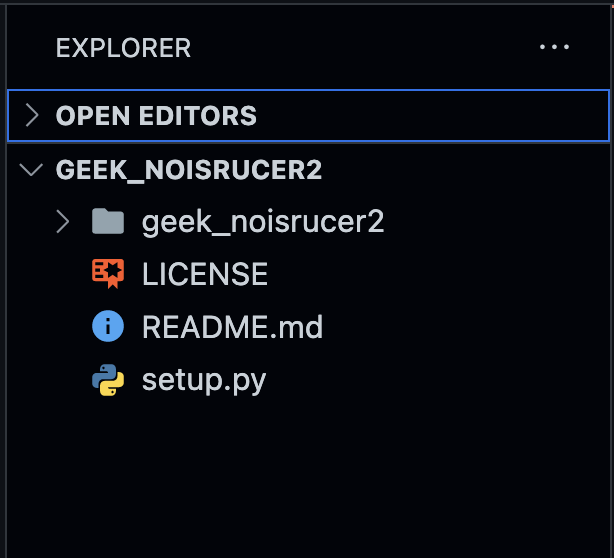
Now, let’s create a directory named geek_noisrucer2/ and create
geek_noisrucer2/(another directory inside the root dir). This must be the same as your package name.LICENSEREADME.mdsetup.py
4. Write your programs
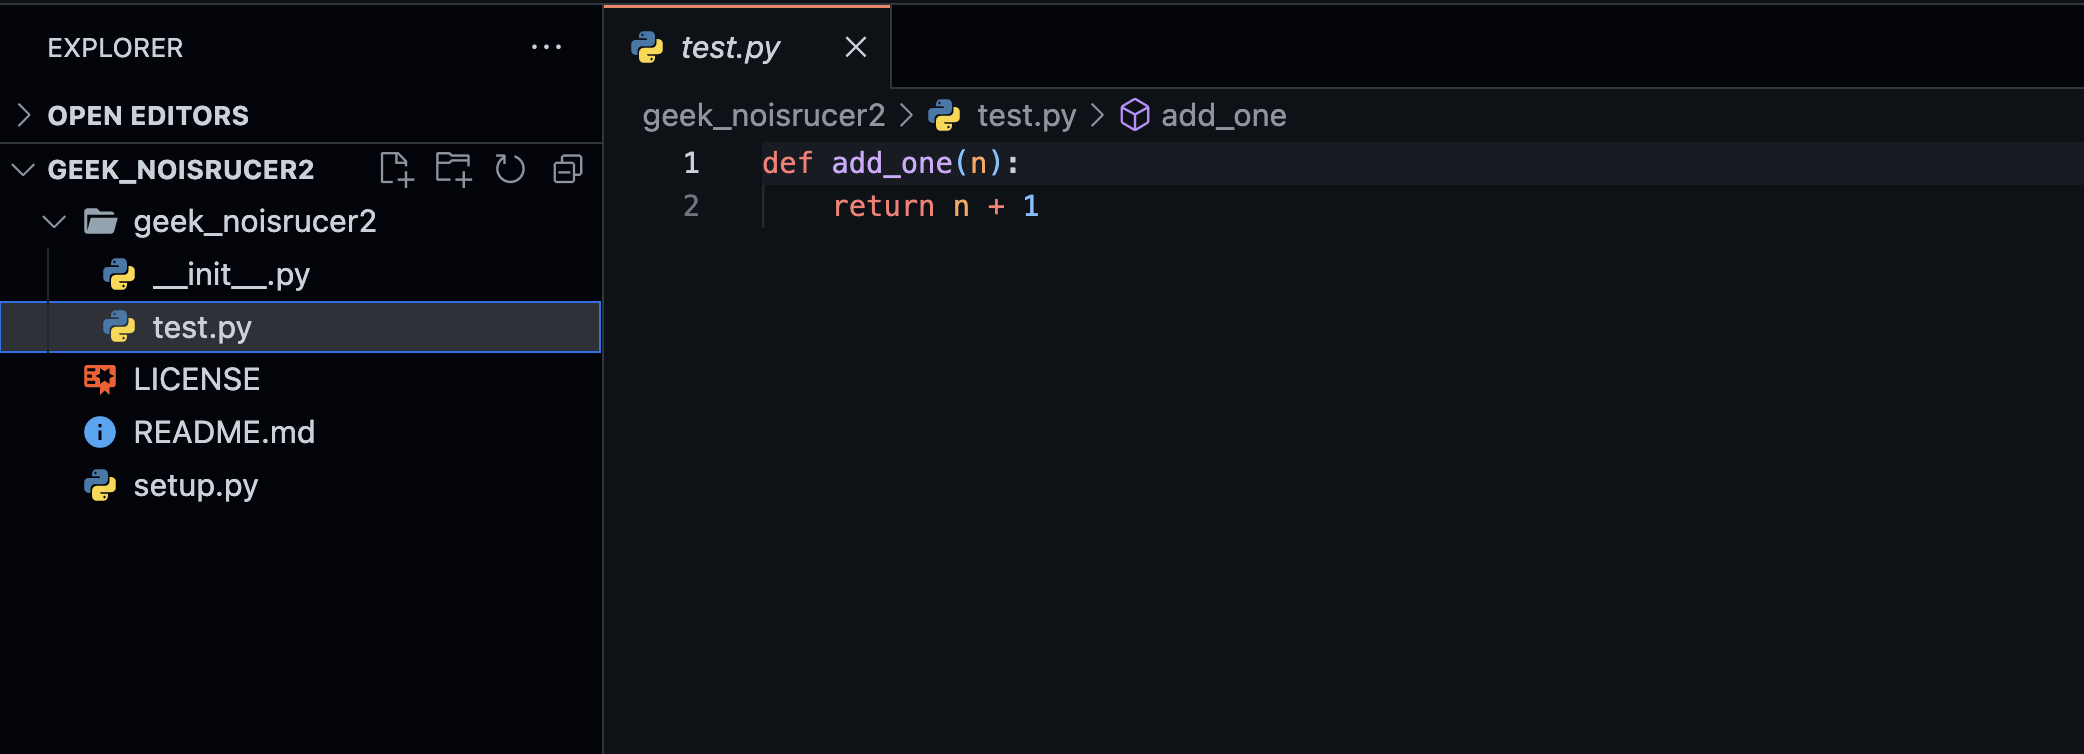
Inside geek_noisrucer2/geek_noisrucer2/, we will create two files 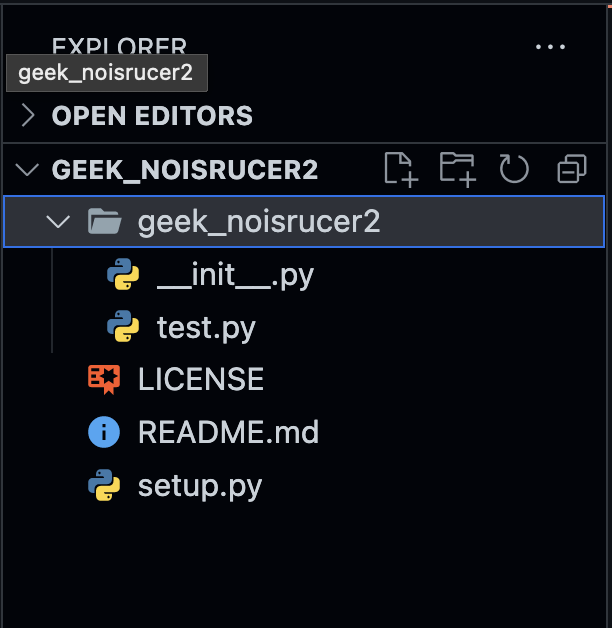
__init__.py- required for a python packagetest.py- our program
Leave __init__.py as empty. Now, test.py is where our program goes into. Let’s write a simple add_one() function which simply adds one to the given input.
5. setup.py
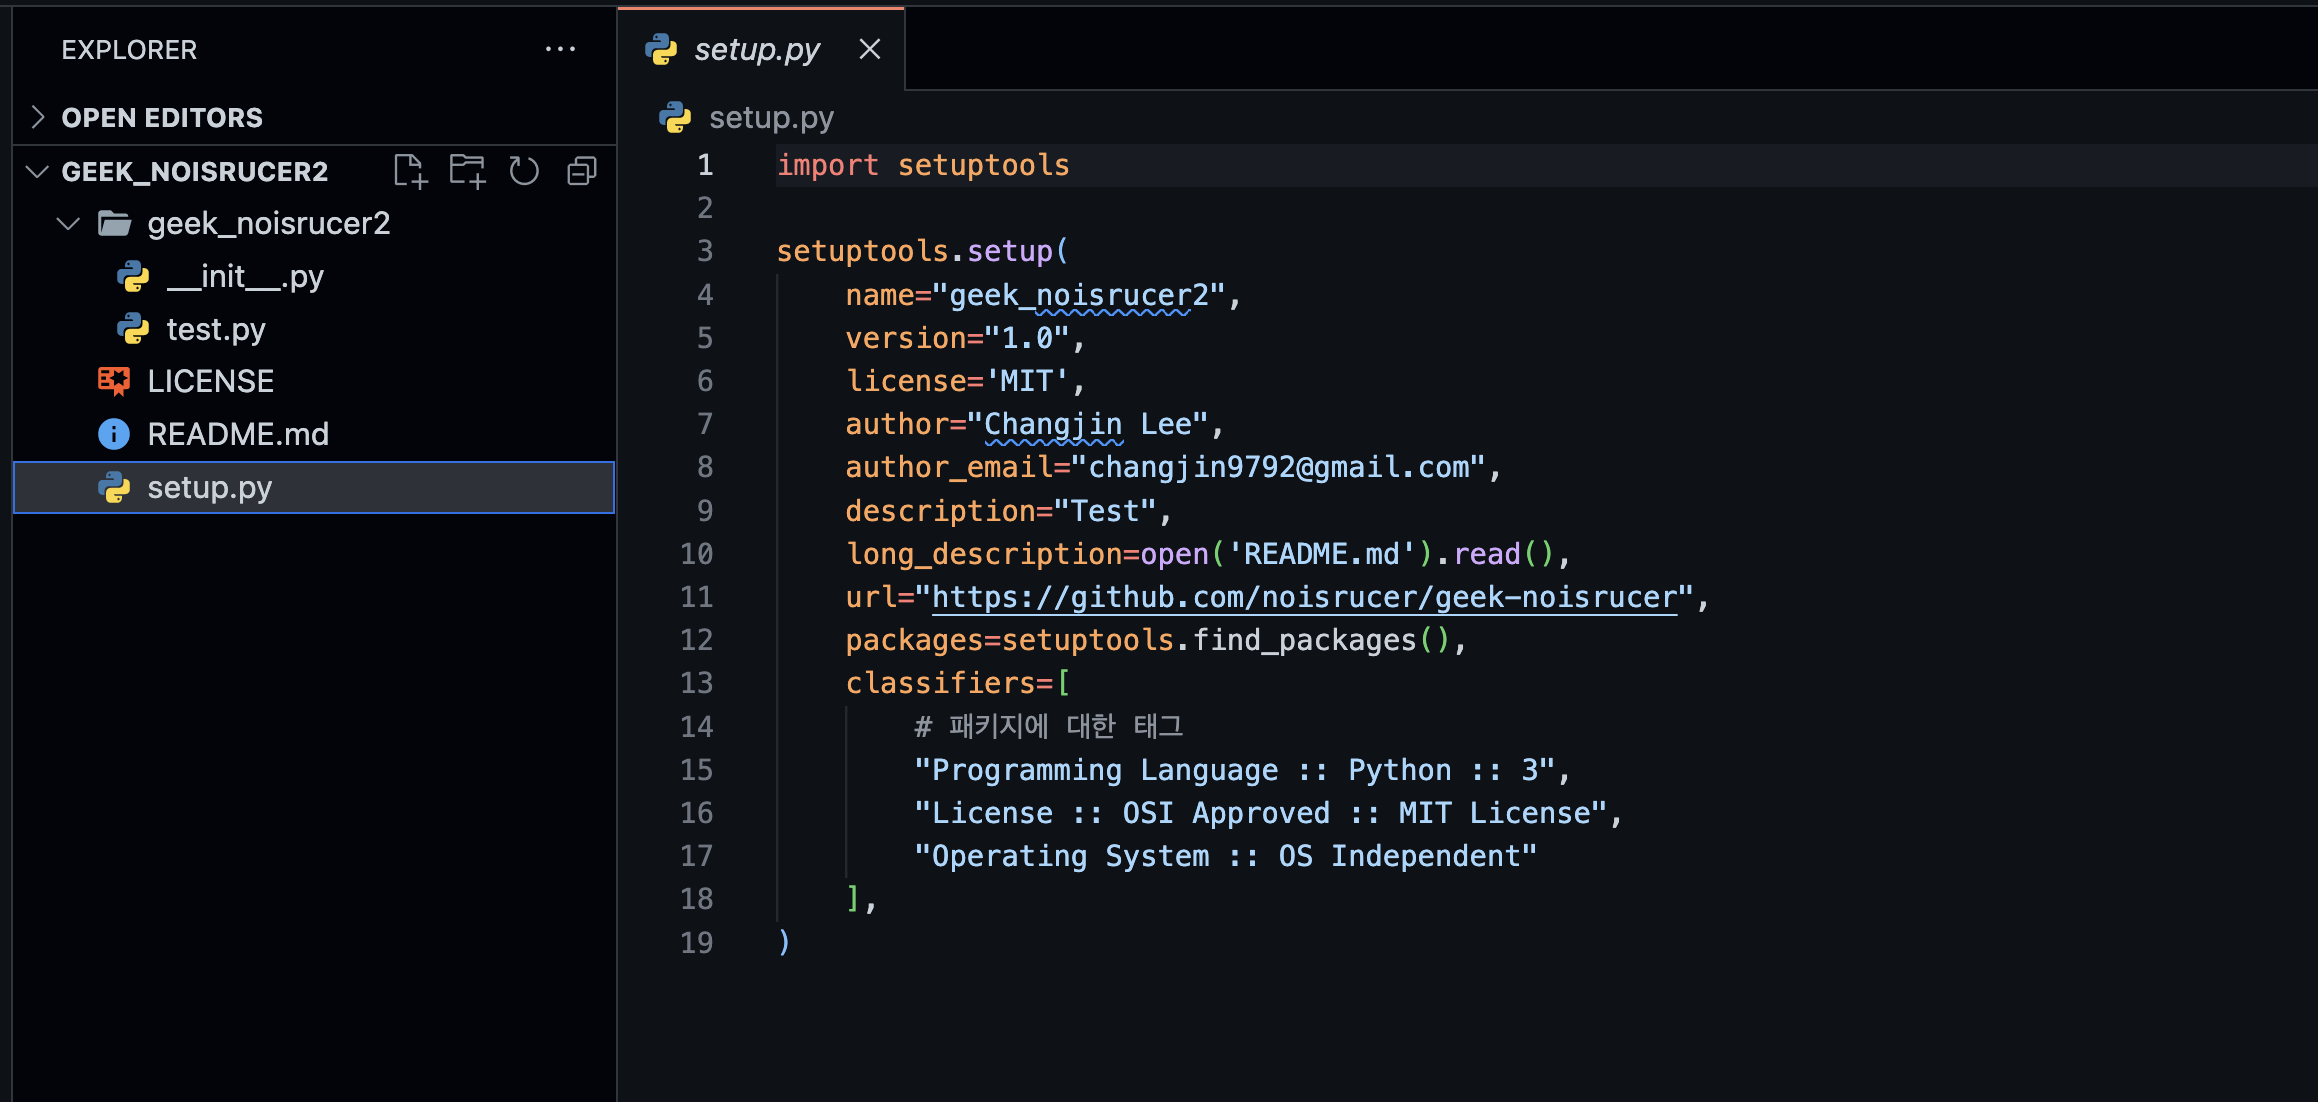
setup.py is where all the package information go into.
Install pip install setuptools if you haven’t.
Change the name field to the package name geek_noisrucer2. Also, go ahead and make a github repository for the project and include that in url field. Feel free to fill out the other information.
6. LICENSE and README.md
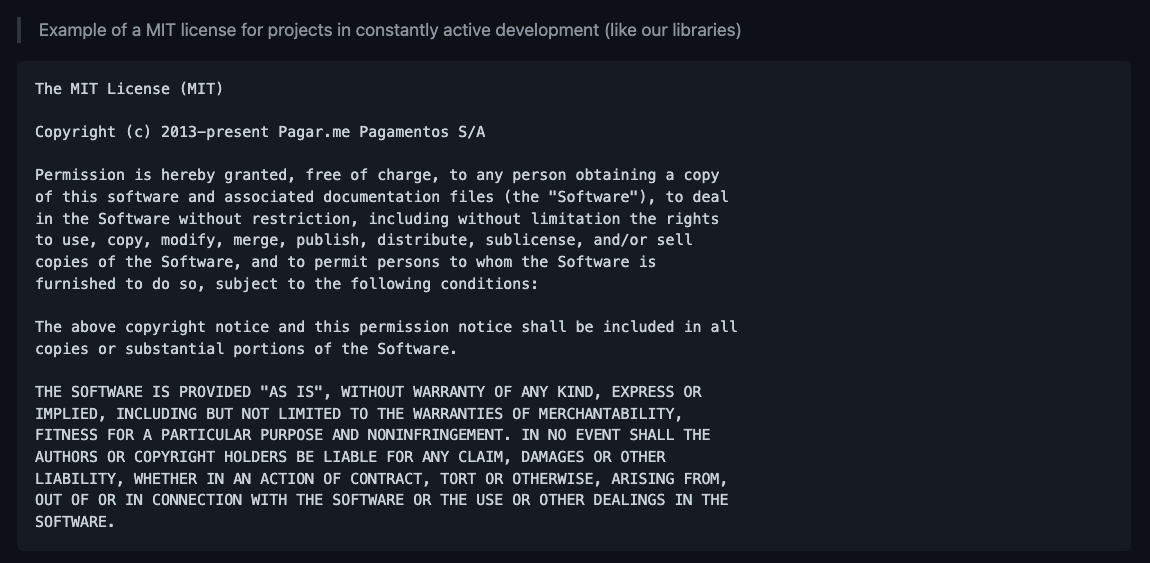
You can look for a LICENSE example like MIT license.
I used the MIT license. You can find the document in opensource license
7. Build package
Now, let’s build our package with wheel. Before that, install
1
pip install wheel
and check if it’s the latest version by
1
python3 -m pip install --upgrade wheel
It’s time to build our package! First go to the root directory of our project geek_noisrucer2/ and type
1
python3 setup.py sdist bdist_wheel
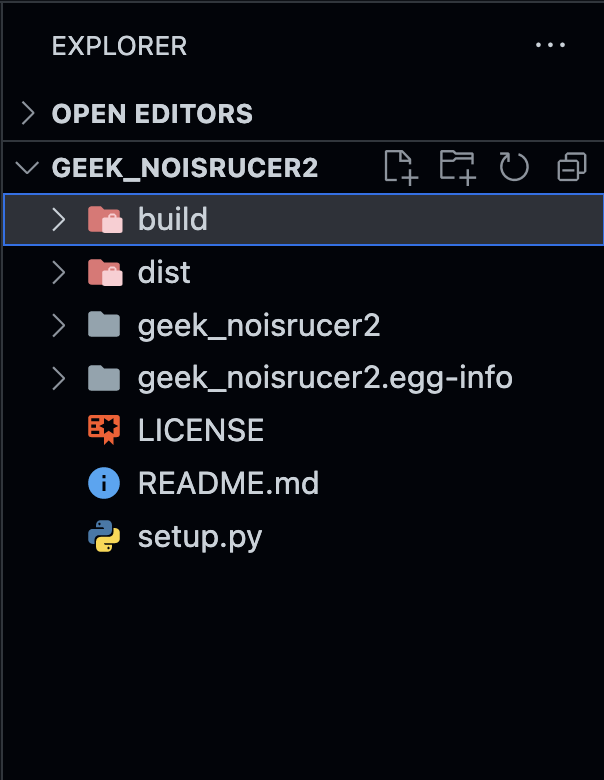
If you see the build/, dist/, and geek_noisrucer.egg-info folders, it’s successful!
8. Distribute our package
First install twine by
1
pip install twine
Now, let’s upload our package
1
python -m twine upload dist/*
Boom! We have successfully uploaded our package. It’s time to install and test it.
9. Install and test our package
Let’s install our package by
1
pip install geek_noisrucer2
Previously, we have created a file named test.py which has a function named add_one.
Let’s import this test file to use the function.
Cool! We have not distributed, installed, and used our own PyPI package.

