1. Introduction
In this article, we’ll go over how to create a remote MySQL database using AWS RDS which stands for Amazon Relational Database Service.
RDS is a distributed relational database running in the cloud, offering optimized performance, easy compute-scaling, automated backups and much more.
2. Create a Security Group
Let’s first create a VPC security group which will be assigned to our RDS instance configuration.
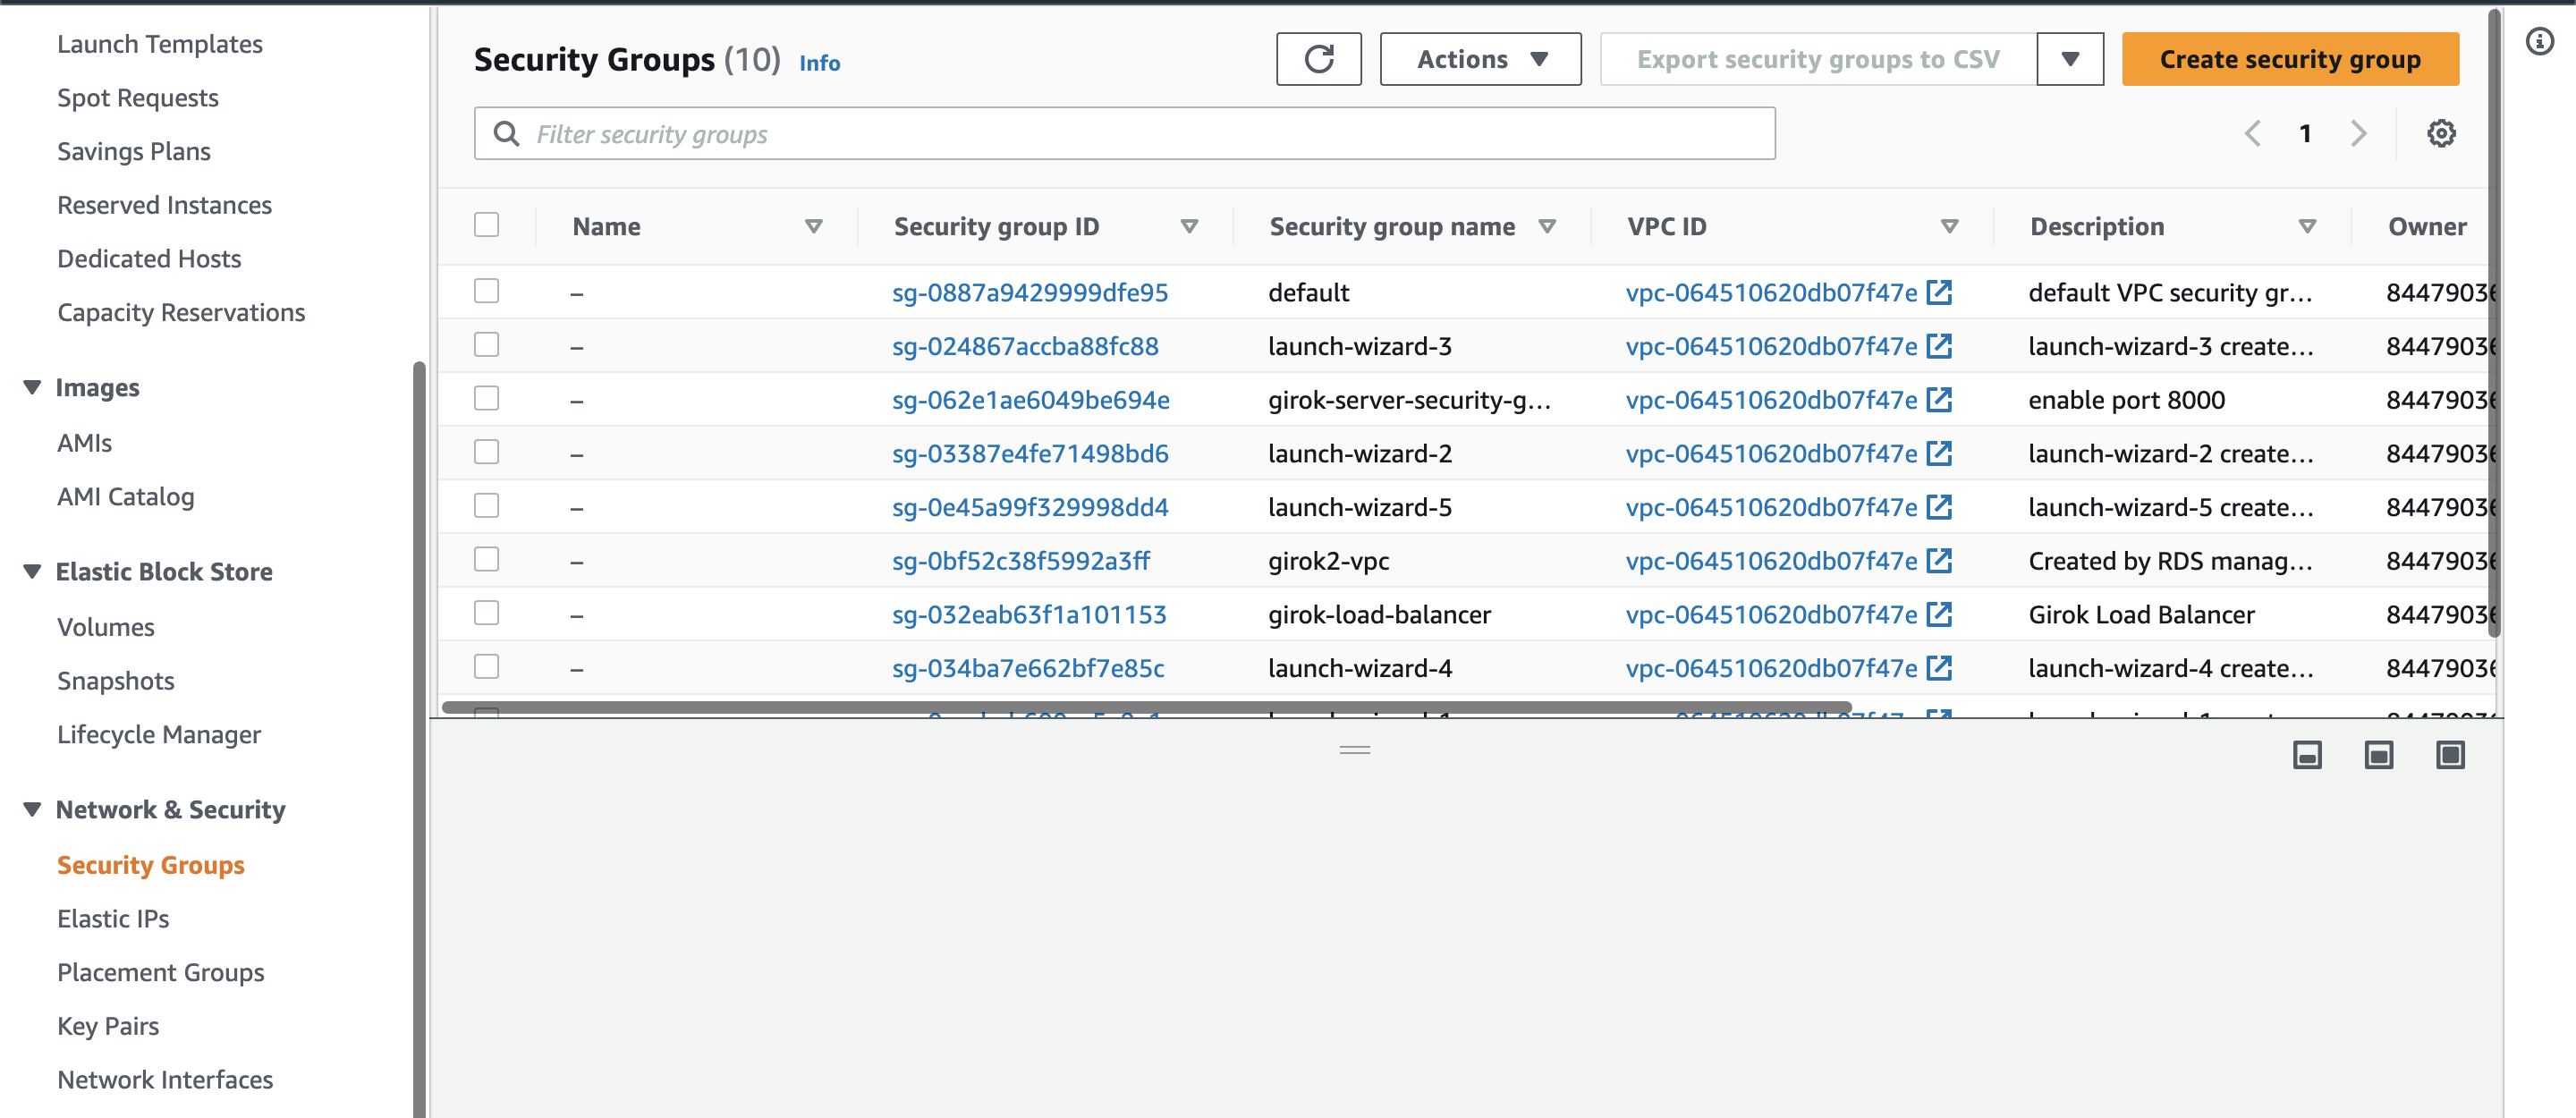
![]() Go to the AWS console and search for EC2. Under “Network & Security” tab on the left sidebar, click “Security Groups” and select “Create security group”.
Go to the AWS console and search for EC2. Under “Network & Security” tab on the left sidebar, click “Security Groups” and select “Create security group”.
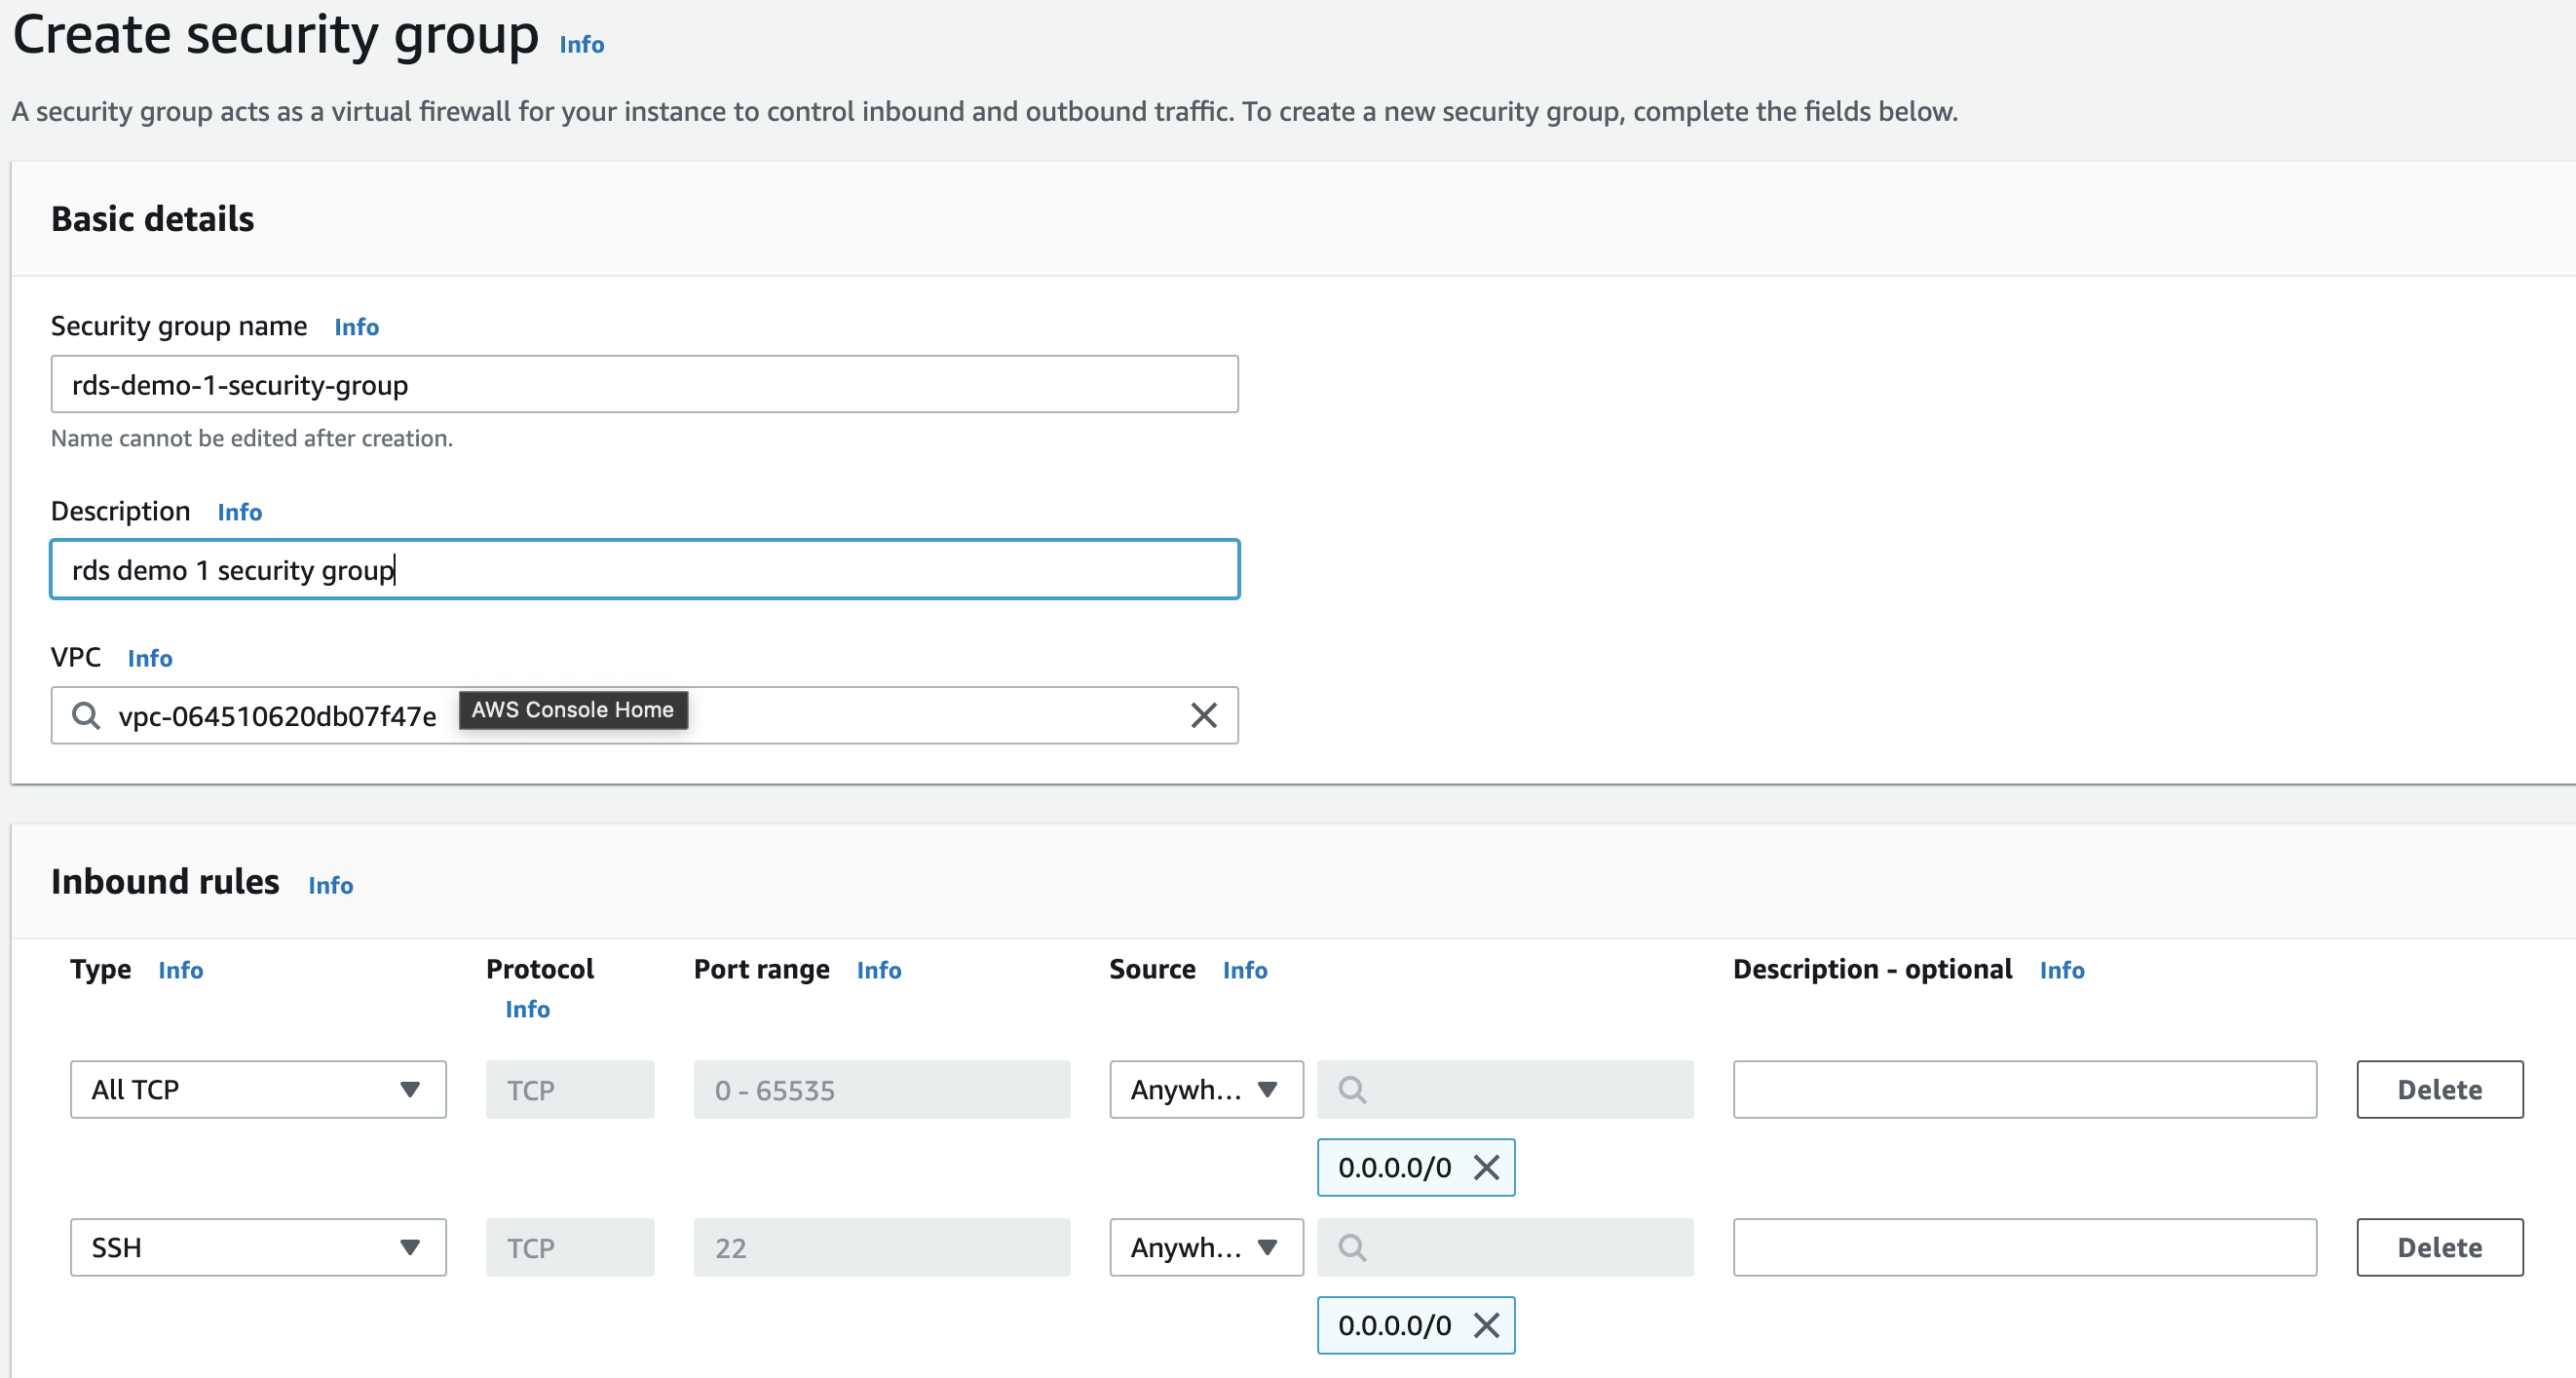
Then, click “Add Inbound rules” and add the followings. Select “Anywhere - IPv4” for source option.
Scroll to the bottom and create security group.
3. Create an RDS instance
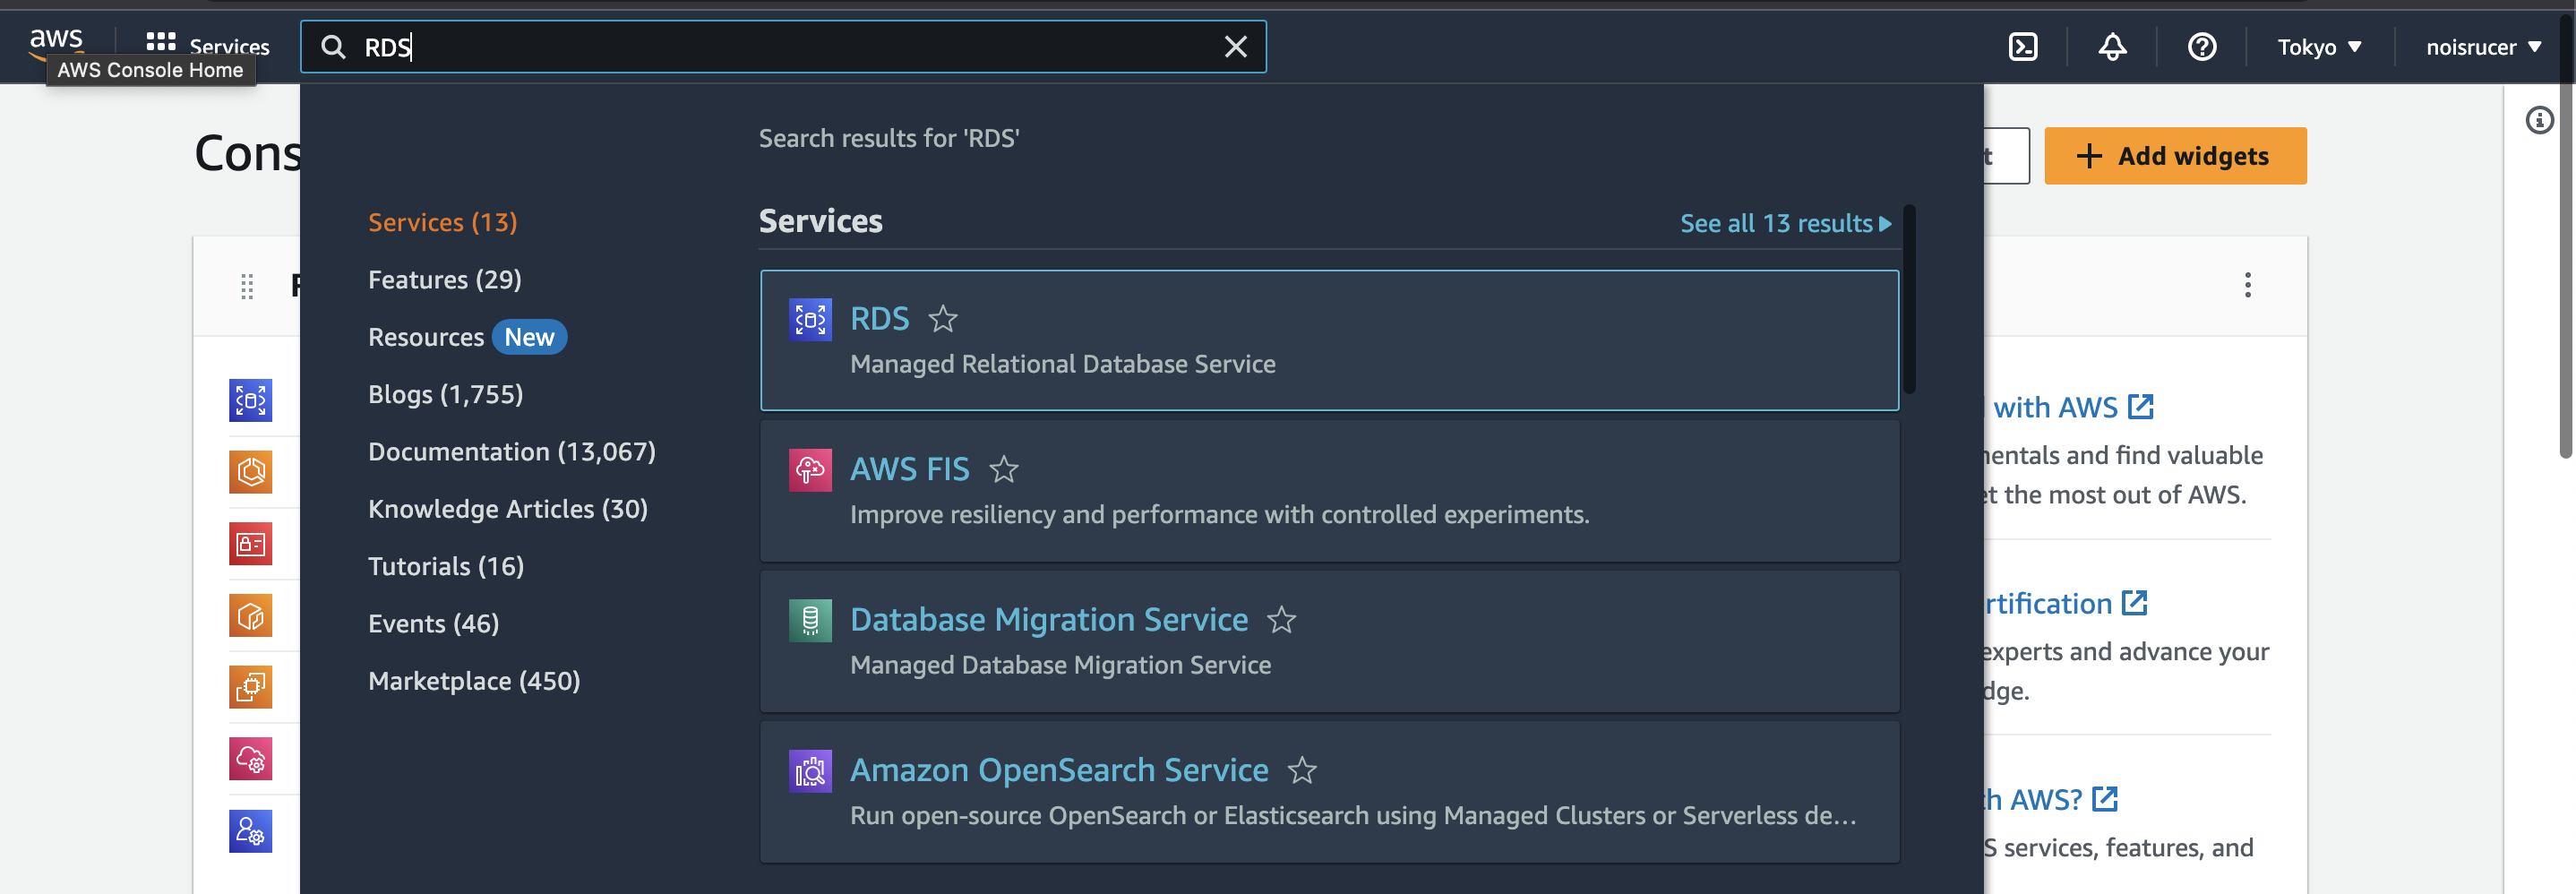
Go to AWS console and direct to AWS RDS service.
Click “Databases” on the left sidebar and click “Create Database”.
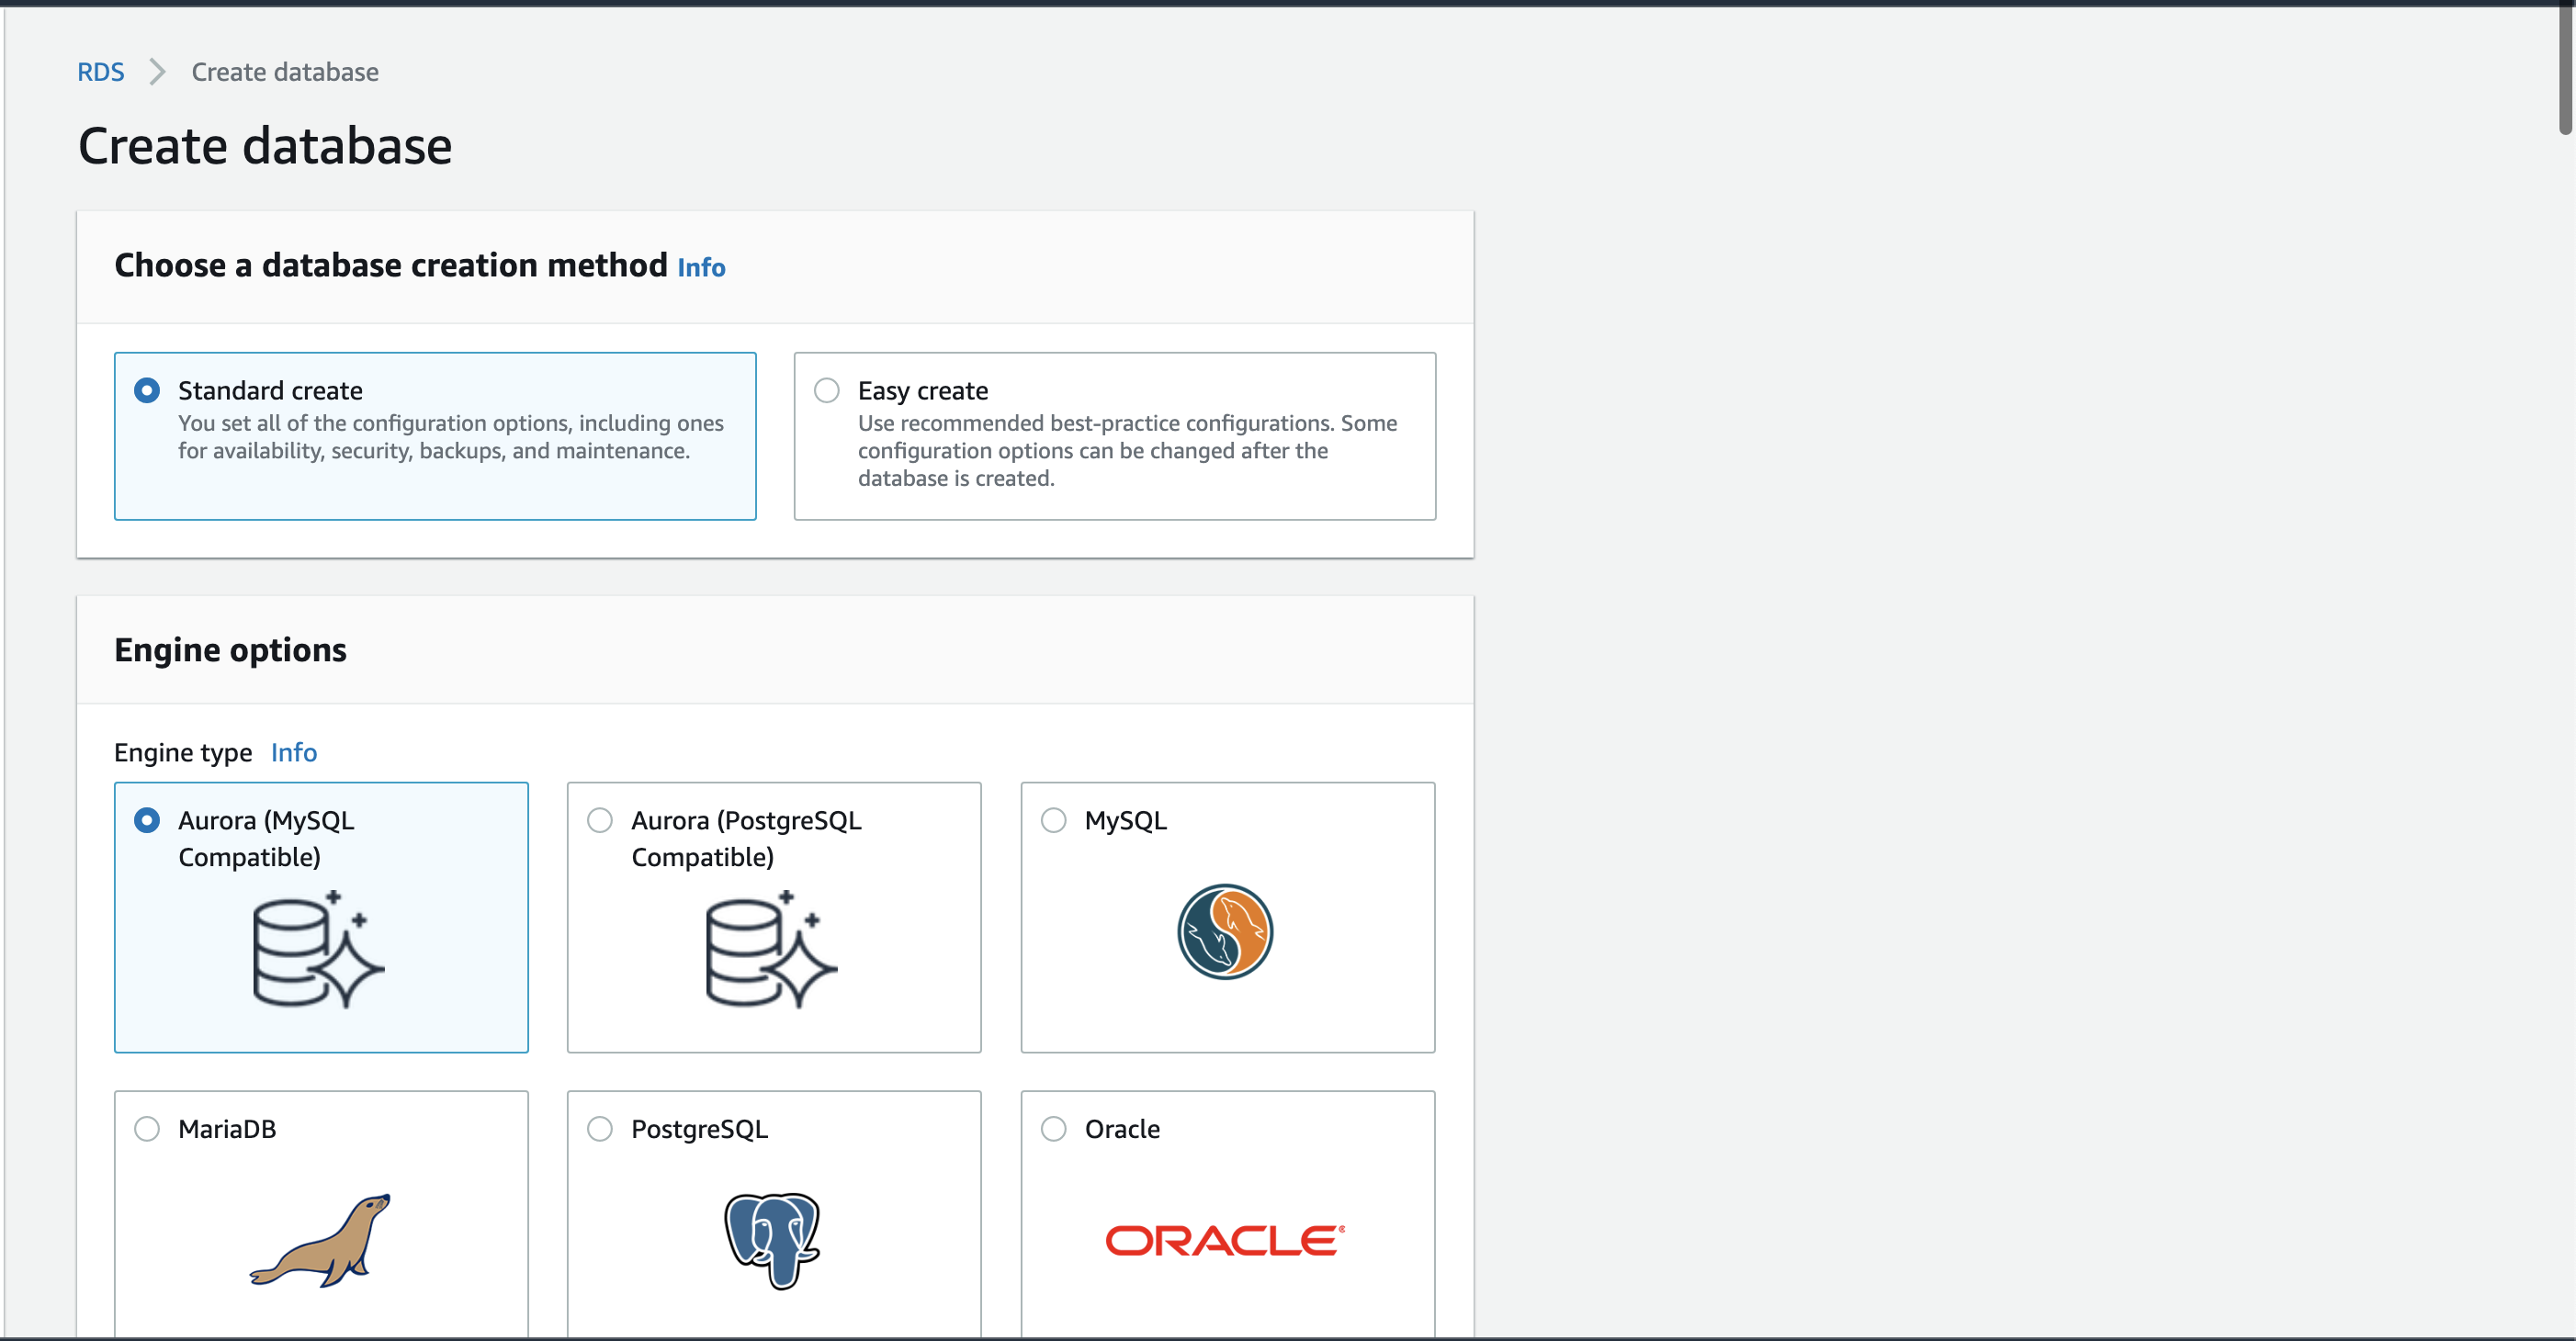
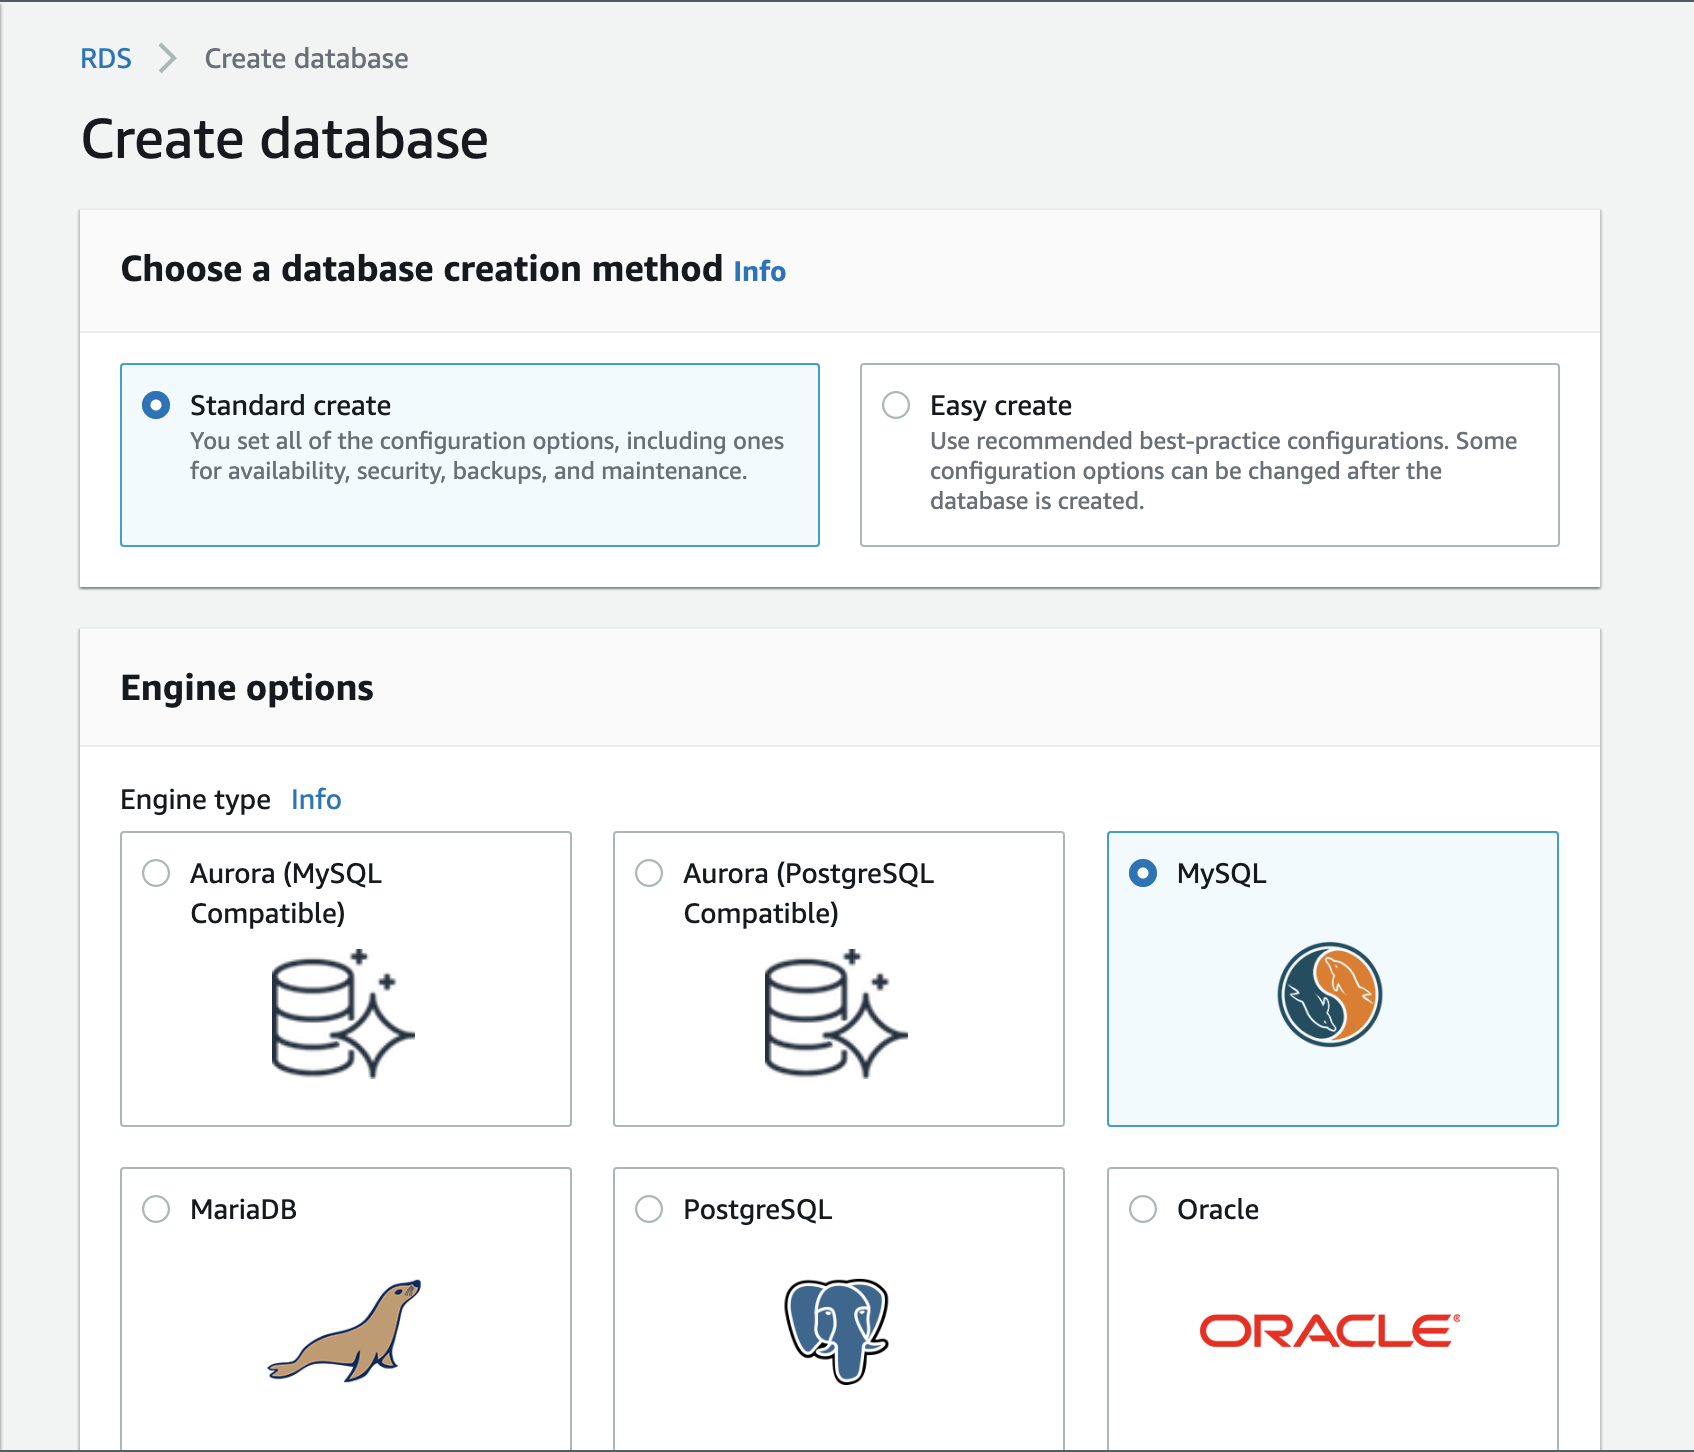
Select Standard create for a database creation method and select MySQL for engine options.
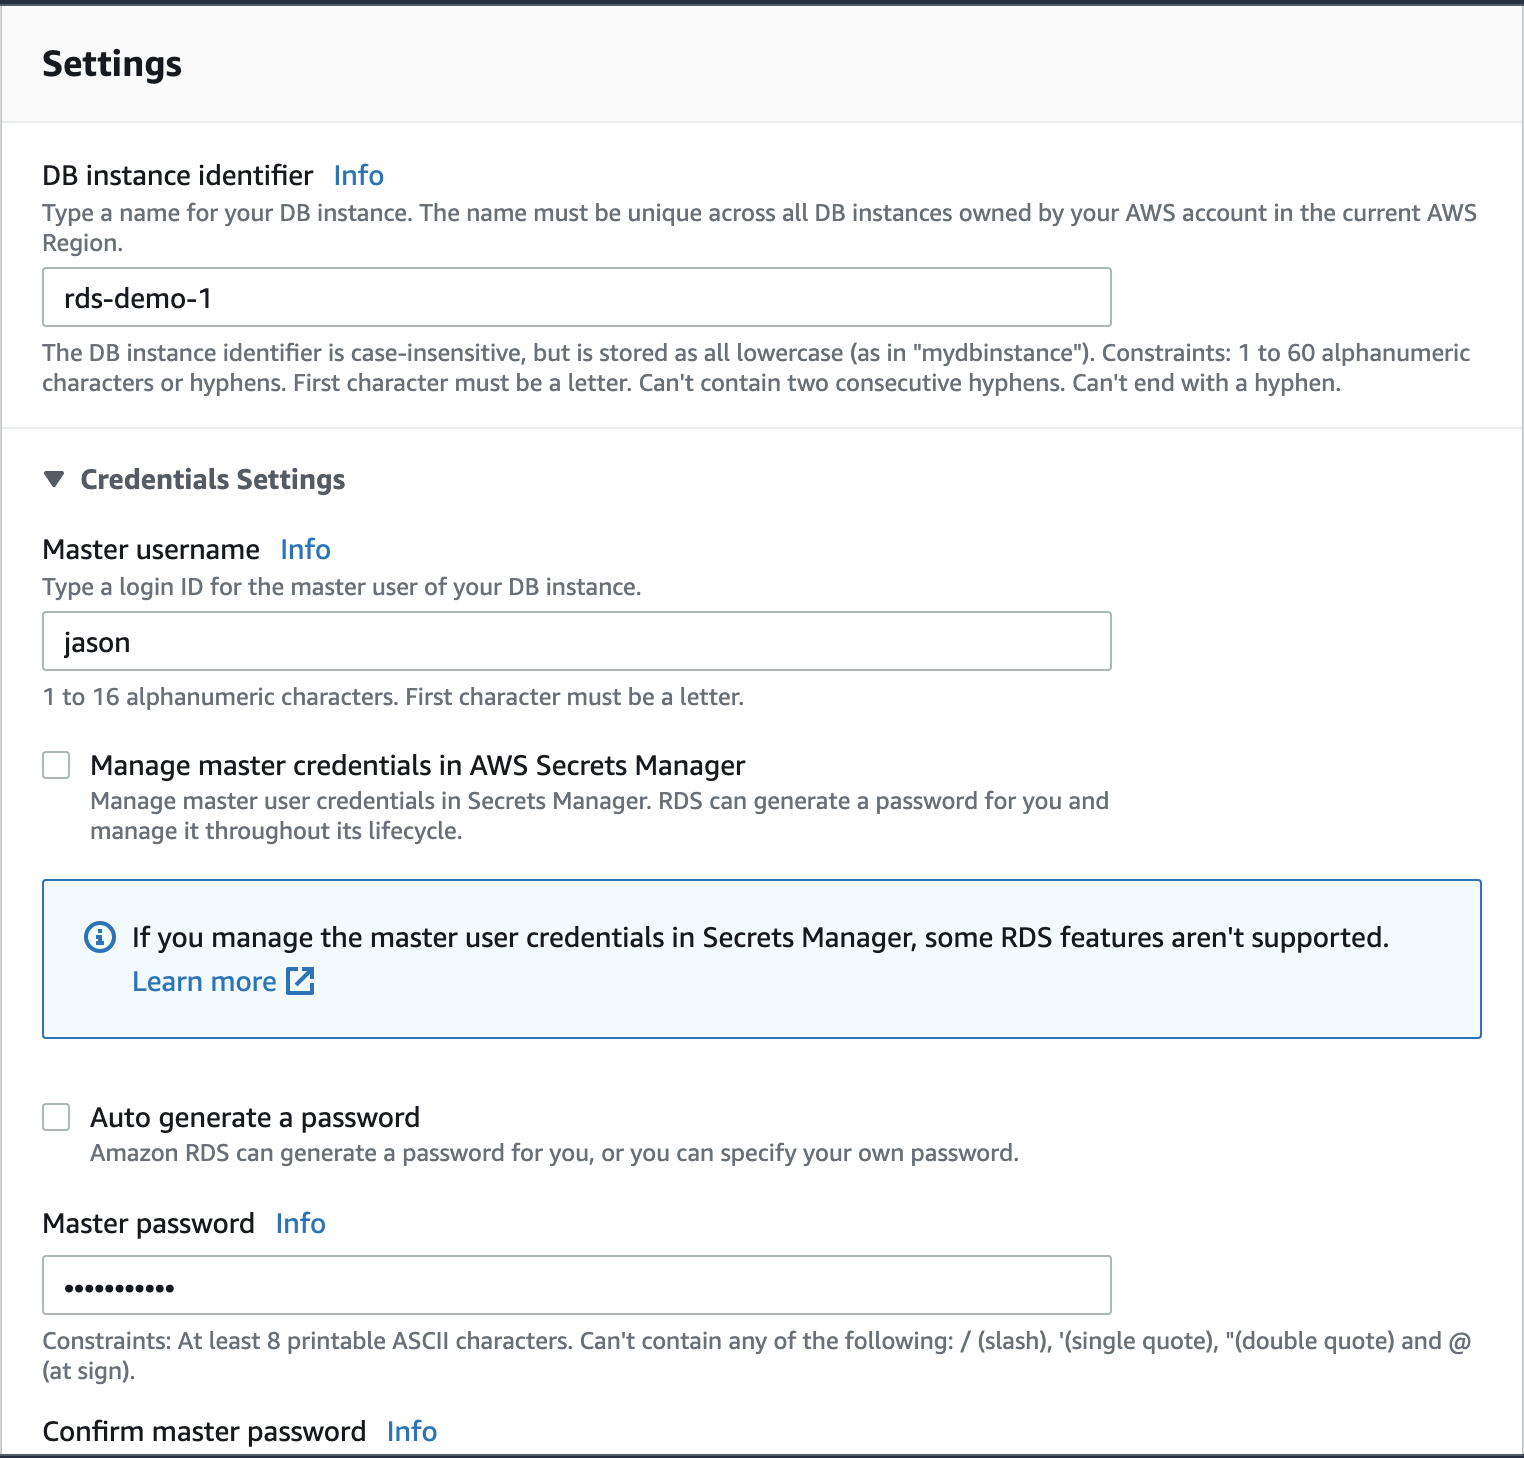
Then, select Free tier for DB instance size and enter your DB instance identifier, DB username, and passwords.
Enter DB name, username, and password.
Now, scroll down and select Yes for public access option so that we can access the DB with ssh in our terminal.
Choose existing VPC security group and select the security group we have created above. 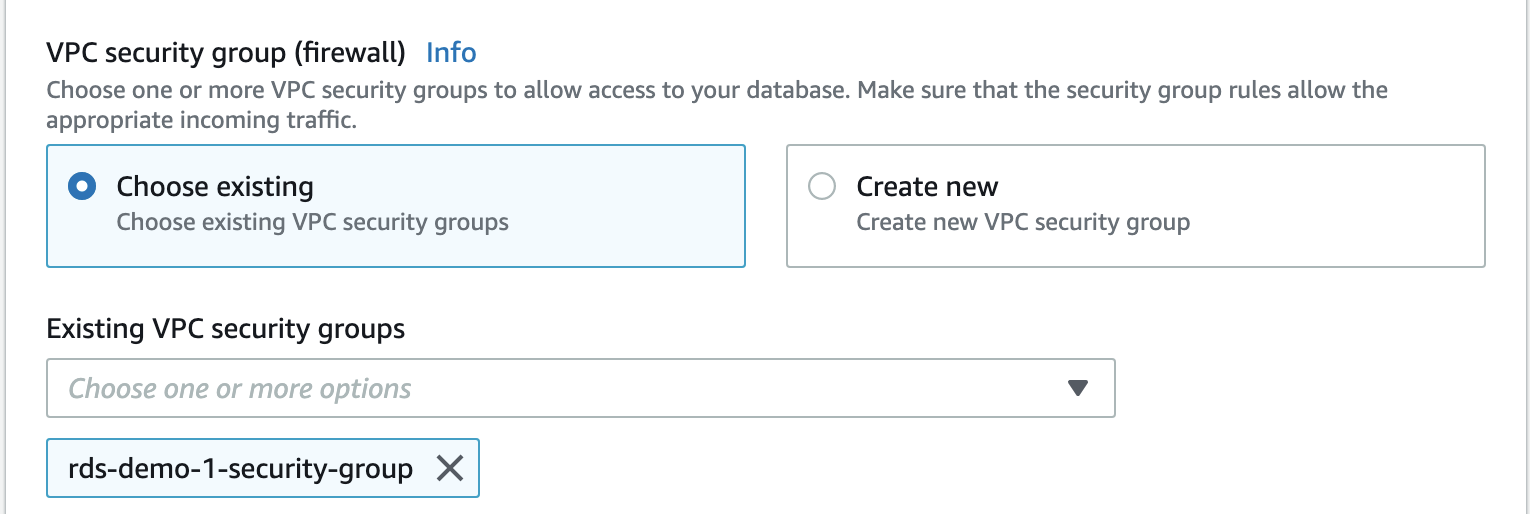
Scroll to the bottom and select “Create Database” button.
After waiting for a moment, you’ll see our DB instance has been created.
Let’s click rds-demo-1 to see the details.
The end-point is the host where we will access through our terminal.
4. Access to our DB on terminal with SSH
Open your terminal and type the following command.
1
mysql -h <endpoint> -P 3306 -u <username> -p
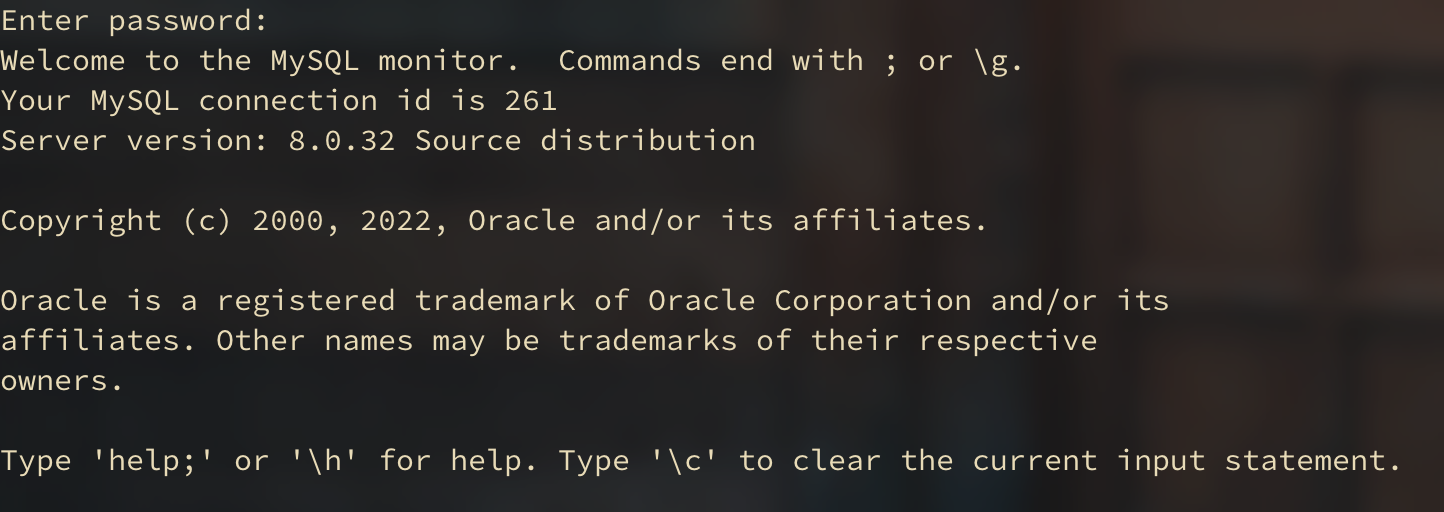
After you enter the password, you’ll see the following.
Congratulations! You now have your own MySQL server on AWS RDS service.

