- Introduction
- Install Textual
- Our first app
- Custom Widgets
- Conclusion
1. Introduction
You’ve probably heard of GUI. However, the term TUI (Terminal User Interface) might sound not that familar. When we think of terminal apps, the first thing that comes to our mind is text-heavy and boring.
However, it’s definitely possible to build an amazing-looking app on our terminal! Check out the project with a beautiful TUI I’ve worked on to see what you can do.
In this article, we’ll go over how to make a simple TUI counter app with Textual. Textual is an awesome tool to build beautiful TUI apps, integrating the familiar “DOM” concepts.
2. Install Textual
Let’s create a project root directory and create a virtual environment.
1
2
virtualenv .venv
source .venv/bin/activate
Install Textual by
1
pip install "textual[dev]"
3. Our first app
Create a file counter.py and paste the following.
1
2
3
4
5
6
7
8
9
10
11
12
13
14
15
16
17
18
19
20
from textual.app import App
from textual.widgets import Header, Footer

class CounterApp(App):
    css_path = "counter.css"
    BINDINGS = [
        ("q", "quit", "Quit App")
    ]

    def compose(self):
        yield Header()
        yield Footer()

    def action_quit(self):
        self.exit()


if __name__ == '__main__':
    app = CounterApp()
    app.run()
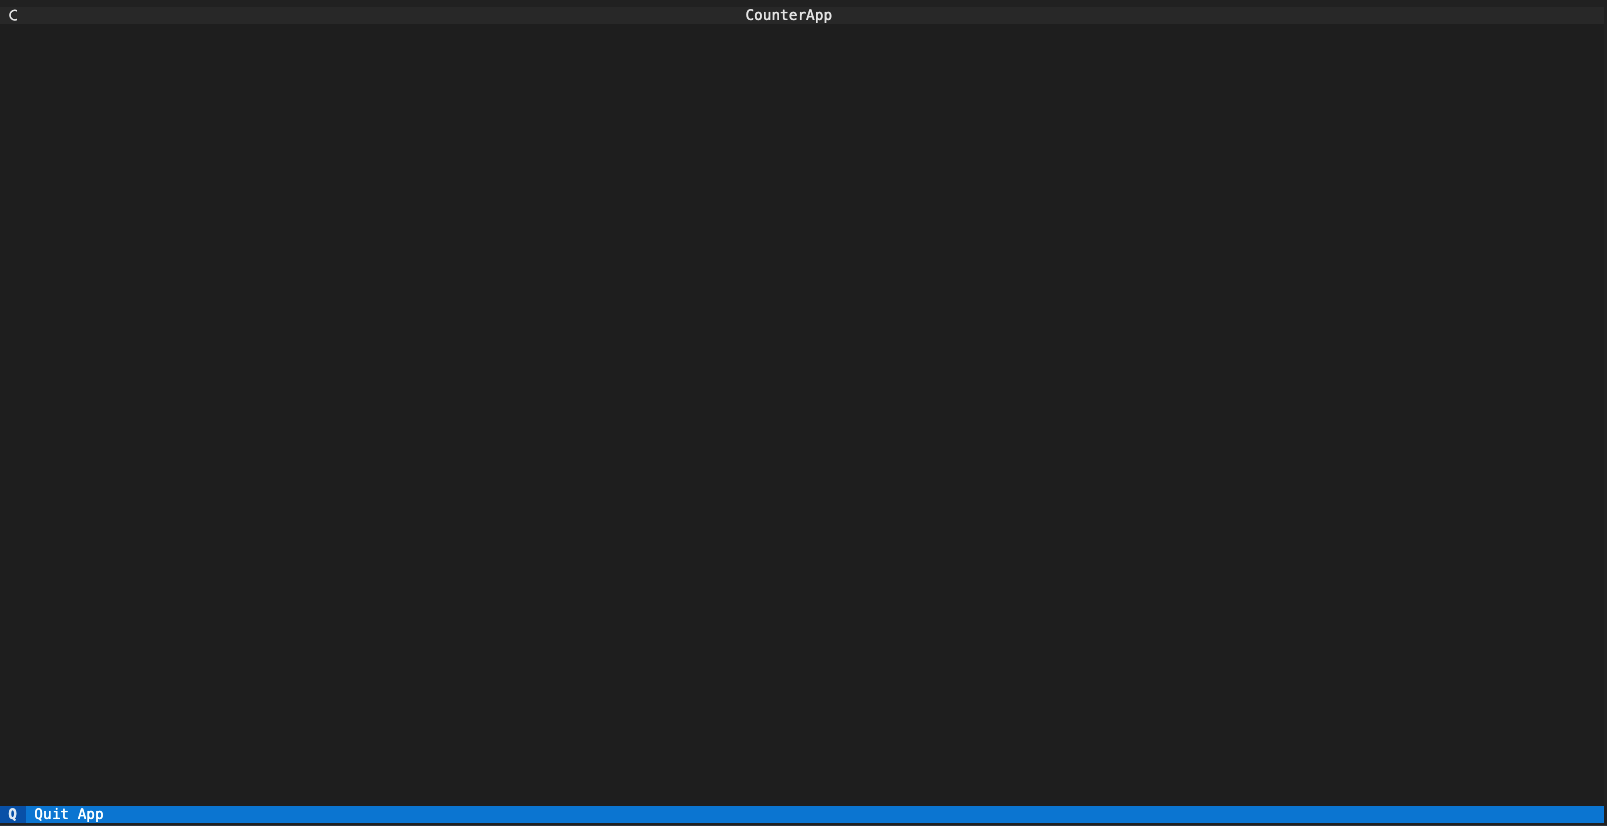
This is the simplest baseline that shows the header and the footer.
To run the app, enter python counter.py
Now let’s go one by one and see what each line does.
class CounterApp(App)- This is the entry point class of our app, extending
Appclass.
- This is the entry point class of our app, extending
CSS_PATH- If you have a custom css file, provide the path to this variable
BINDINGS- It’s a list of 3-tuples defining keyboard bindings.
- The first element
qis the key stroke to trigger an event - The second element
quitis used in “naming” the action handler for quitting the app. - The last element
Quit Appis a description of the key binding which appears in the footer
def compose(self)- This method returns a single or a list of widgets. However, it’s easier to
yieldthem (making the method a generator). In this example, it yields two pre-defined widgets(or instance of widget to be more specific)Header()andFooter().
- This method returns a single or a list of widgets. However, it’s easier to
def action_quit(self)- This is where an interesting part comes in. In Textual, you prepend the word
action_in front of the key bindings you have defined inBINDINGS. - Since we named the action when pressing
qas “quit”, we must name the method asaction_quit. Textual will automatically match the action handler.
- This is where an interesting part comes in. In Textual, you prepend the word
4. Custom Widgets
We want to make a counter app which contains a text field to display counts and a button which triggers a “plus one” action.
It’s super simple to create custom widgets in Textual. Just like python classes, you can easily create your own widgets.
1
2
3
4
5
6
7
8
9
10
11
12
13
14
15
16
17
18
19
20
21
22
23
24
25
26
27
28
29
30
31
32
33
34
35
36
37
38
39
40
41
42
43
44
45
46
47
48
49
50
51
52
53
54
55
56
57
58
from textual.app import App
from textual.containers import Container, Horizontal
from textual.widgets import Header, Footer, Static, Button
from textual.messages import Message
from textual.reactive import reactive

class CounterText(Static):
    """display counter value"""
    count = reactive(0) # reactive attribute

    def watch_count(self, count): # called when count is updated
        self.update(str(count)) # display updated value


class CounterButton(Button):
    """A button widget"""
    def compose(self):
        yield Static("Click me!")

    # Custom message -> propagate to all upper layrs
    class CounterButtonPressed(Message):
        def __init__(self):
            super().__init__()

    # Button pressed event handler (Textual built-in handler) when button is pressed
    def on_button_pressed(self, event: Button.Pressed):
        self.post_message(self.CounterButtonPressed())


class Counter(Horizontal):
    def compose(self):
        yield CounterText("0", id="counter-text")
        yield CounterButton(id="counter-button", variant="success")

    # Message handler (message from the child widget "CounterButton")
    def on_counter_button_counter_button_pressed(self, event):
        counter_text = self.query_one(CounterText)
        counter_text.count += 1


class CounterApp(App):
    CSS_PATH = "counter.css"
    BINDINGS = [
        ("q", "quit", "Quit App")
    ]

    def compose(self):
        yield Header()
        yield Footer()
        yield Counter()

    def action_quit(self):
        self.exit()


if __name__ == '__main__':
    app = CounterApp()
    app.run()
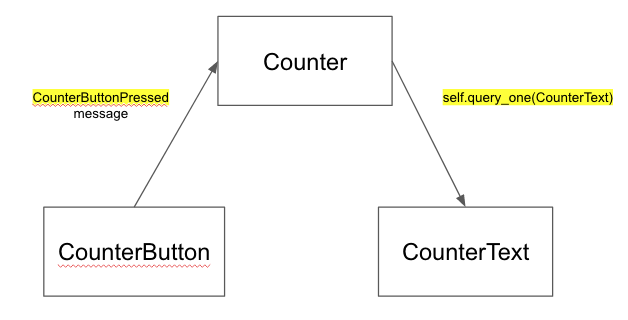
We have four components in our app
CounterApp(App)- entry pointCounter(Horizontal)- container holding button and textCounterButton(Button)- button widgetCounterText(Static)- text widget
First, the entry widget CounterApp yields Counter horizontal container widget which aligns its children widgets horizontally.
Counter widget again yields two children, CounterButton and CounterText.
CounterText widget
1
2
3
4
5
6
class CounterText(Static):
    """display counter value"""
    count = reactive(0) # reactive attribute

    def watch_count(self, count): # called when count is updated
        self.update(str(count)) # display updated value
CounterText widget extends Static which is used for displaying text data. It has an attribute called count whose value is a reactive attribute.
Instead of refreshing a component manually, you can declare a reactive widget which provides a more convenient and efficient way of handling changes.
Then, declare a method def watch_count(self, count) to handle that particular reactive attribute. The name of the method actually matters. It must be prepended with watch_ followed by the name of the reactive attribute count.
Whenever count variable gets updated, Textual will automatically call this method which takes one argument which is the updated value of the variable.
To actually apply the change, use self.update().
CounterButton widget
This widget is a button that you can click on to trigger events. Textual already provides you with on_button_pressed event handler which is automatically called when you press the button.
A cool feature of Textual is that you can pass custom messages(or events) to all its parent widgets.
To declare a custom message, create a class with a “Pascal case” name, extending Message class.
Then, propagate the message to all its parent widgets by self.post_message(self.CounterButtonPressed().
Counter widget
Since Counter is the parent of CounterButton widget, it can receive the custom CounterButtonPressed message we just created.
on_counter_button_counter_button_pressed is our message handler method for CounterButtonPressed. The method name is no coincidence.
The message handler method’s name consists of three parts
on- Widget class name that’s sending the message:
CounterButton - Message name:
CounterButtonPressed
Then, convert all the pascal cases into snake cases and connect them with underscore _. Hence, the resulted name would be on_counter_buton_counter_button_pressed.
This method takes a parameter event which contains detailed information of the particular message.
Now, we need to somehow change the count variable in CounterText widget. To get the CounterText widget object, we can use self.query_one(). You can pass the class itself or query by ID as self.query_one(#some-id).
After getting the object, you can change the count variable. Then, the watch_count method in CounterText will be triggered, modifying the display.
One reminder is that the messages are only propagated to parents but not to its children.
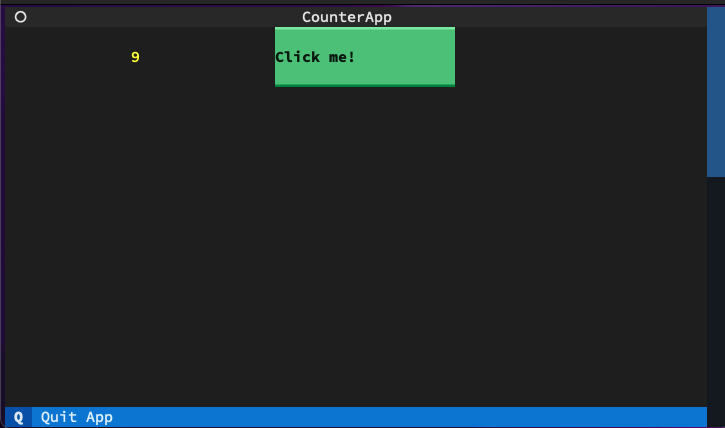
Finally, you can see that our count value changes when clicking the button!
5. Conclusion
We’ve gone over a simple counter app demonstration. Now it’s time to create more advanced and powerful CLI app!
Explore Textual Documentation to see more about its built-in widgets and other cool features.


